OpenBOM™ is a registered Trademark of Newman Cloud, Inc. | © 2022
Here’s how you create a BOM in Onshape using OpenBOM.
Note: We suggest you first read, Setup Onshape integrated app, before proceeding.
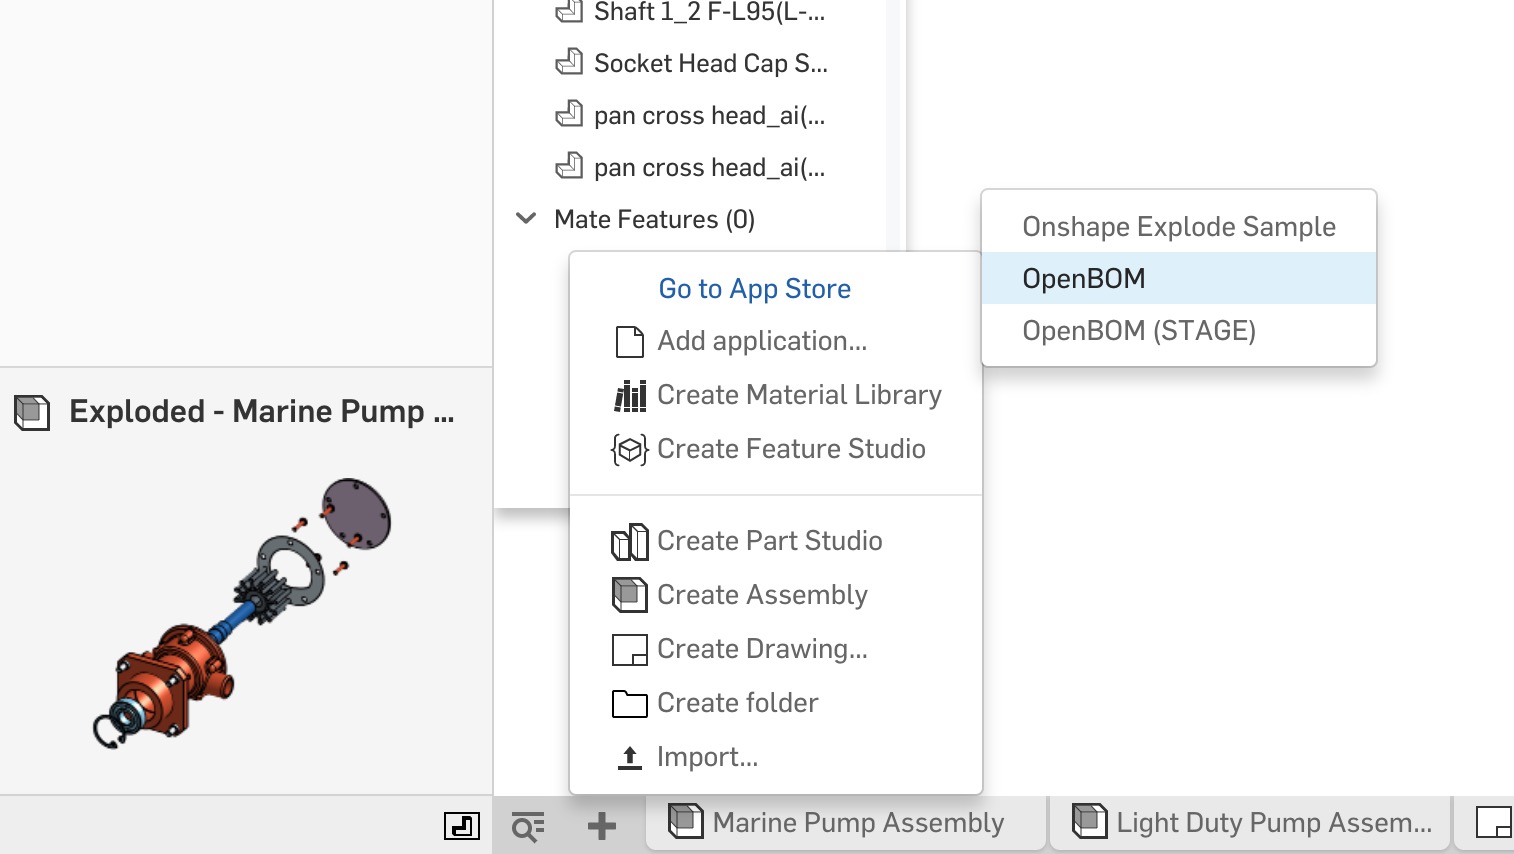
(1) Ensure the OpenBOM integrated app is installed. It’s available in the Onshape App Store.
(2) Navigate to the OpenBOM app and click “OpenBOM”
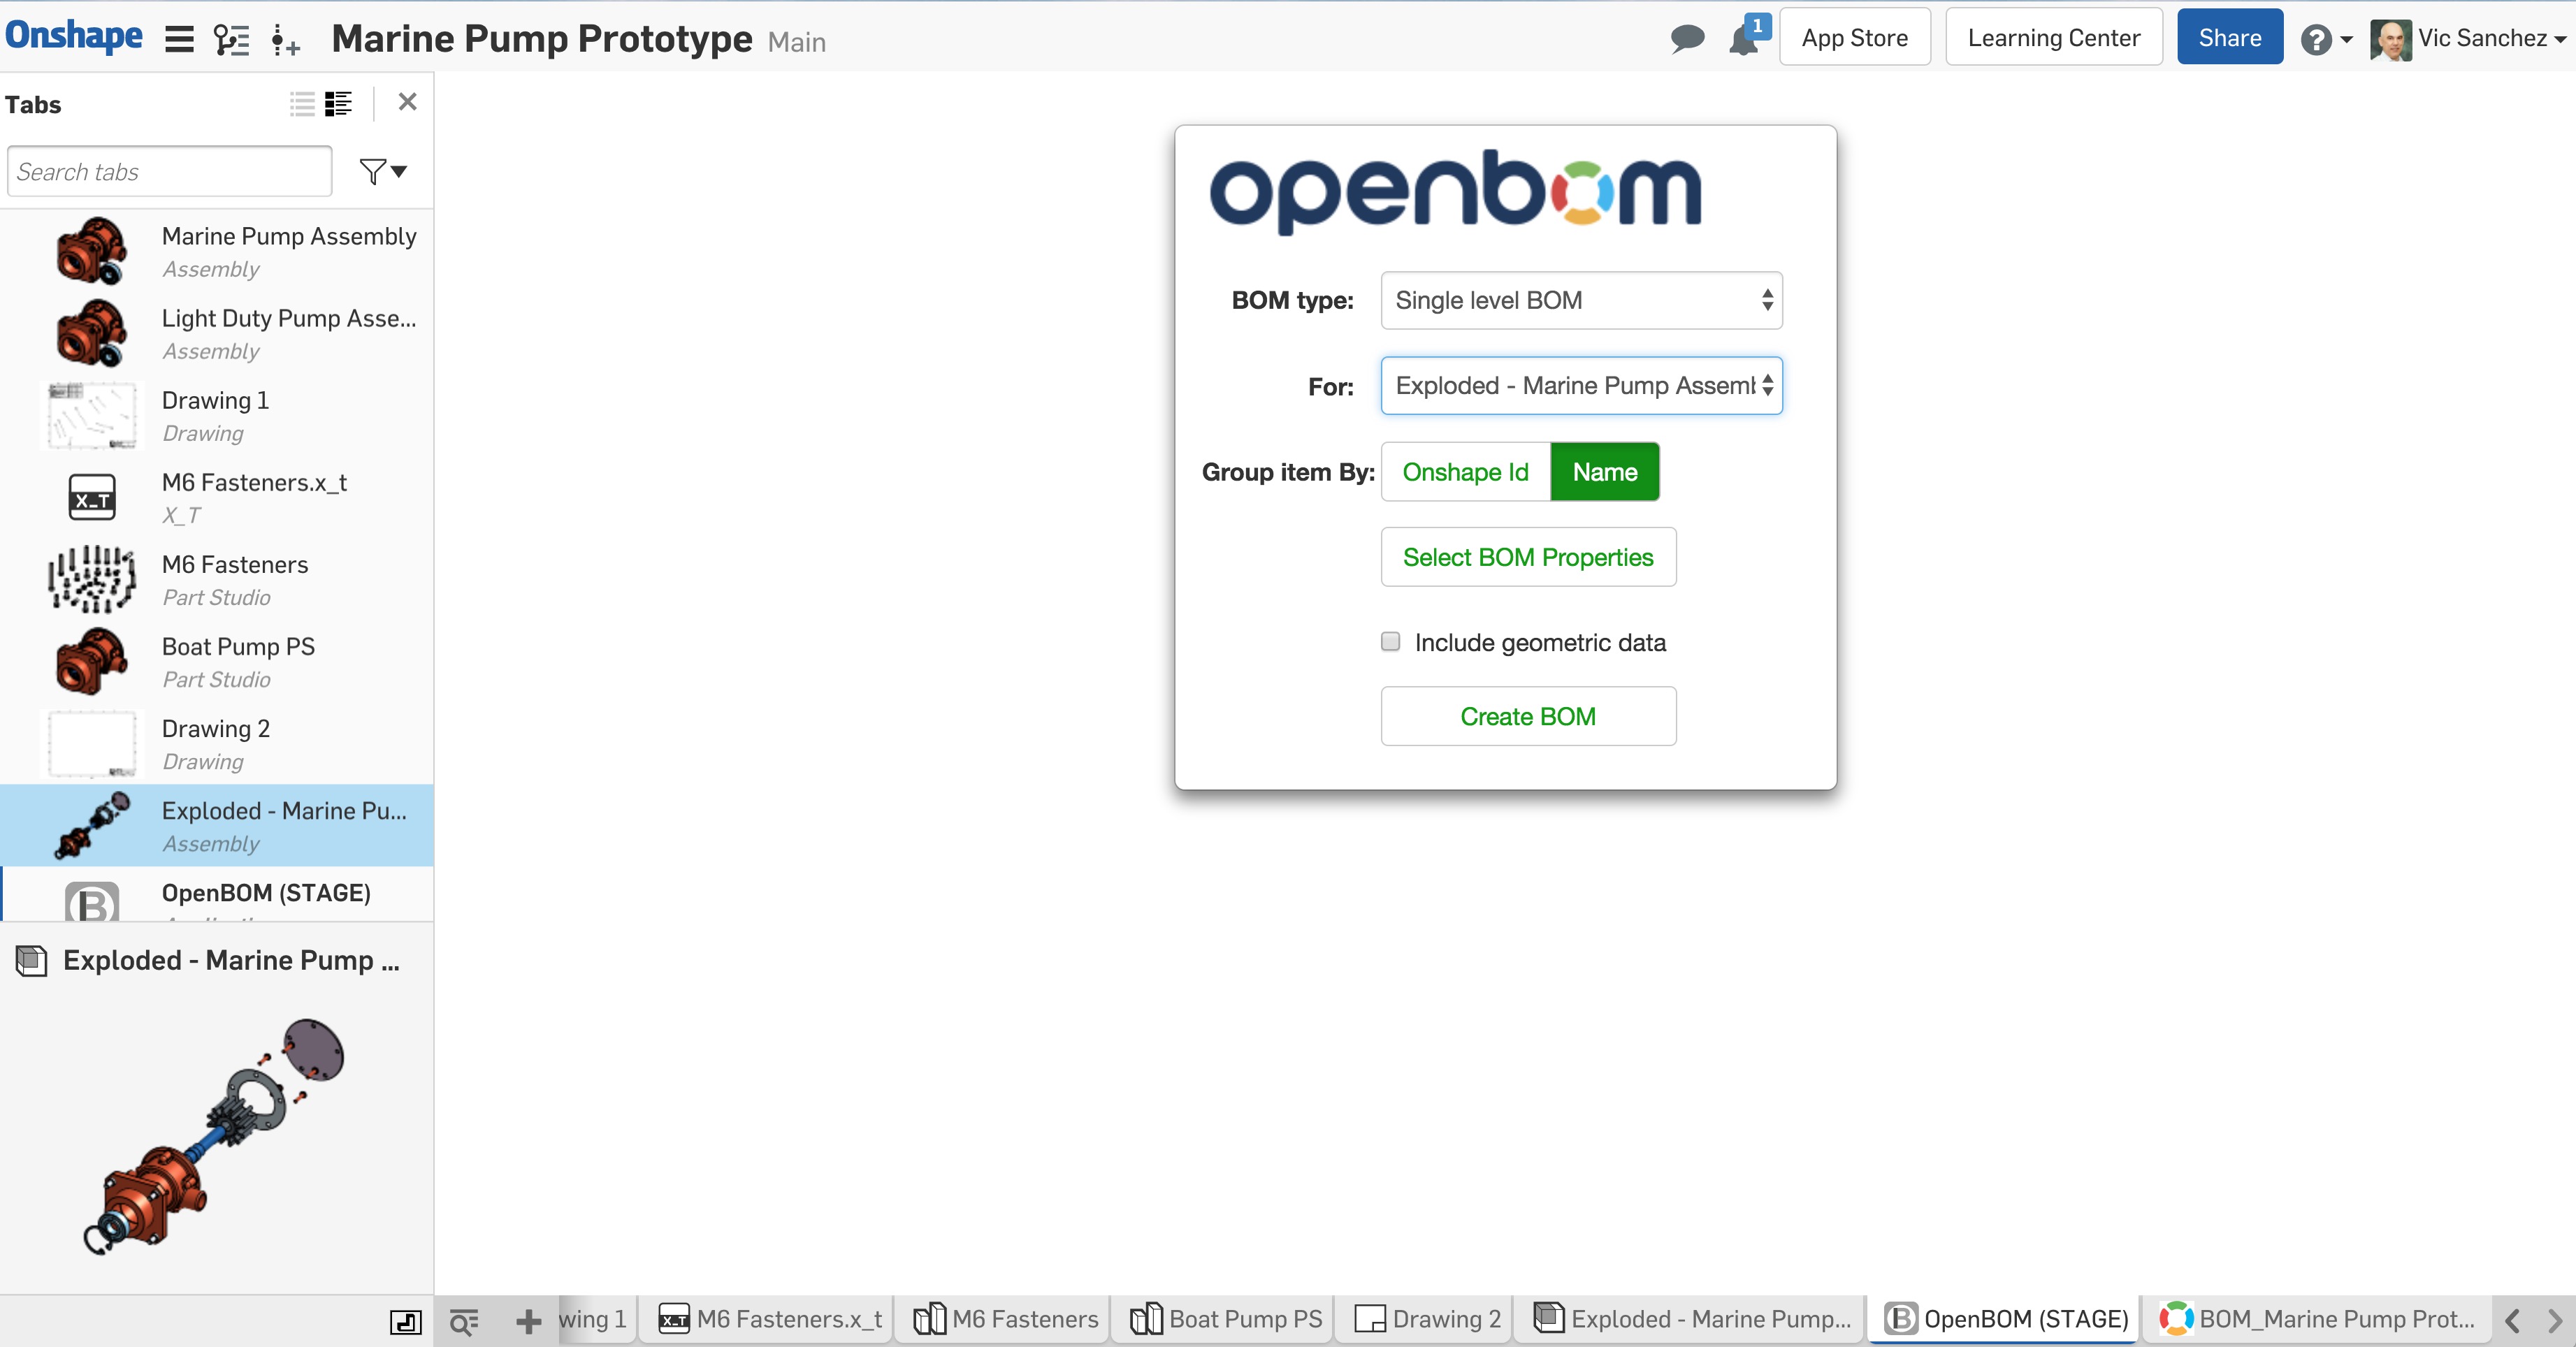
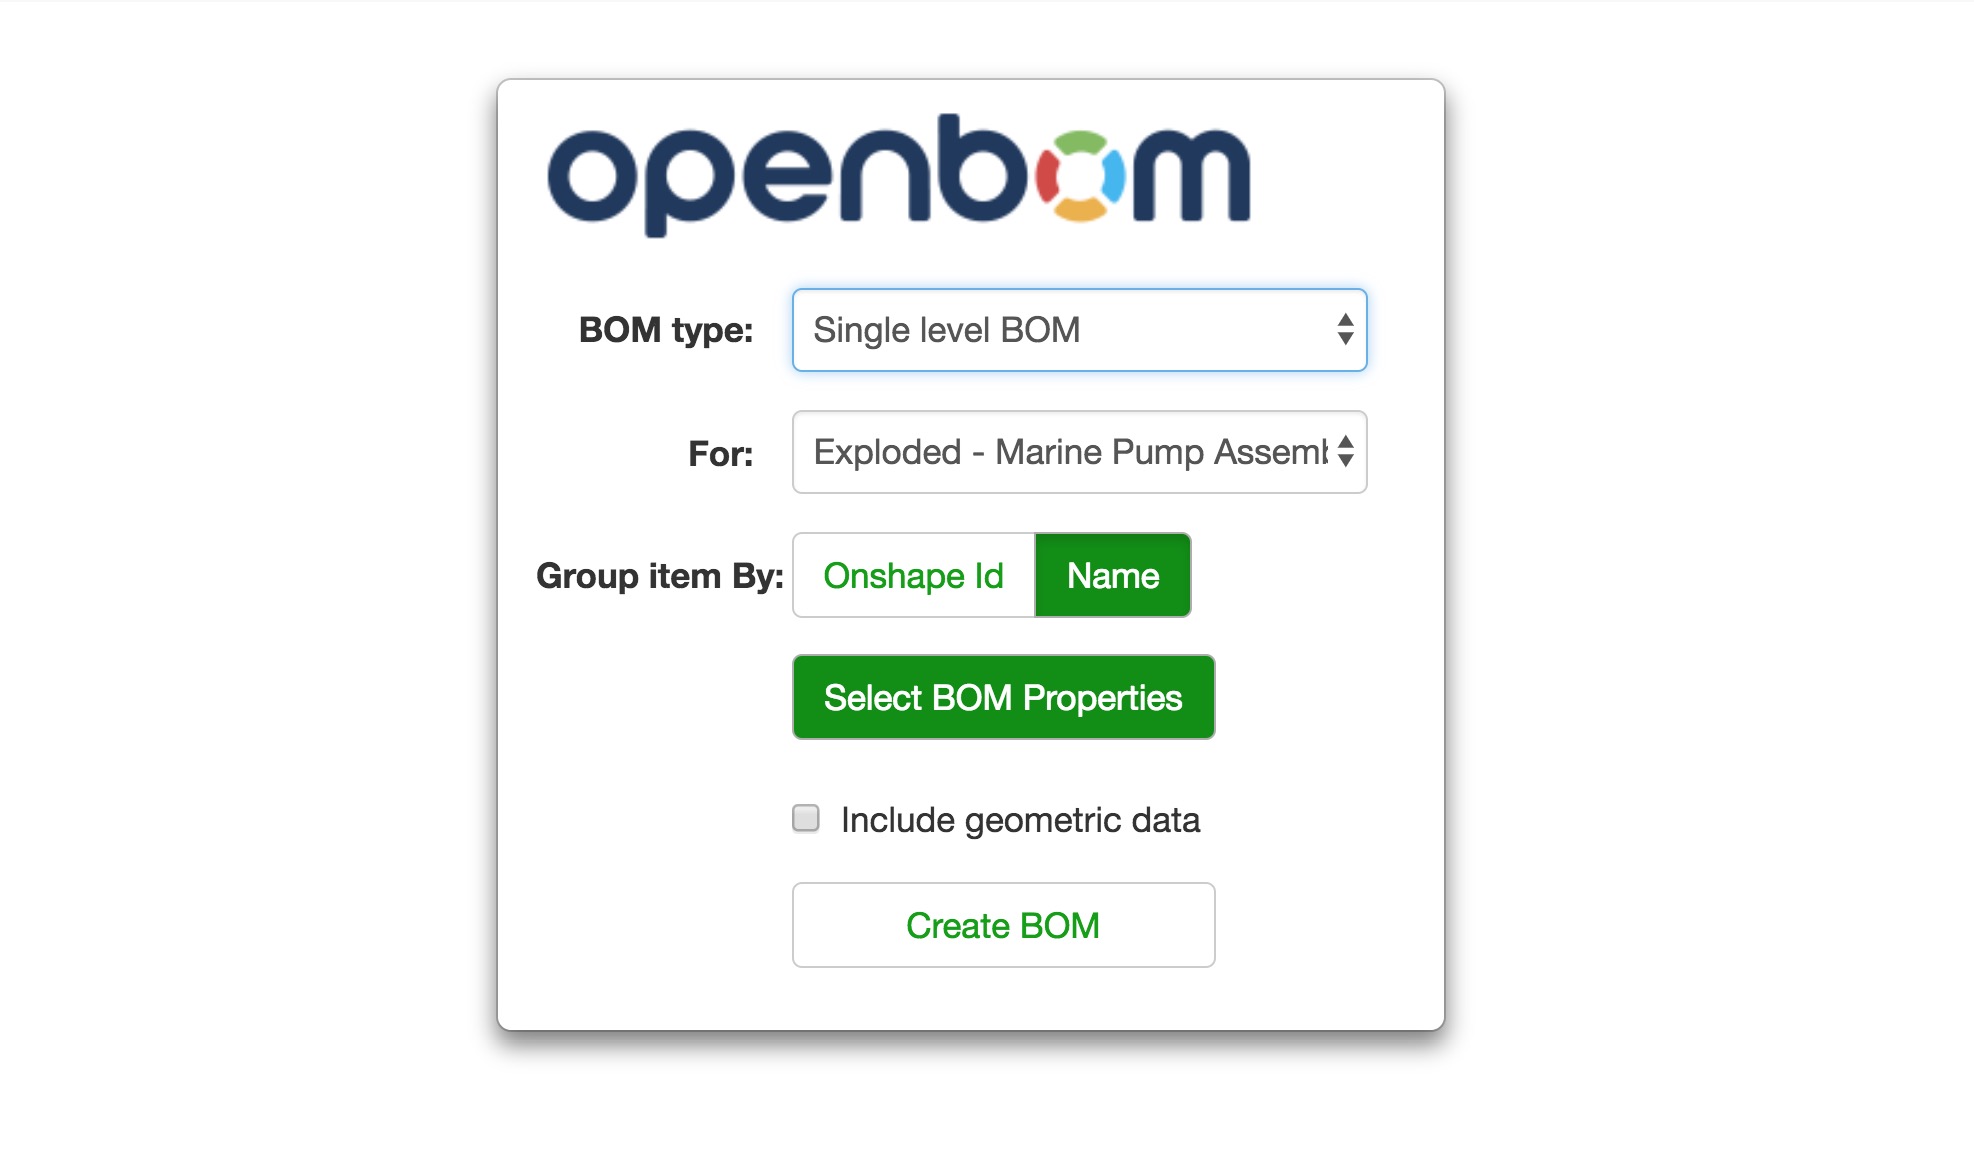
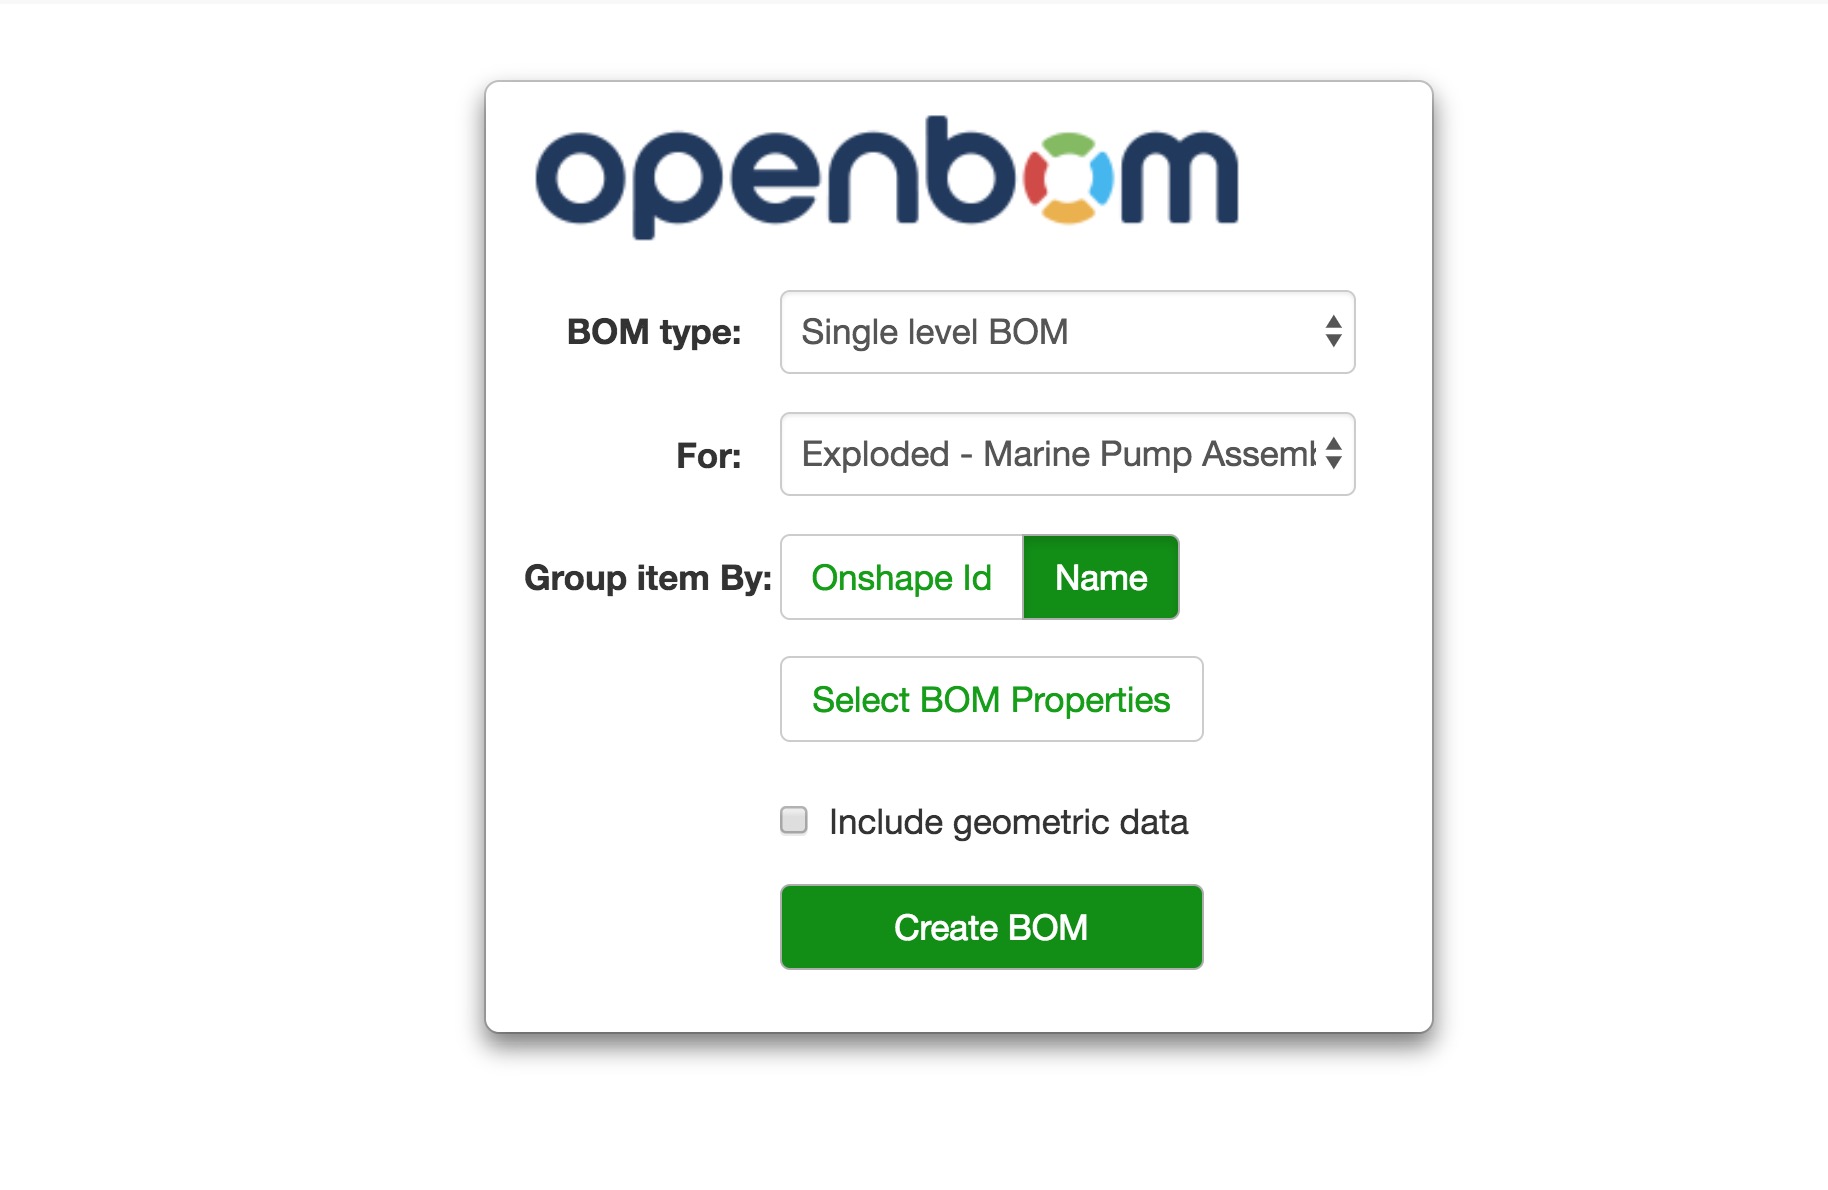
(2) Configure the type of BOM you’d like to create.
- BOM Type:
- Part List: Creates a BOM consisting of Parts from the chosen Assembly or Parts Studio.
- Single Level BOM: Creates a flat BOM consisting of all available Assemblies.
- Multi Level BOM: Create a multi-level BOM view from all available Assemblies and sub-Assemblies.
- Inventory: Create a part catalog
- “For:”: choose desired Assembly or Part Studio
- Name: Group all Parts instances with identical names together
- Onshape id: Group all Part instances together with the identical Onshape id
- Include geometric data: Add Onshape boundary box Width, Height, and Length dimensions to a BOM
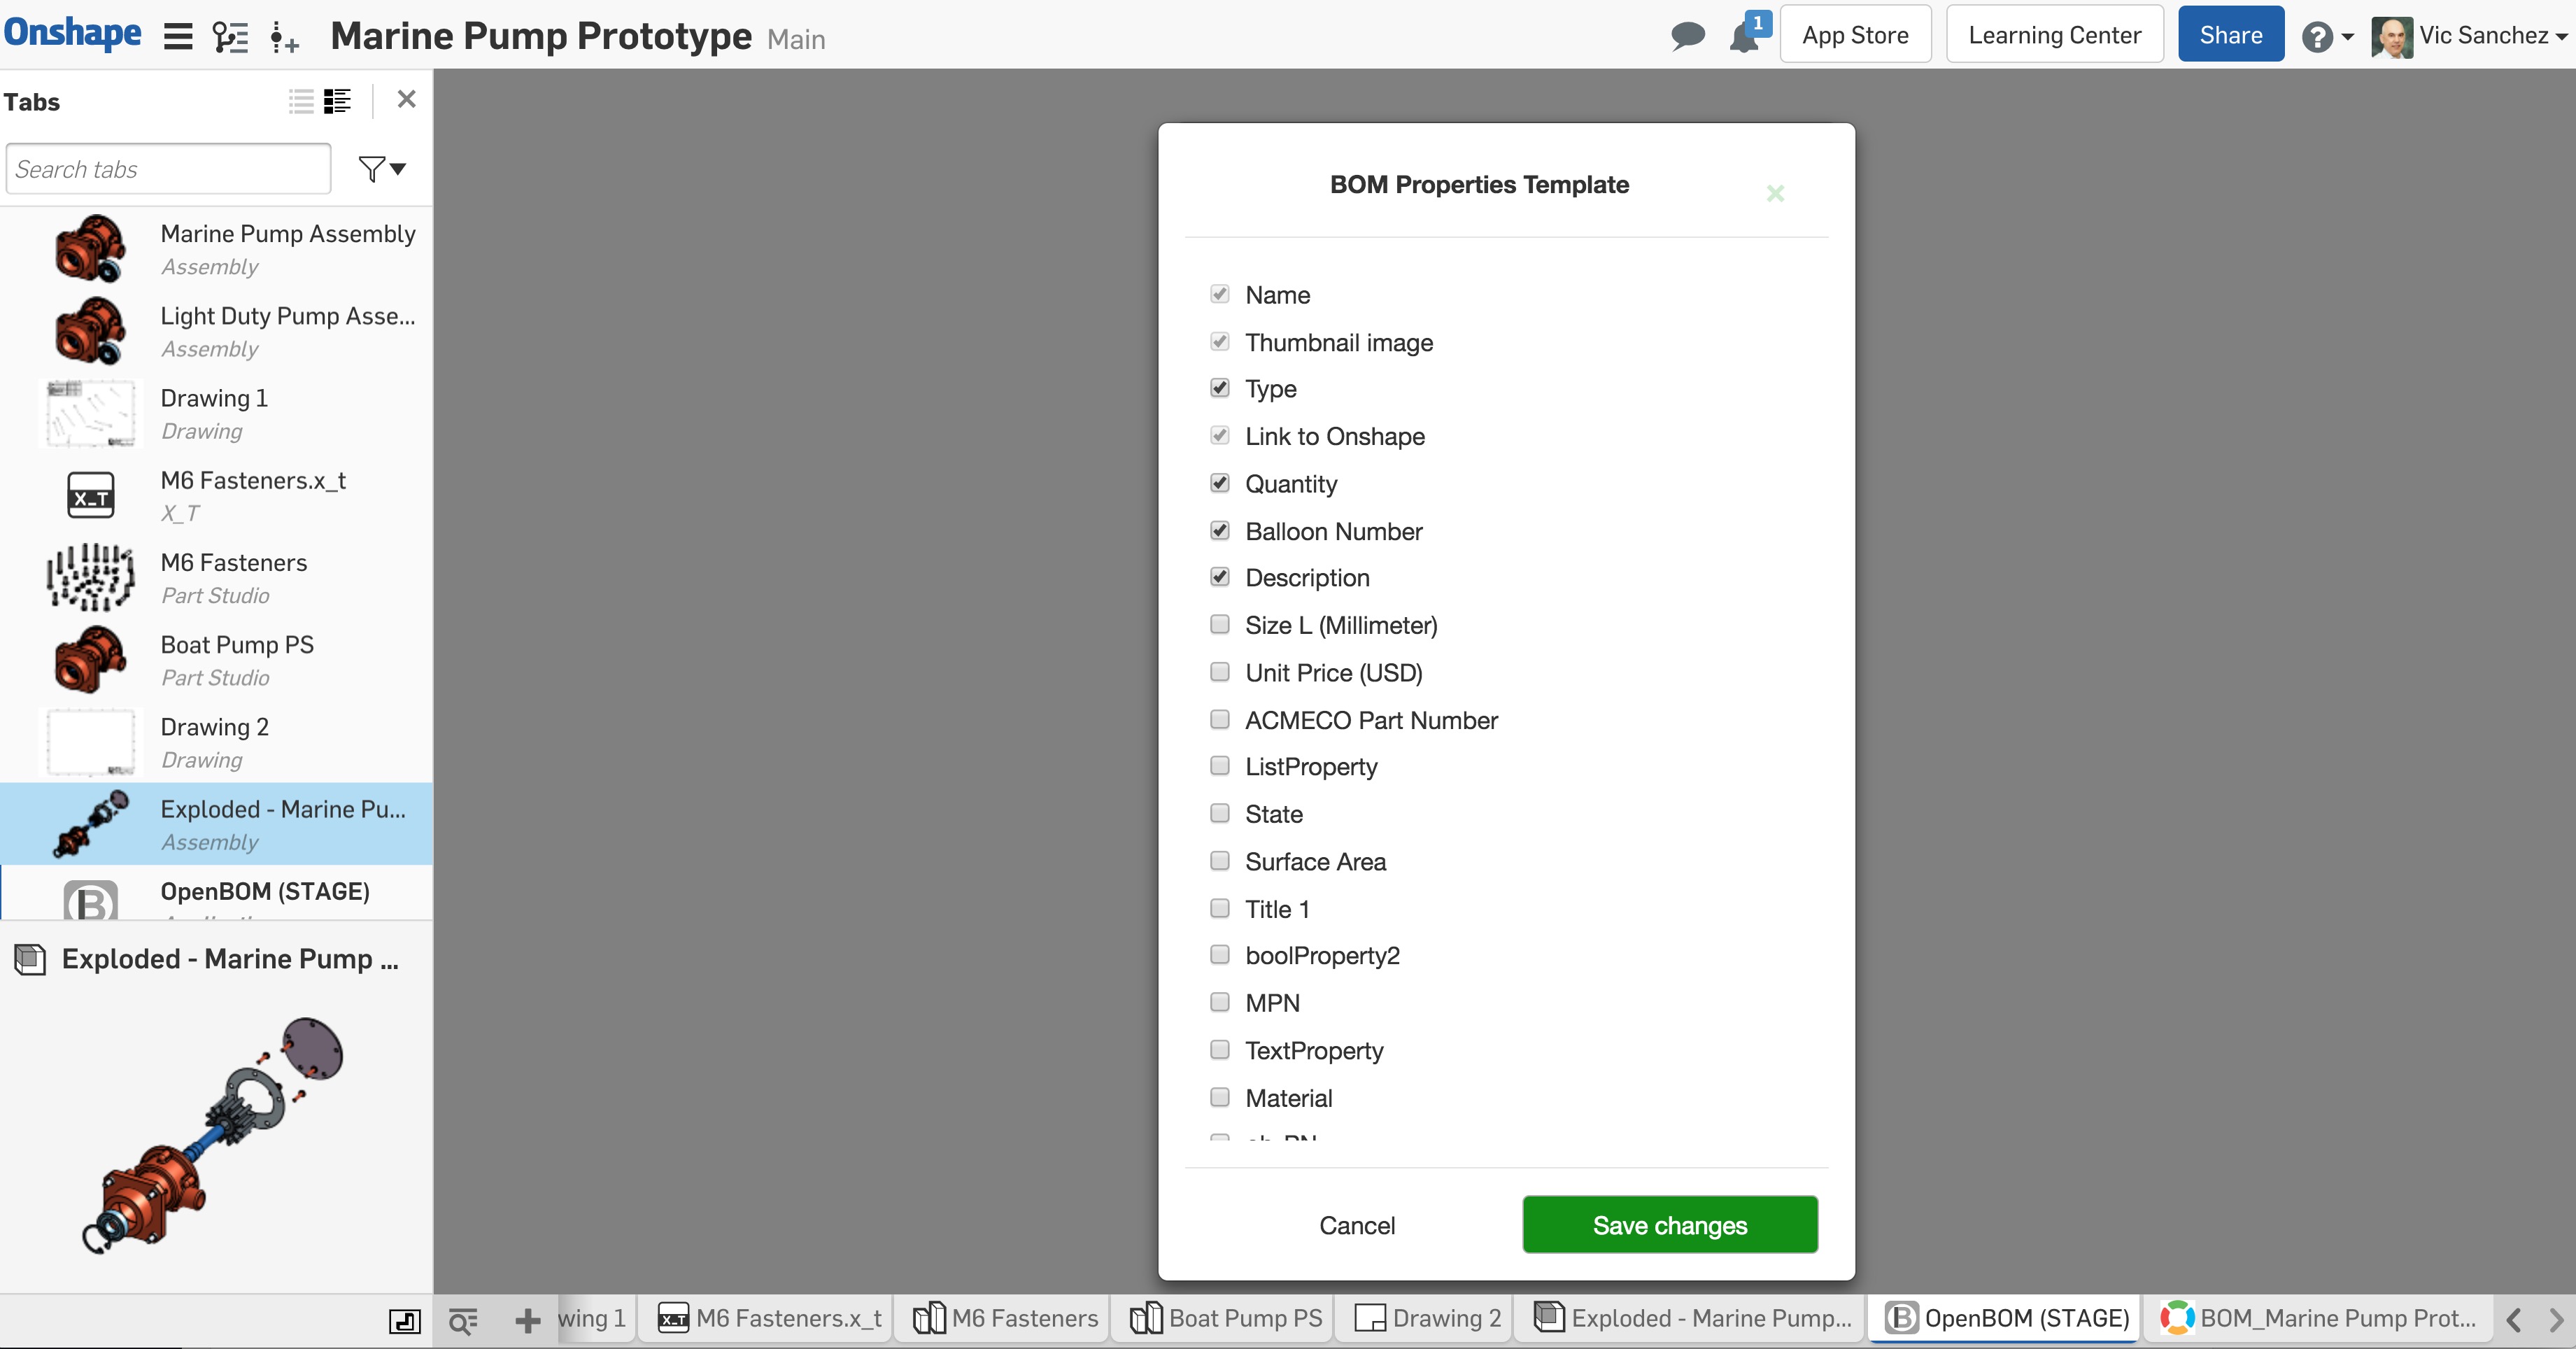
(3) Click “Select BOM Properties” to configure the BOM Template which determines what BOM Properties will be displayed on this and all subsequent BOMs until changed.
Here’s how the properties which are available for configuration by the Template look like. Make sure to click “Save changes” when done.
(4) Click “Create BOM”
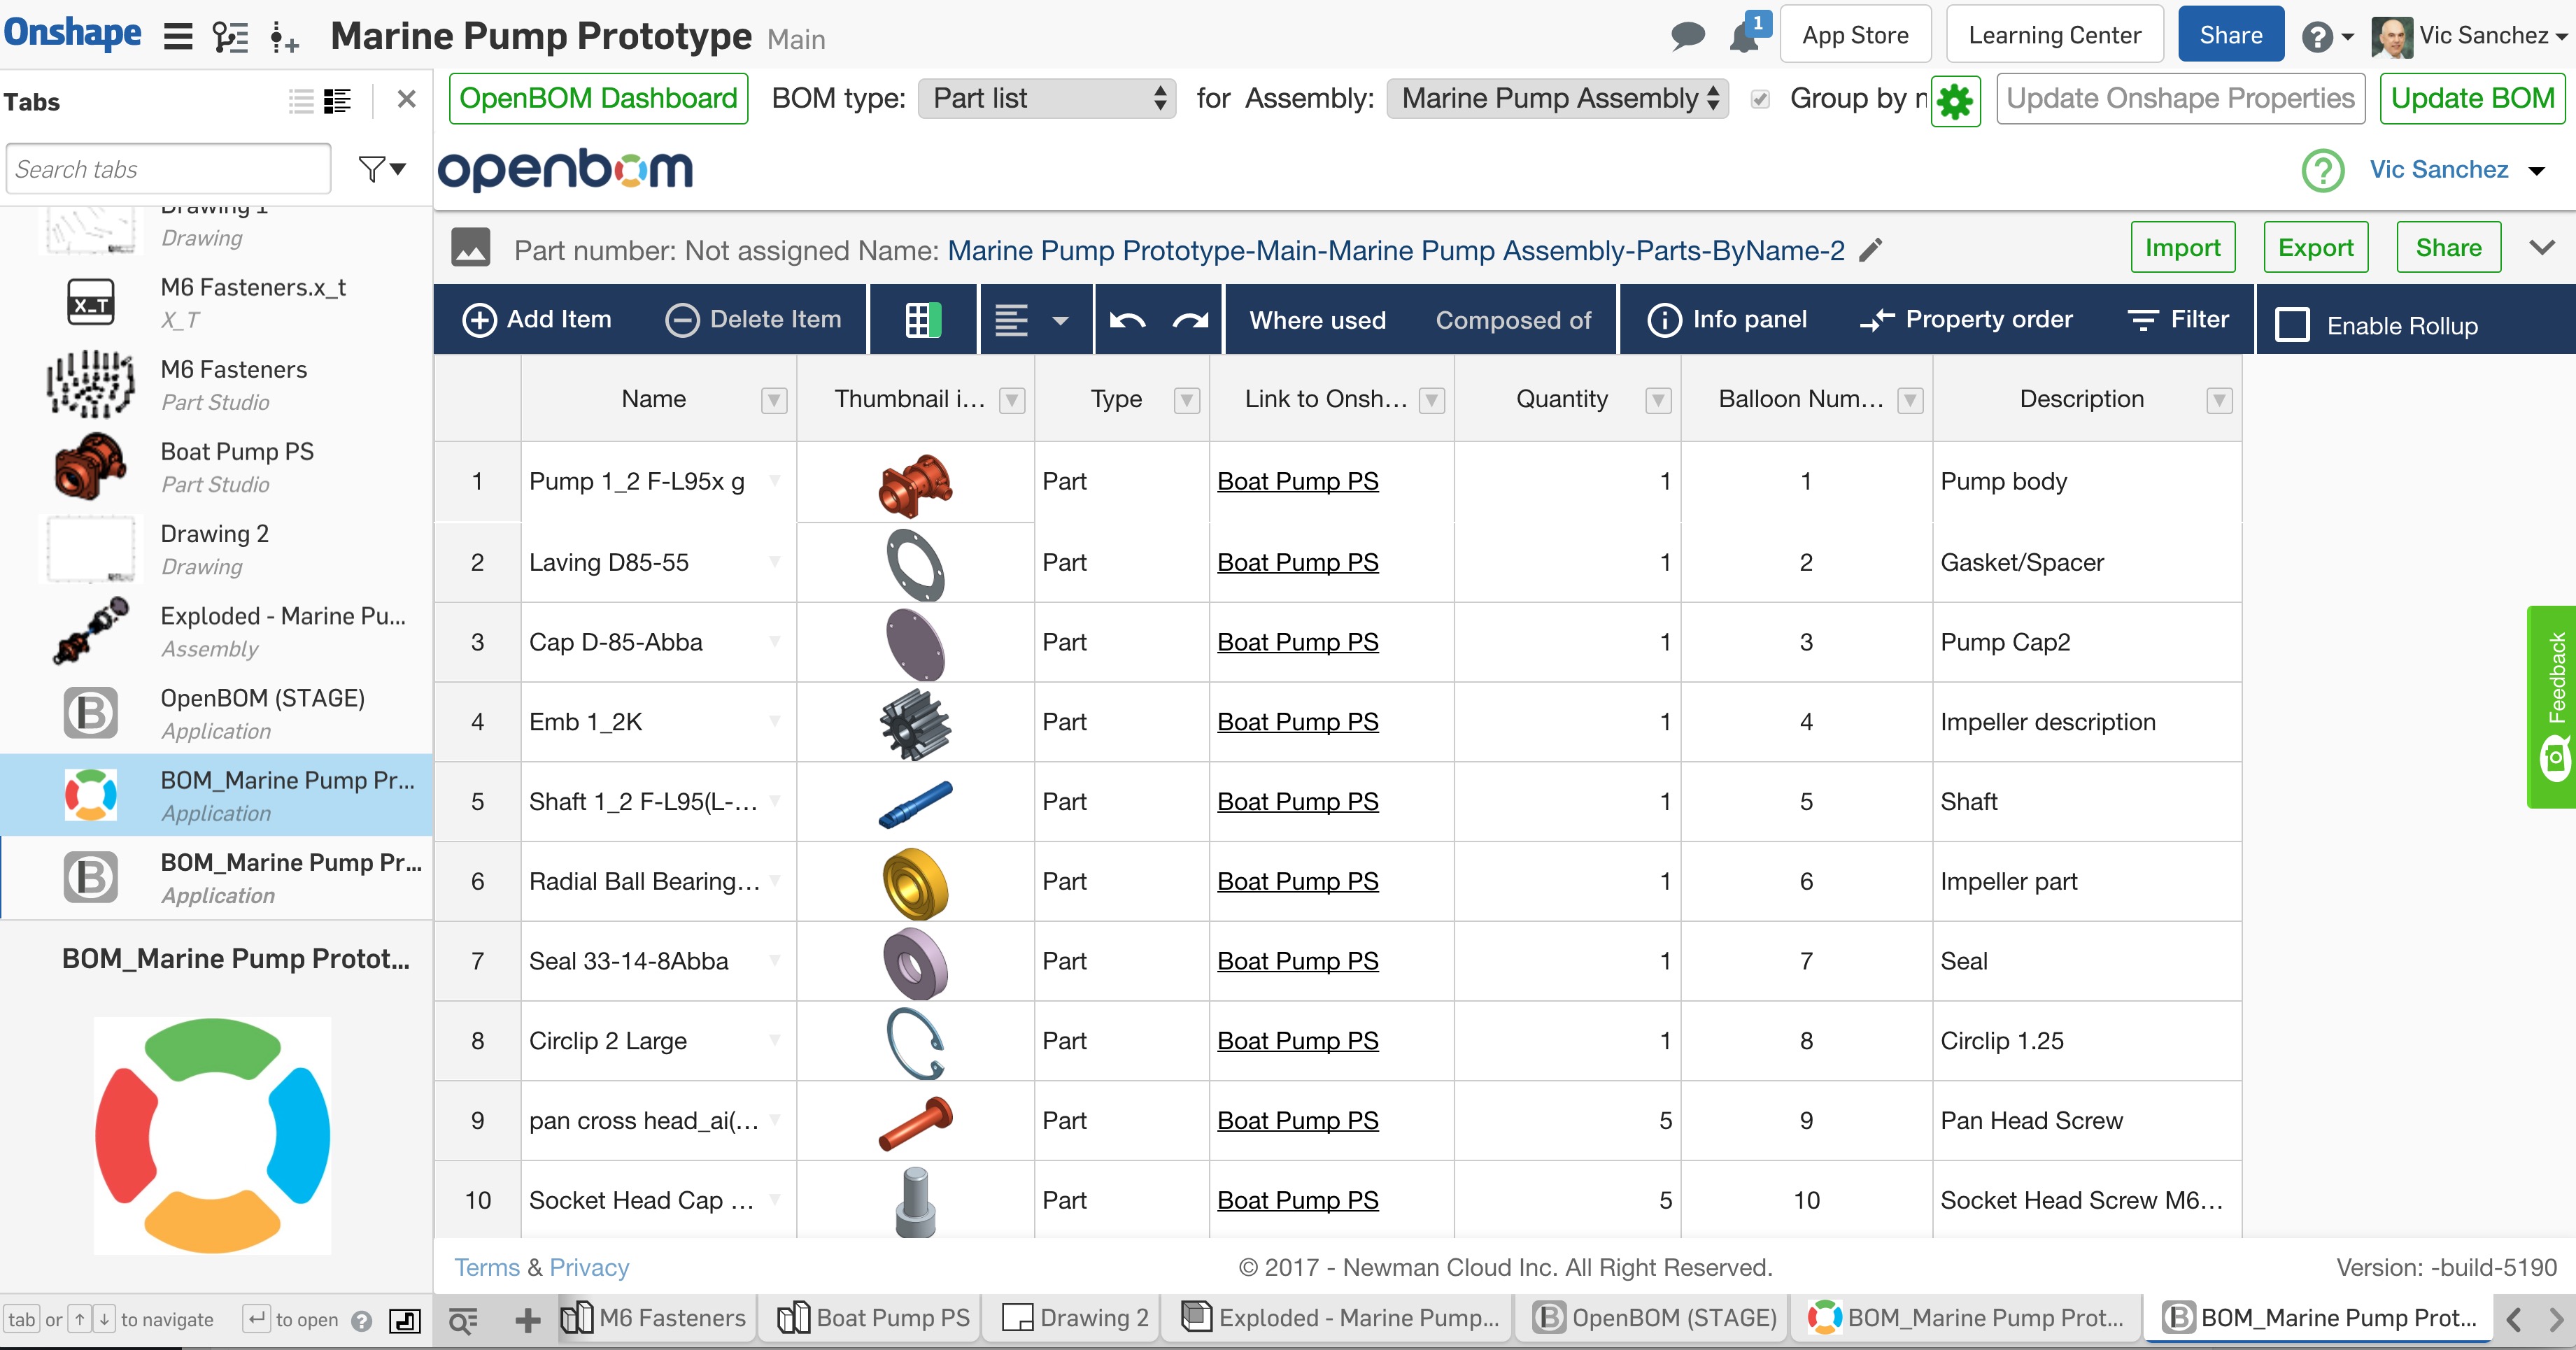
(5) BOM will be generated and you’re ready to work
App StoreBOMBOM Typescreatecreatingcreating a BOMgeometricgroup by nameInclude geometric dataOnshape BOM
