Solidworks integration with OpenBOM includes OpenBOM plug-in for Solidworks and File Explorer integration. The majority of this document covers the first one – OpenBOM plug-in for Solidworks. At the end, you can find a special chapter covering File Explorer integration.
OpenBOM plug-in for Solidworks document covers:
- Getting started and installing the plugin
- Configuring OpenBOM settings
- Creating a BOM
- Creating a Catalog
- Creating a Catalog from a directory of Solidworks parts
- Synchronizing OpenBOM property values with your Solidworks design
- Synchronizing CAD files and neutral geometry files (2D PDF and 3D PDFs) with cloud storage
A introduction to the Solidworks Plug-in here (4 minutes) :
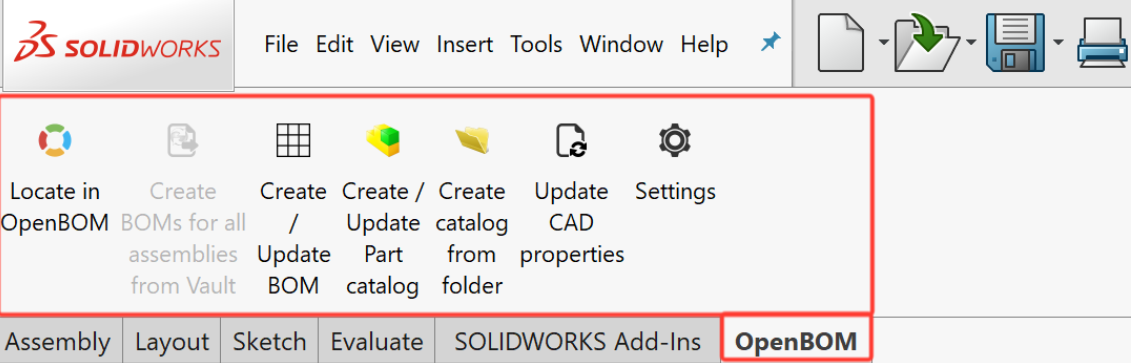
OpenBOM plug-in user interface.
Getting started is simple
Getting started requires two primary steps, creating an OpenBOM account, and downloading and installing the Solidworks plugin
If you don’t have OpenBOM account, register for free OpenBOM account (on http://openbom.com).
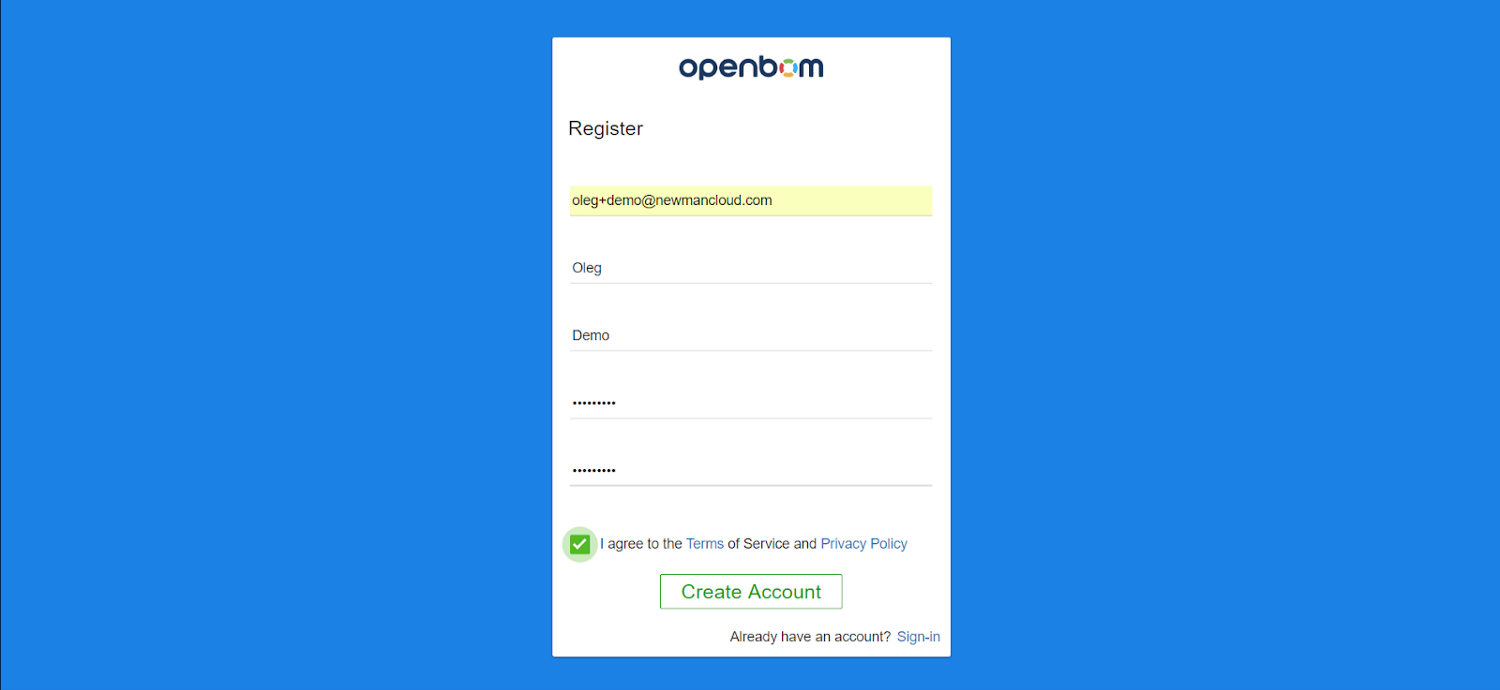
You MUST verify your registration by clicking the link you will receive in your email.
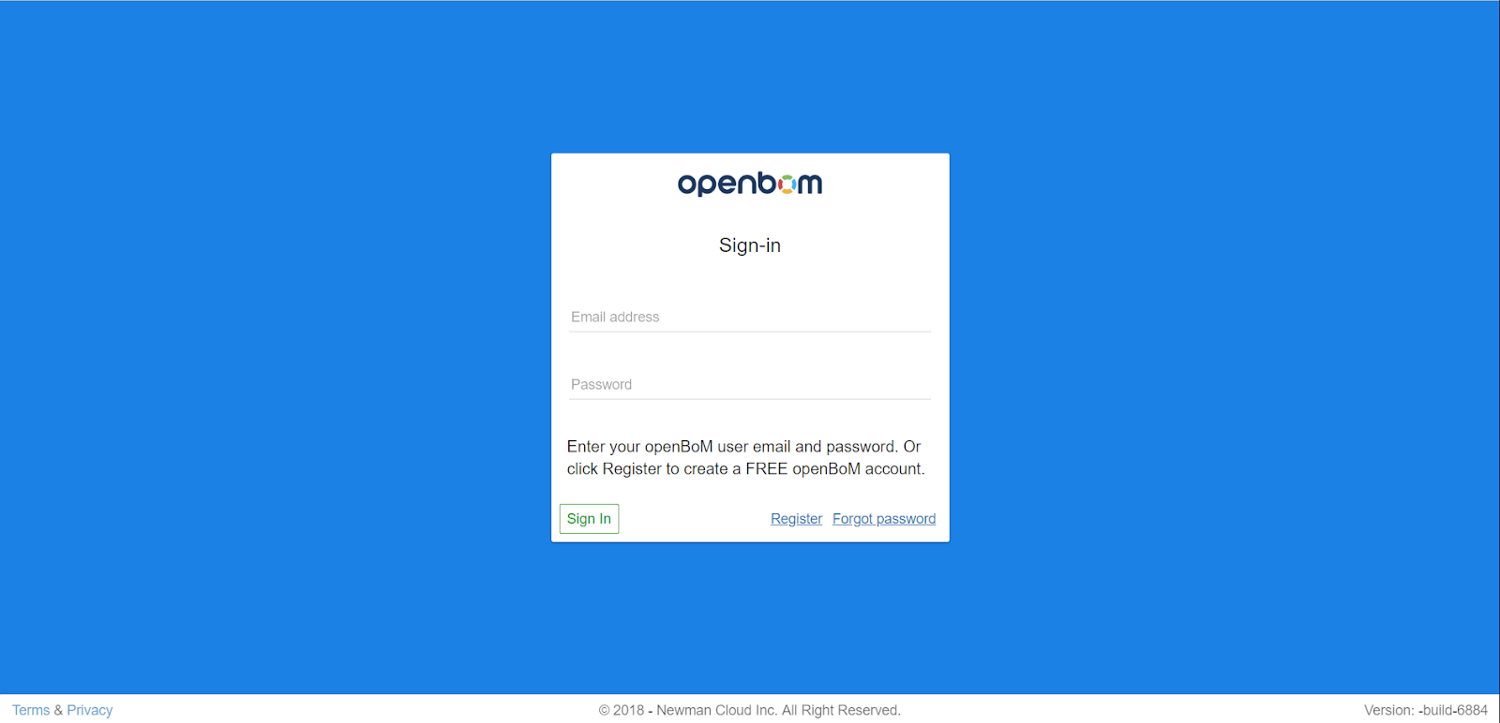
Goto sign-in to OpenBOM (http://bom.openbom.com) with your new account credentials.
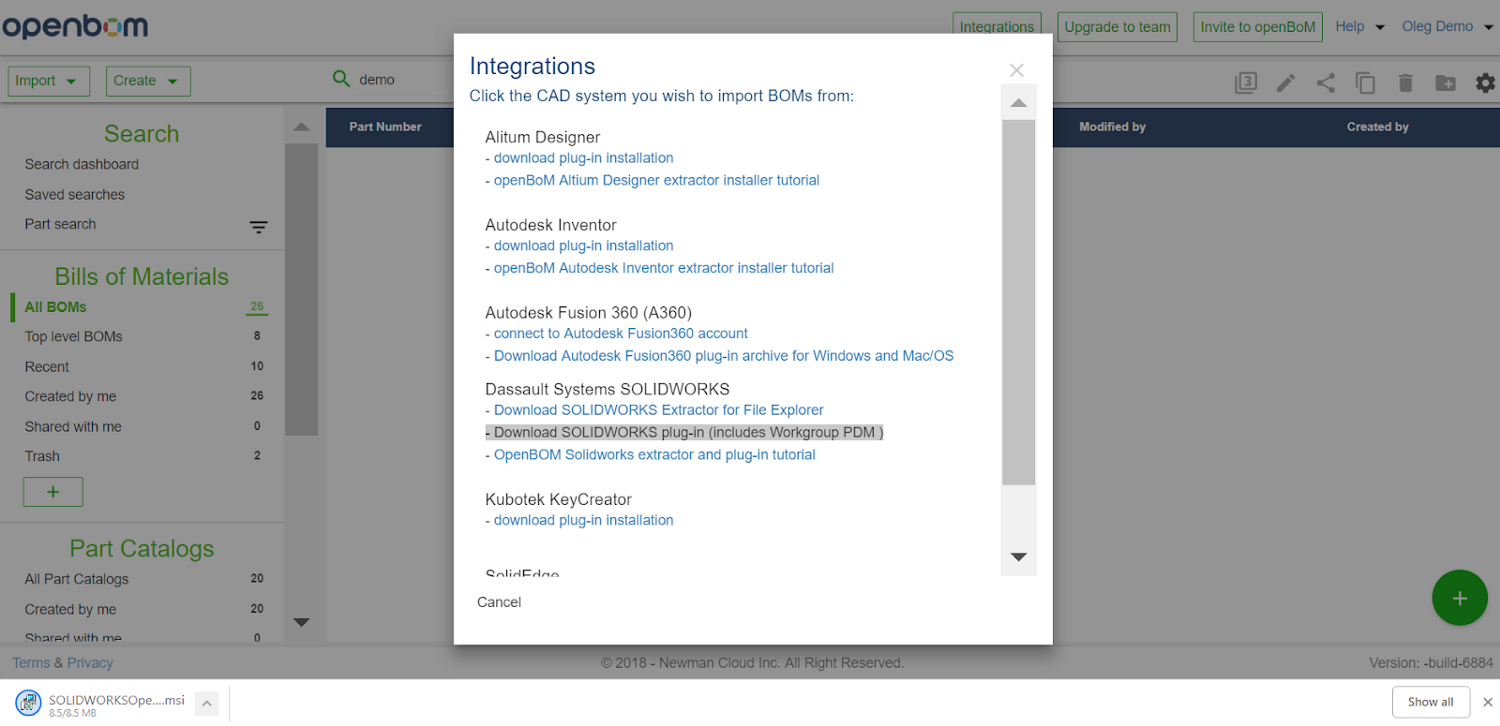
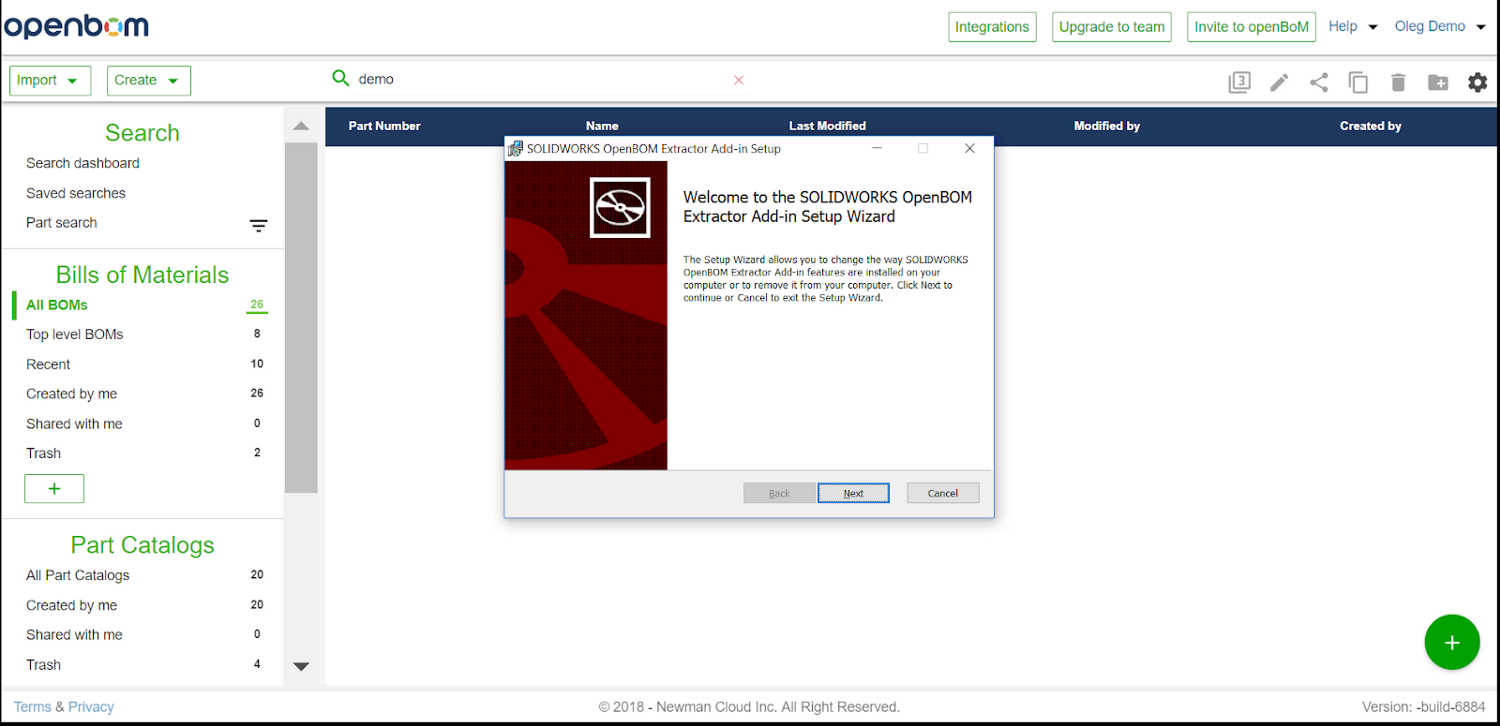
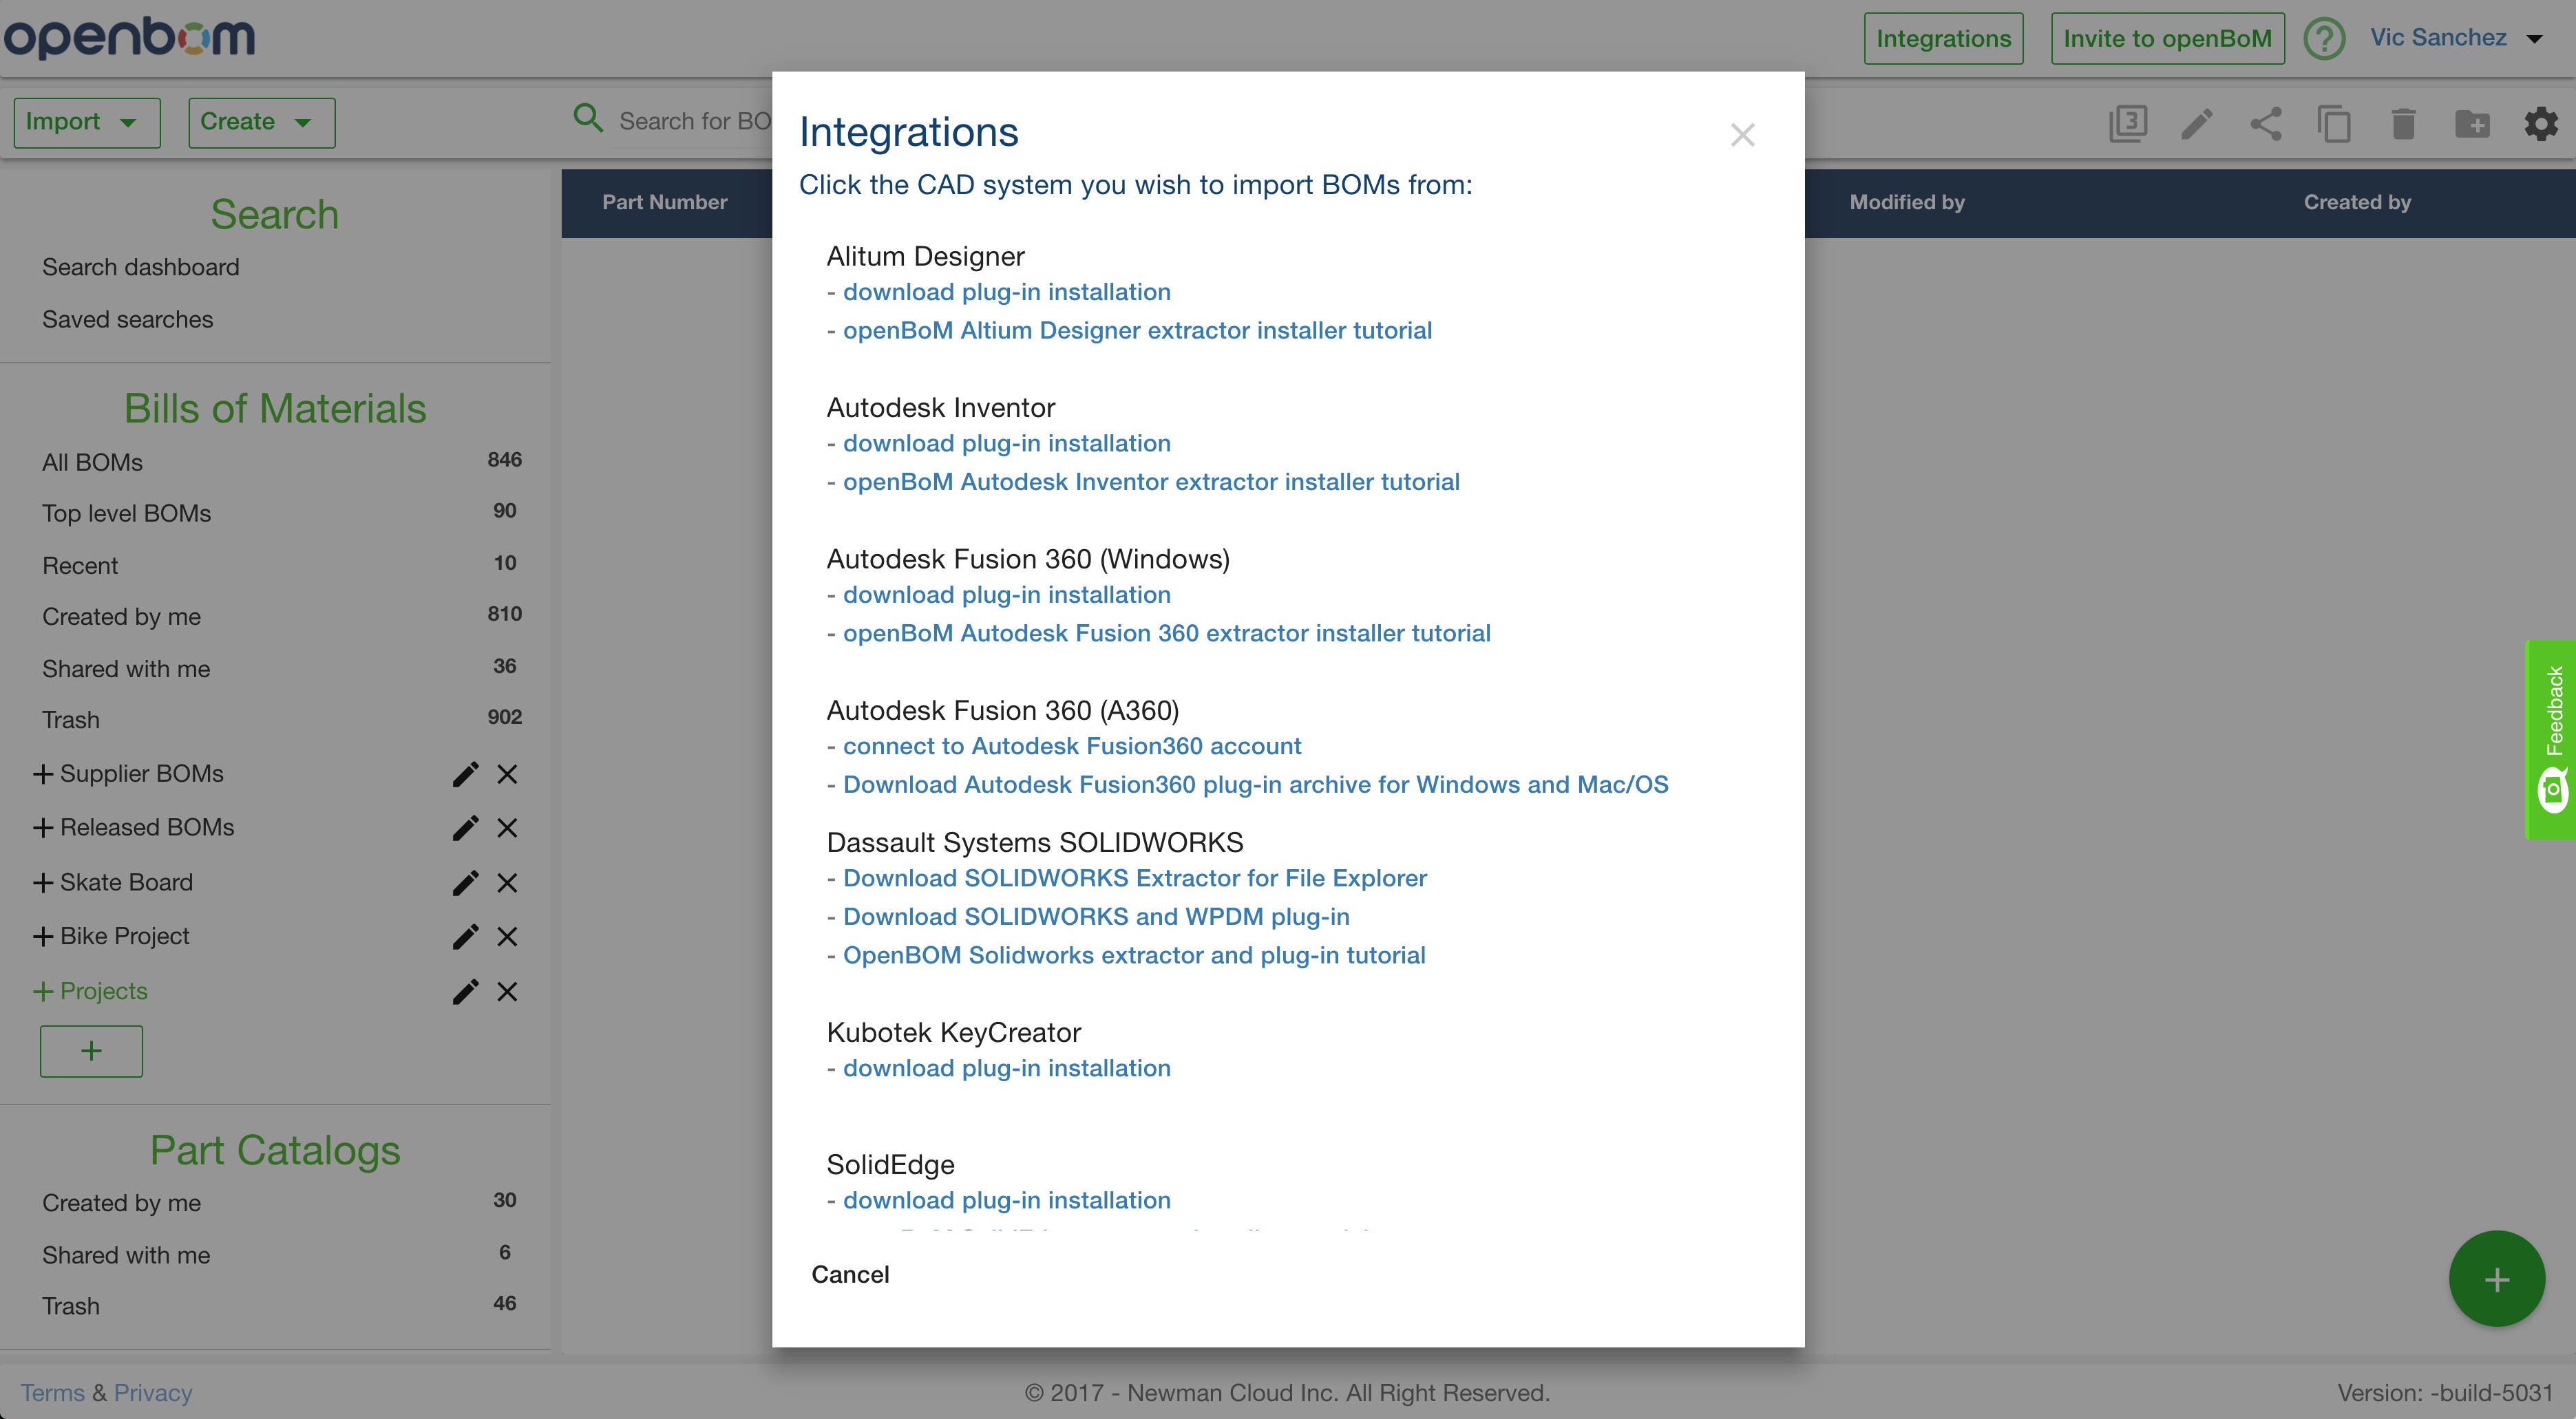
From the OpenBOM dashboard click the “Integrations” button in the upper right and download the plug-in as shown below.
Install the Solidworks plug-in for OpenBOM. Click through until installation is complete.
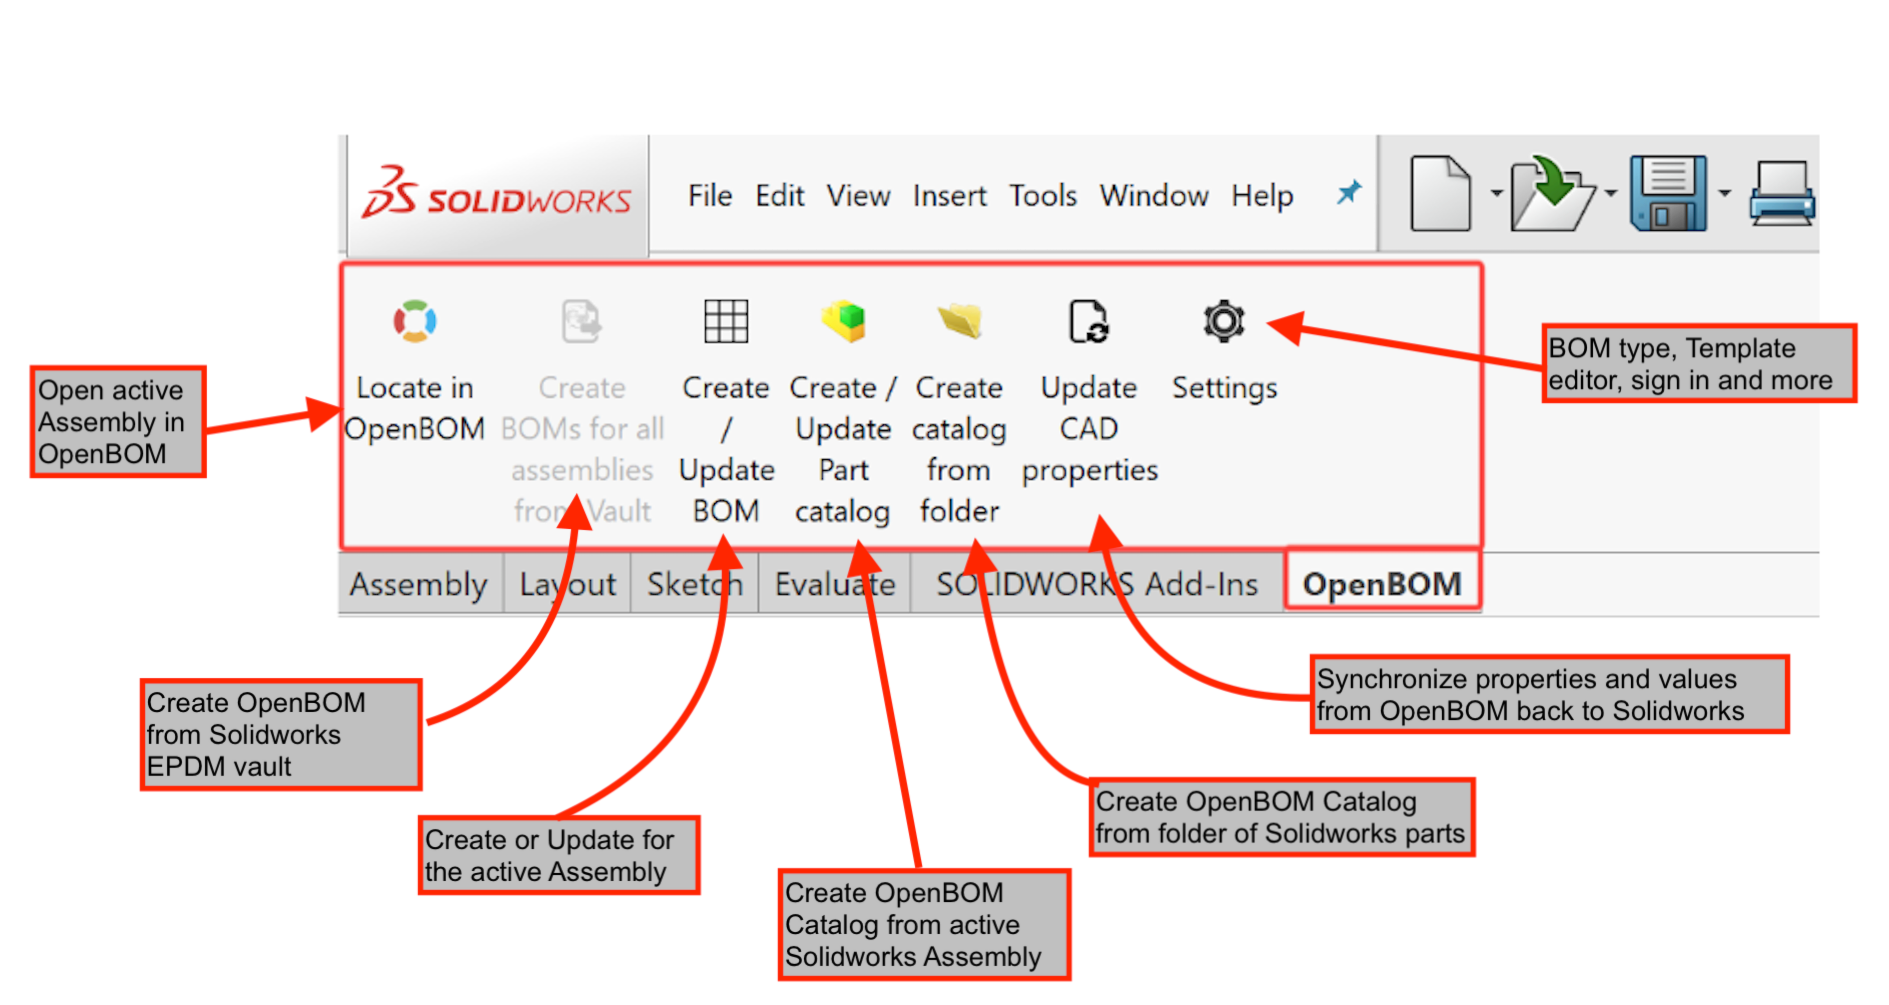
The OpenBOM UI at a glance
Configuring OpenBOM settings
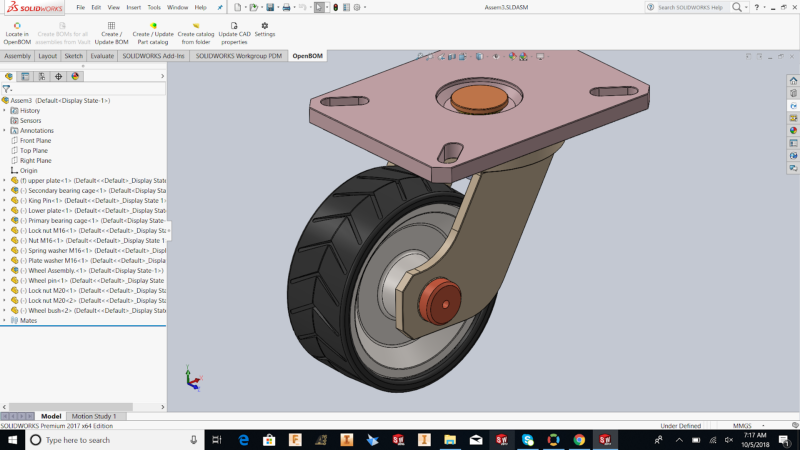
Configure OpenBOM with your account information and other settings. Start by opening one of your Solidworks assemblies so the OpenBOM UI will appear.
Click Settings to configure OpenBOM with your account and other preferences. Start by providing the email address and password for the account you just created in the first step.
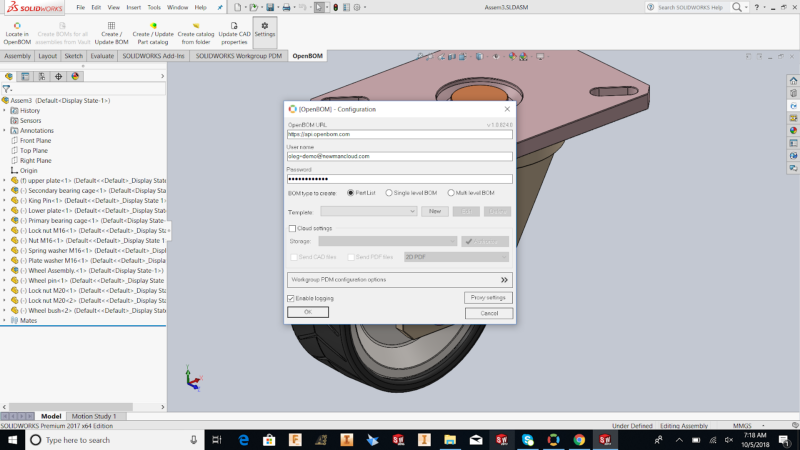
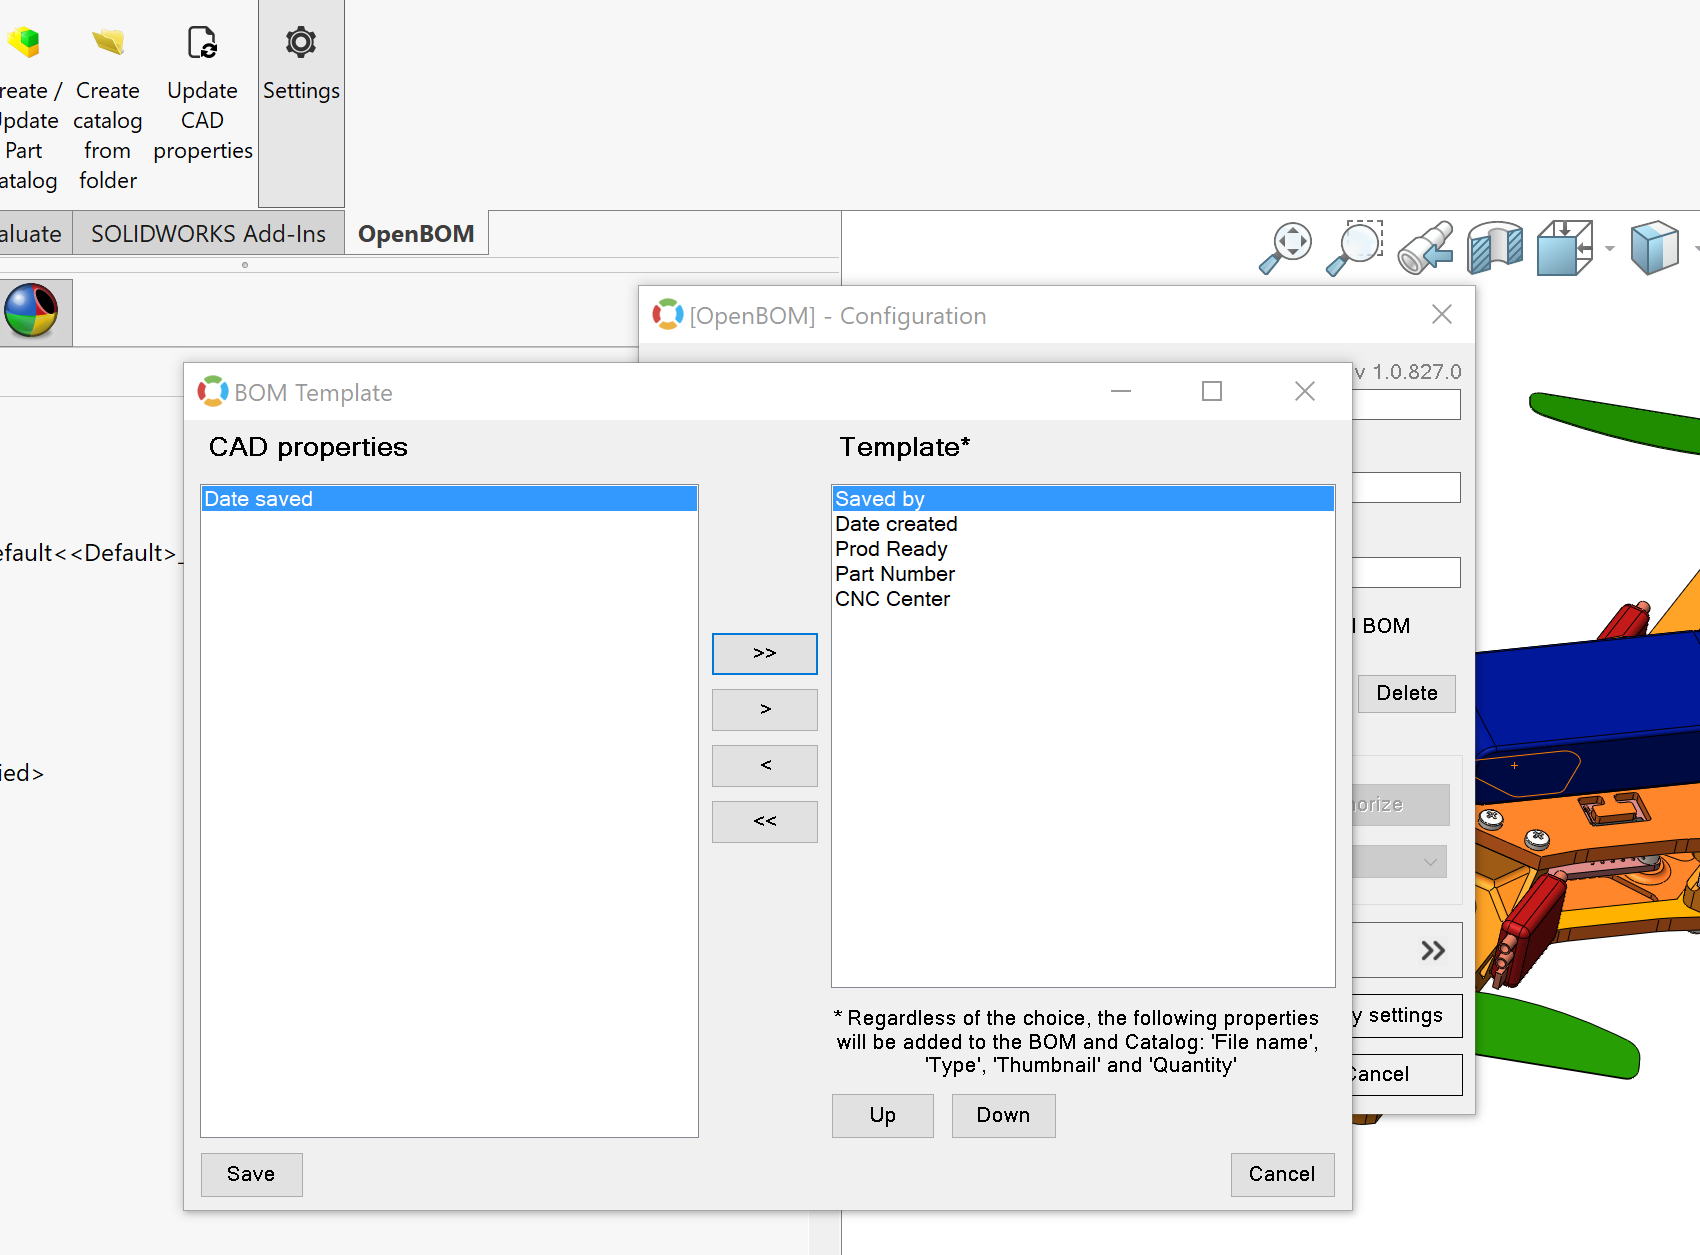
Next, create a New template and add the appropriate properties from the assembly to the BOM template.
Creating a BOM
Now that the settings are complete, creating a BOM is easy. Open the settings dialog once more and specify the BOM type you wish to create, in this case choose “Parts list”. Save the settings.
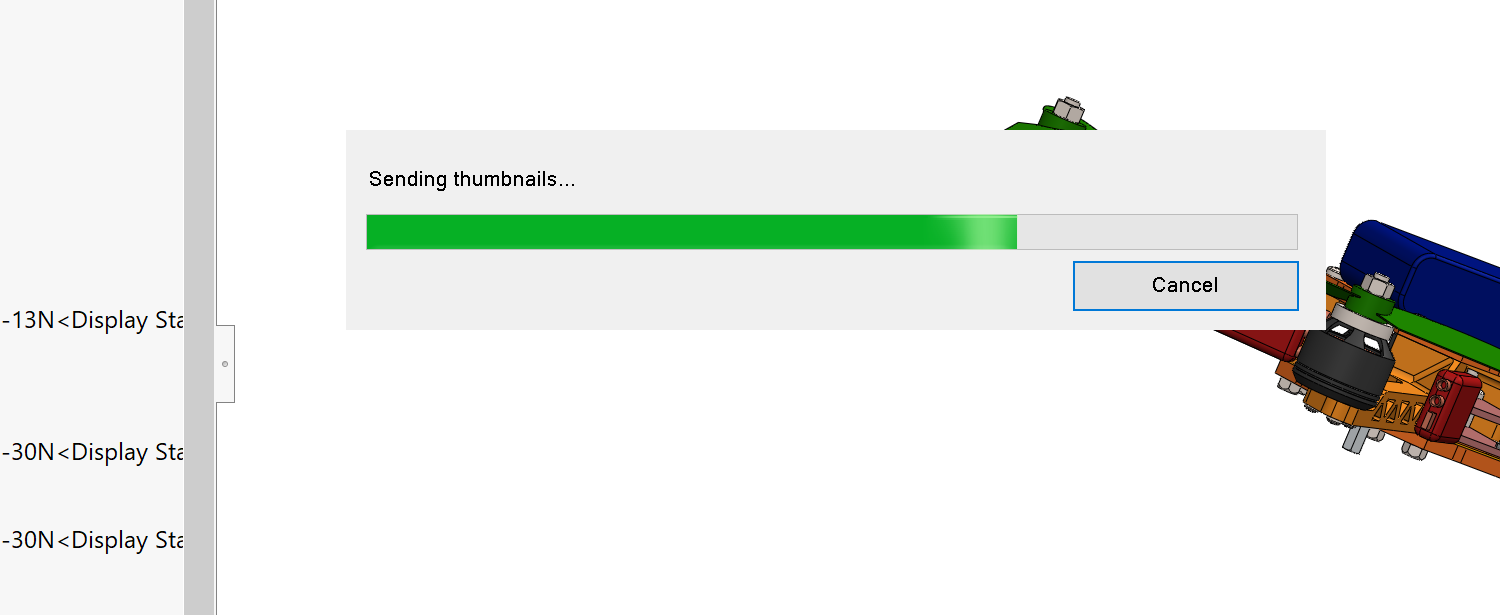
Click on the Create/Update BOM icon and OpenBOM will create a BOM. A progress bar will appear….
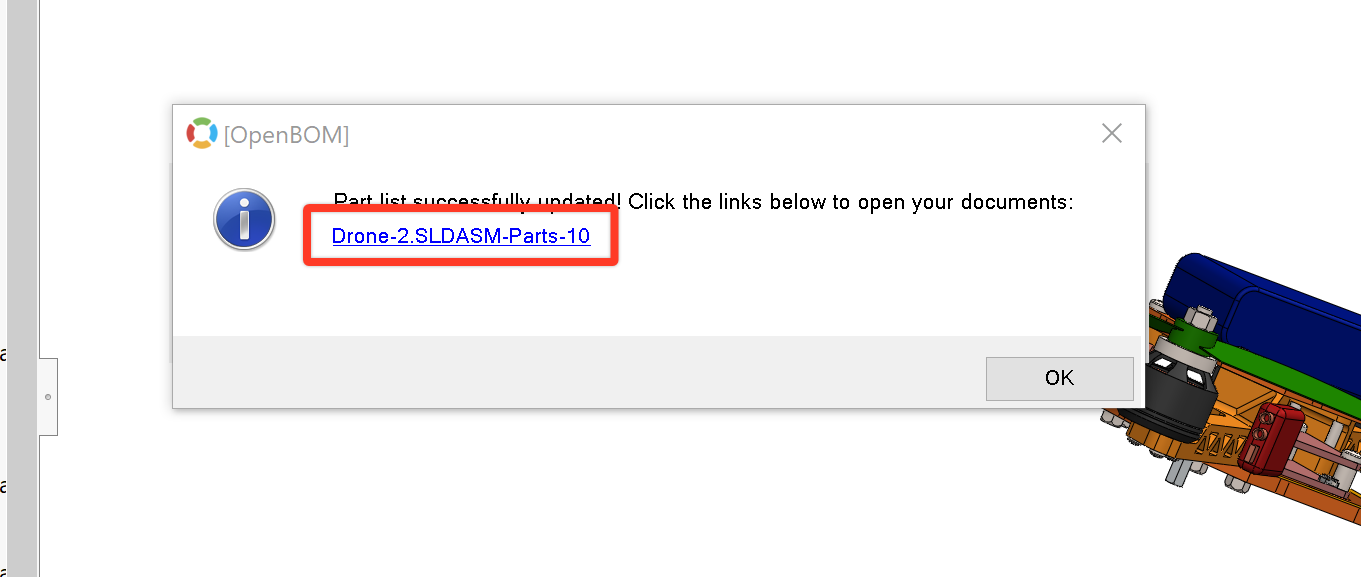
OpenBOM will show a message when the BOM is complete, click the link to open the BOM.
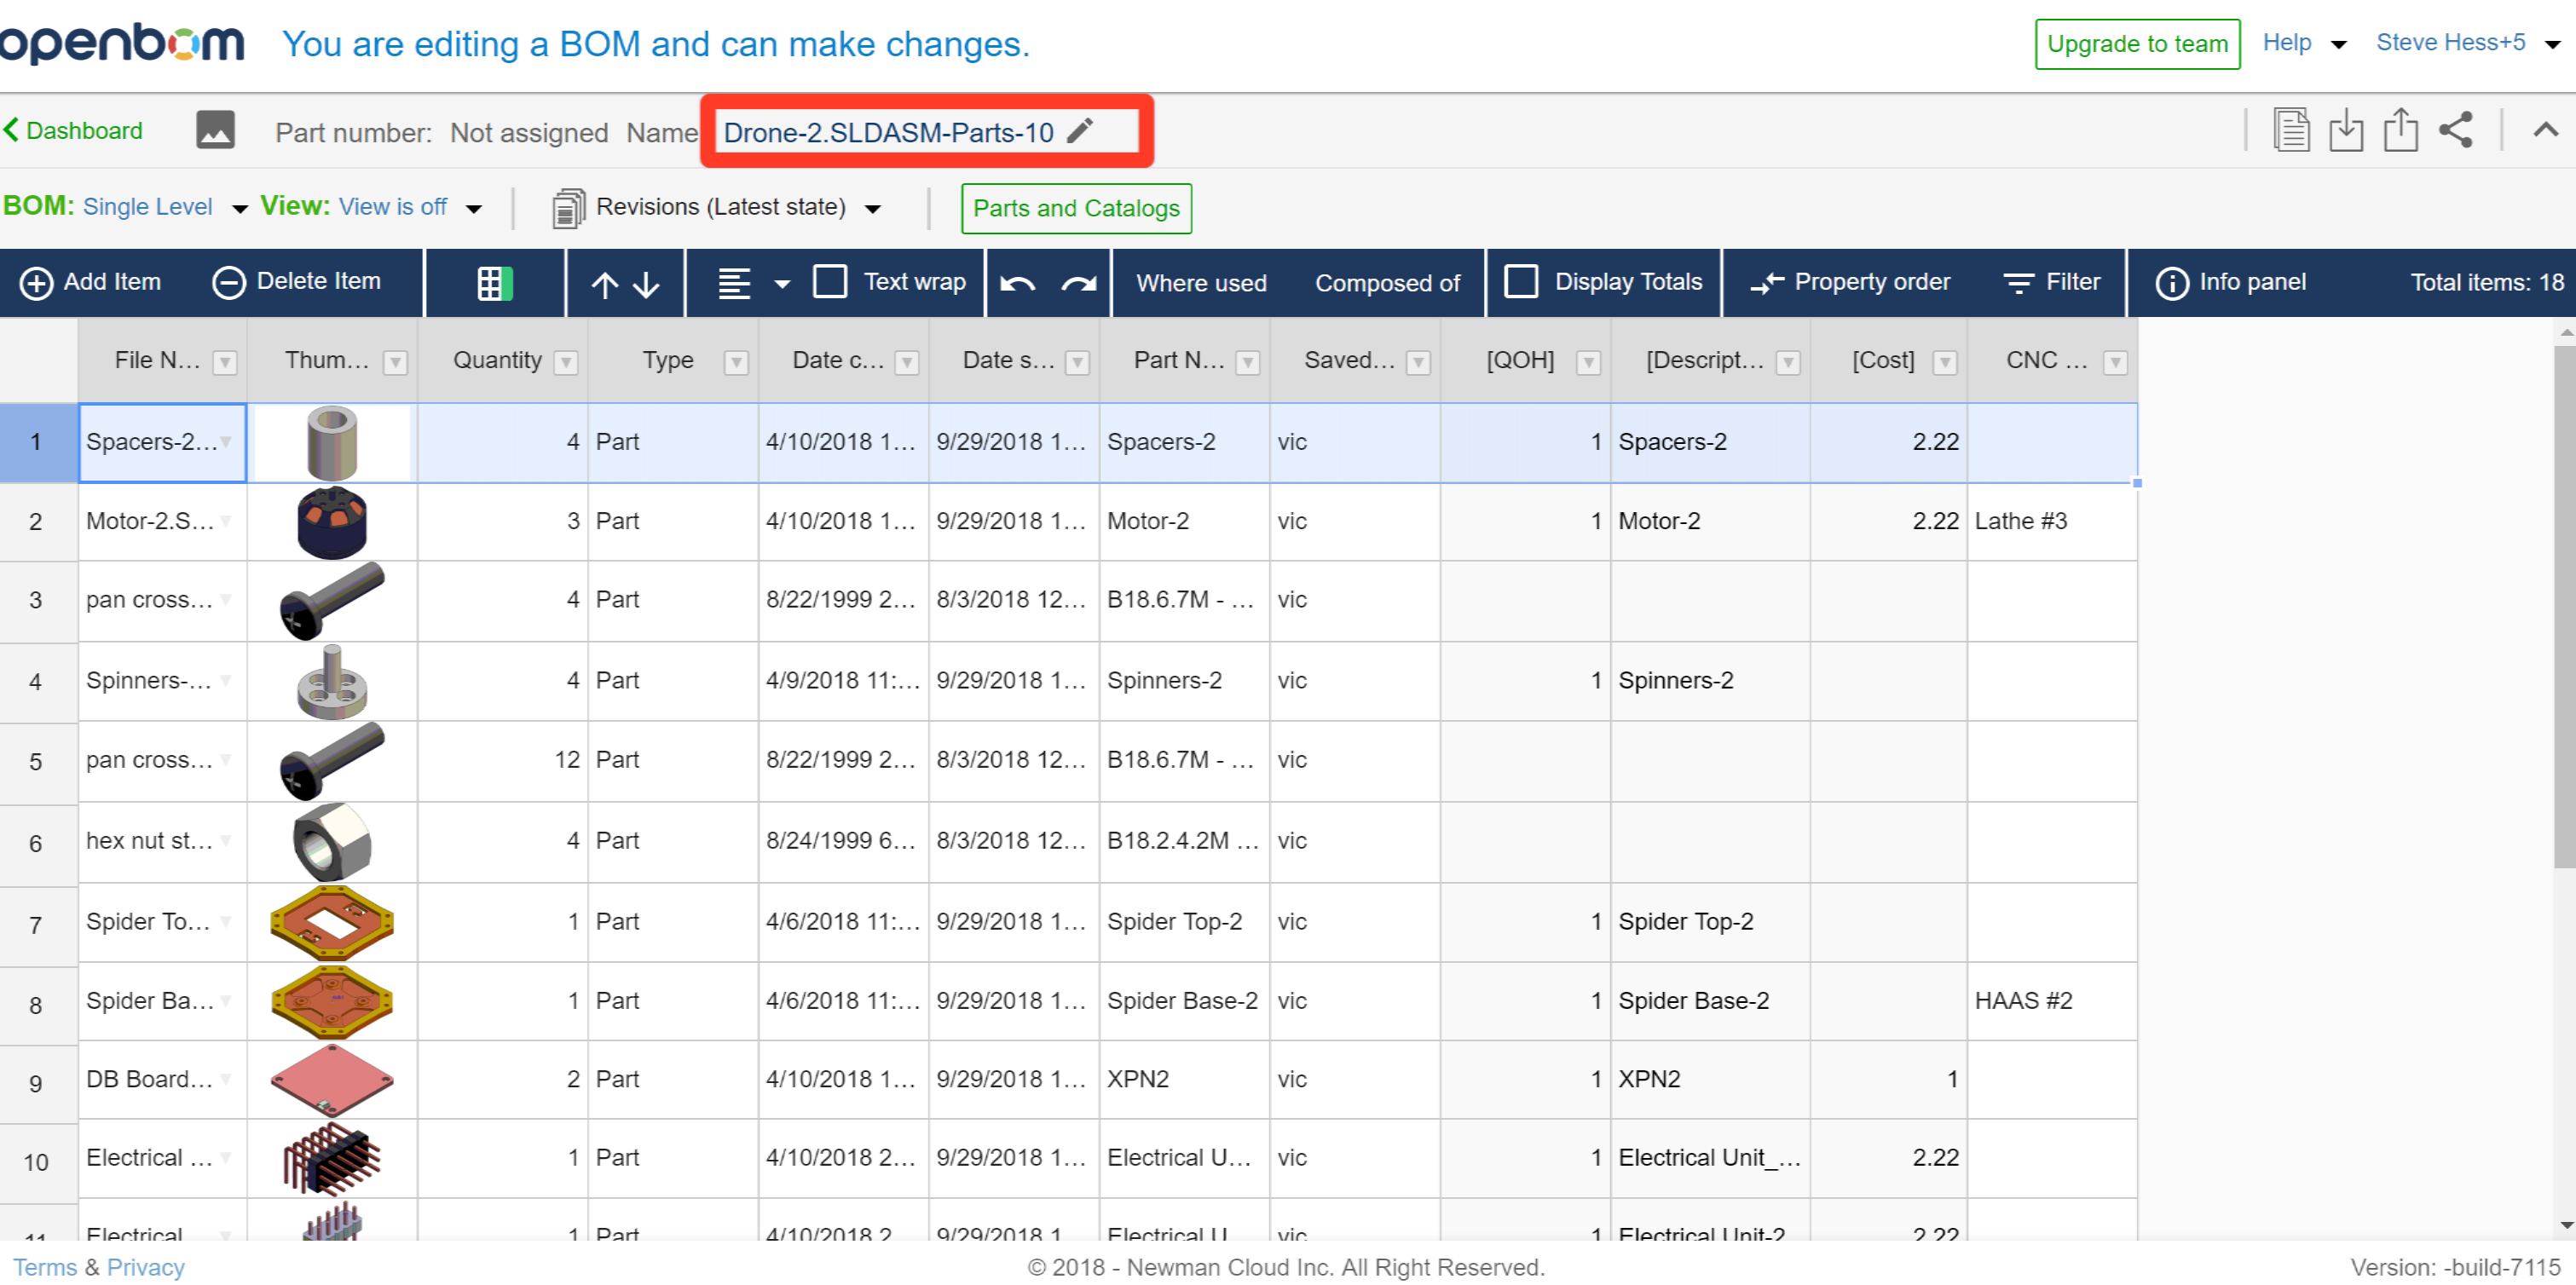
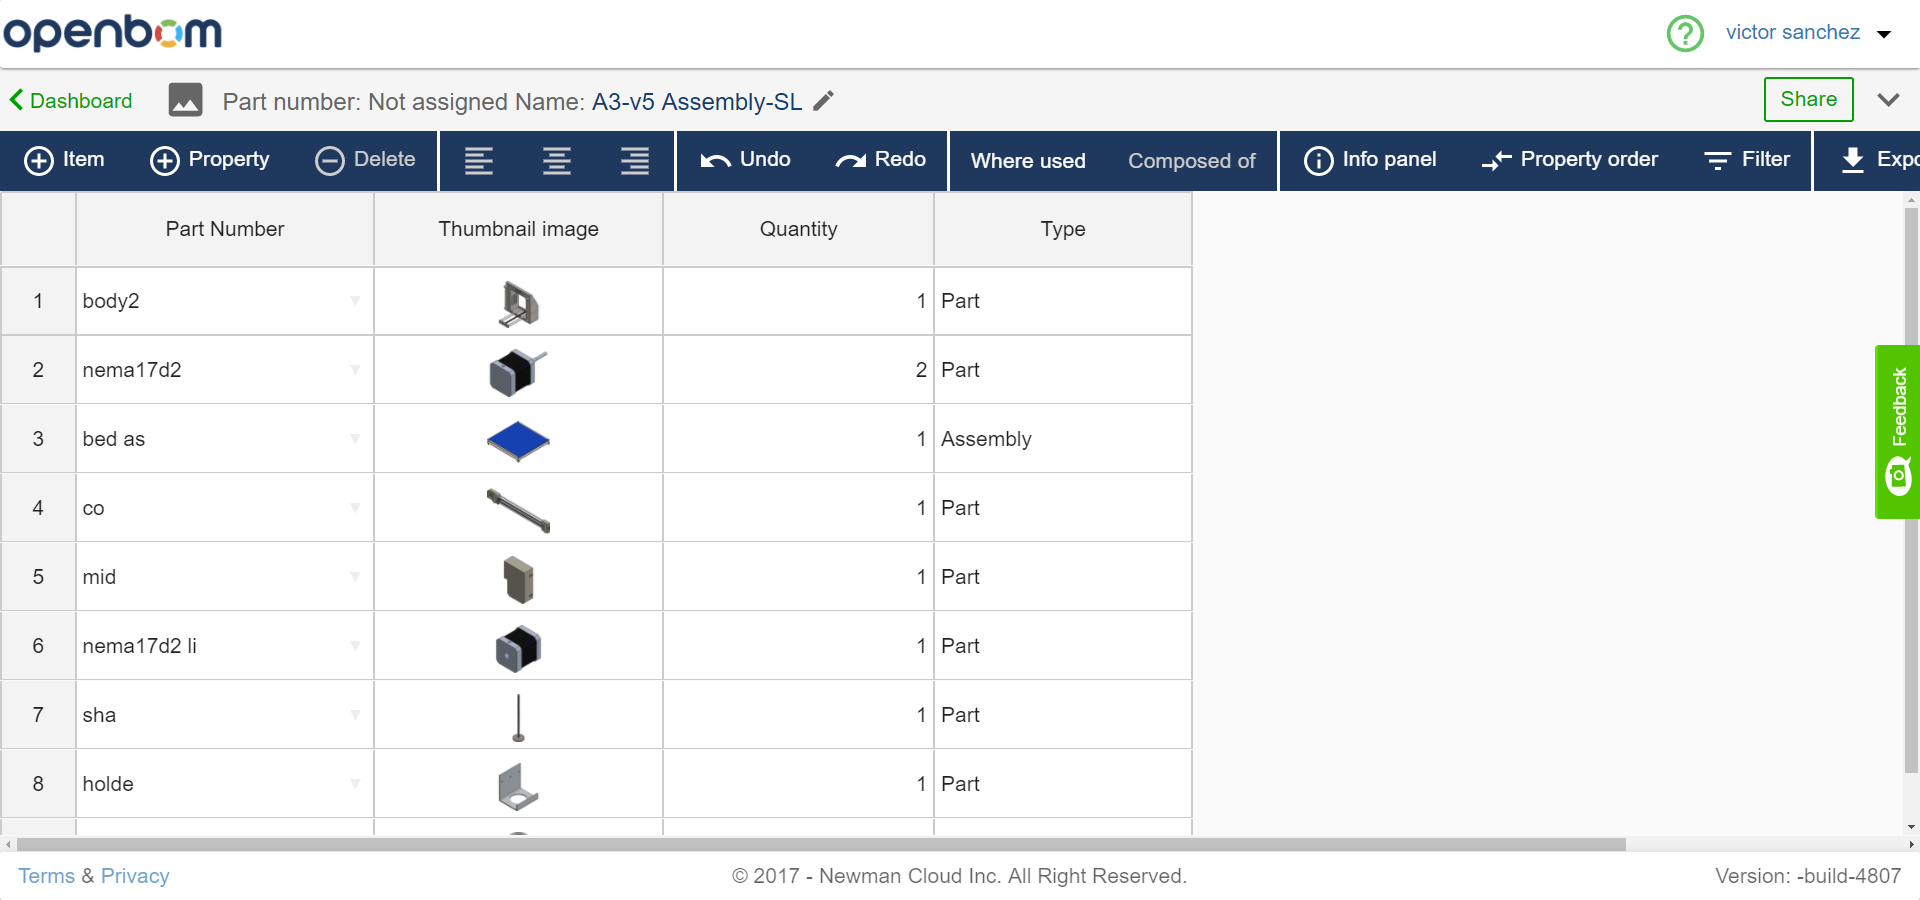
OpenBOM will display the Parts List for the active assembly.
Open the settings again to experiment with the other BOM types – Single Level and Multi Level.
Creating a Catalog
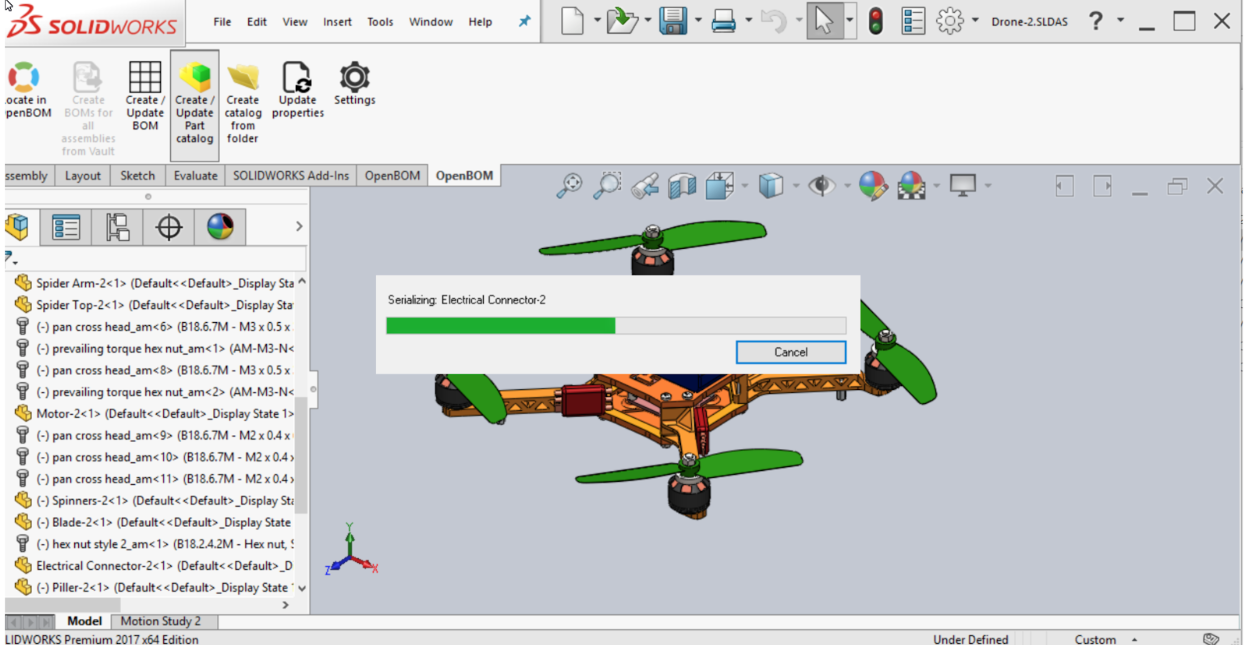
Create OpenBOM Catalog from Solidworks Assembly allows you to create a Part Catalog from a Solidworks Assembly. It’s very easy. You can later update the Part Catalog by opening the Solidworks assembly and clicking Create/Update Catalog….
The image below shows the screen during the Solidworks Create Part Catalog from Assembly operation.
Create Catalog from directory of Solidworks Parts
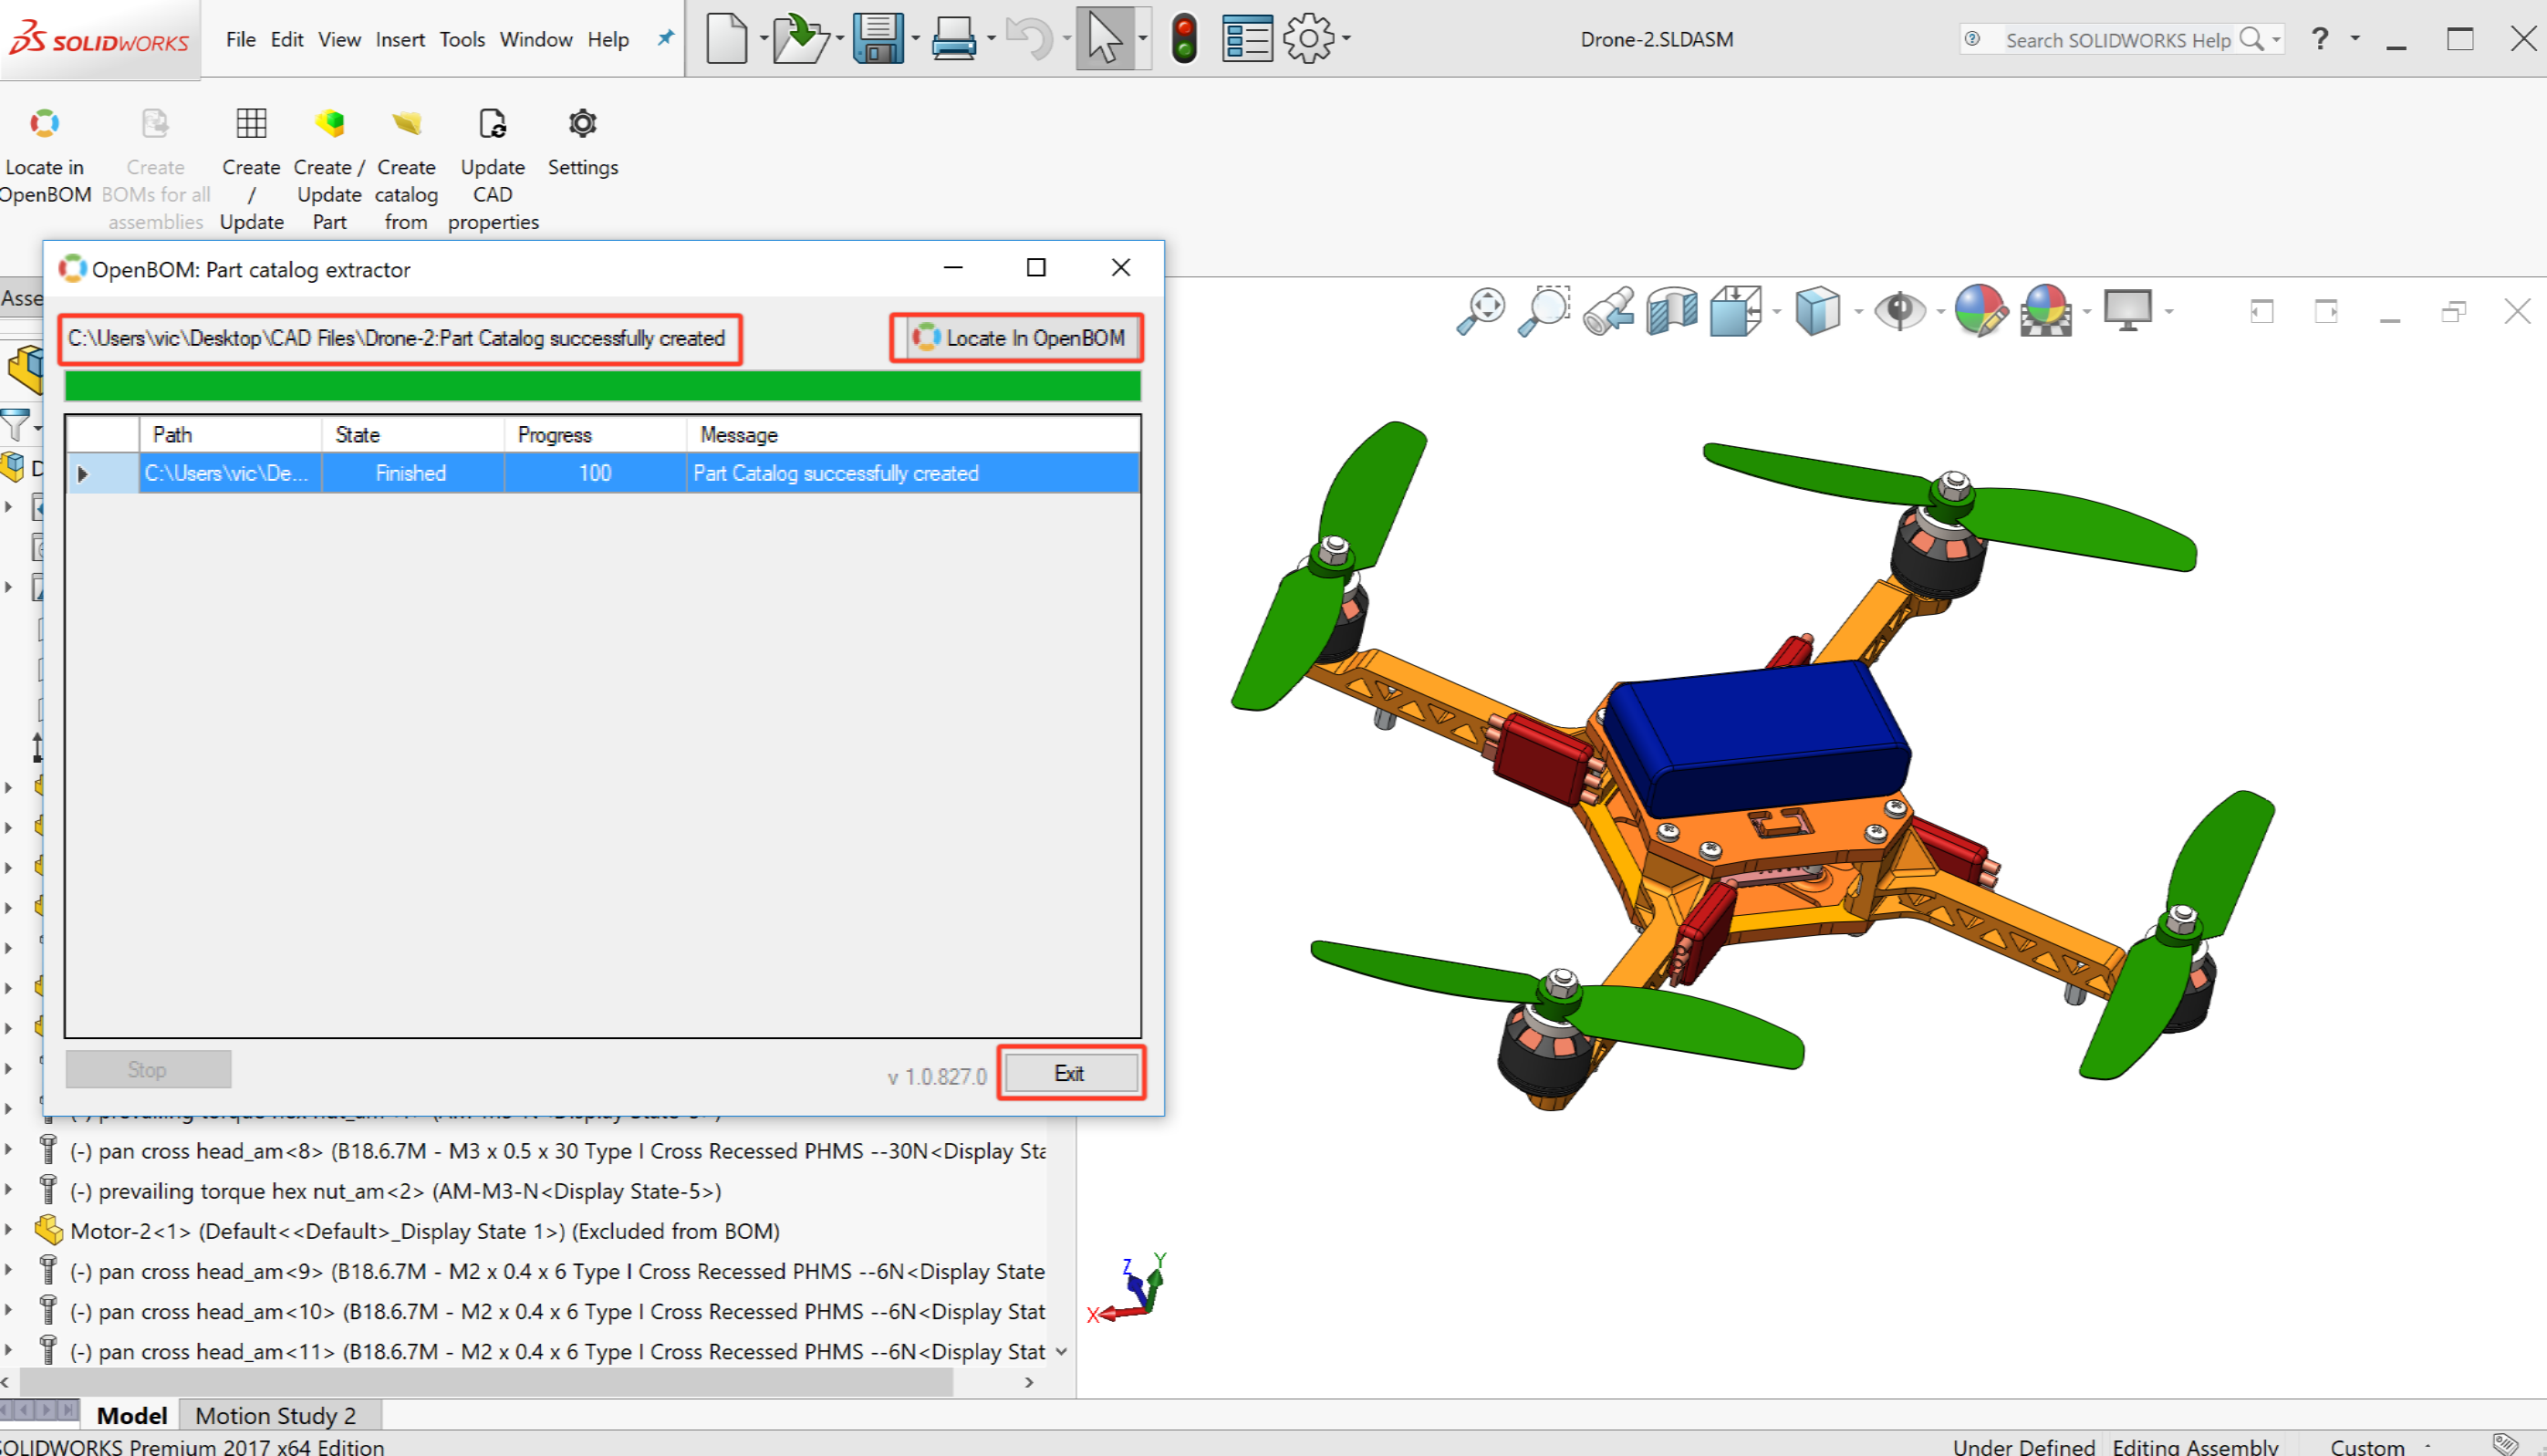
Create OpenBOM Part Catalog from existing folder containing Solidworks files. This operation is being released as Beta but is fully functional. Click the icon, browse to a folder (on disk or cloud) containing Solidworks part files
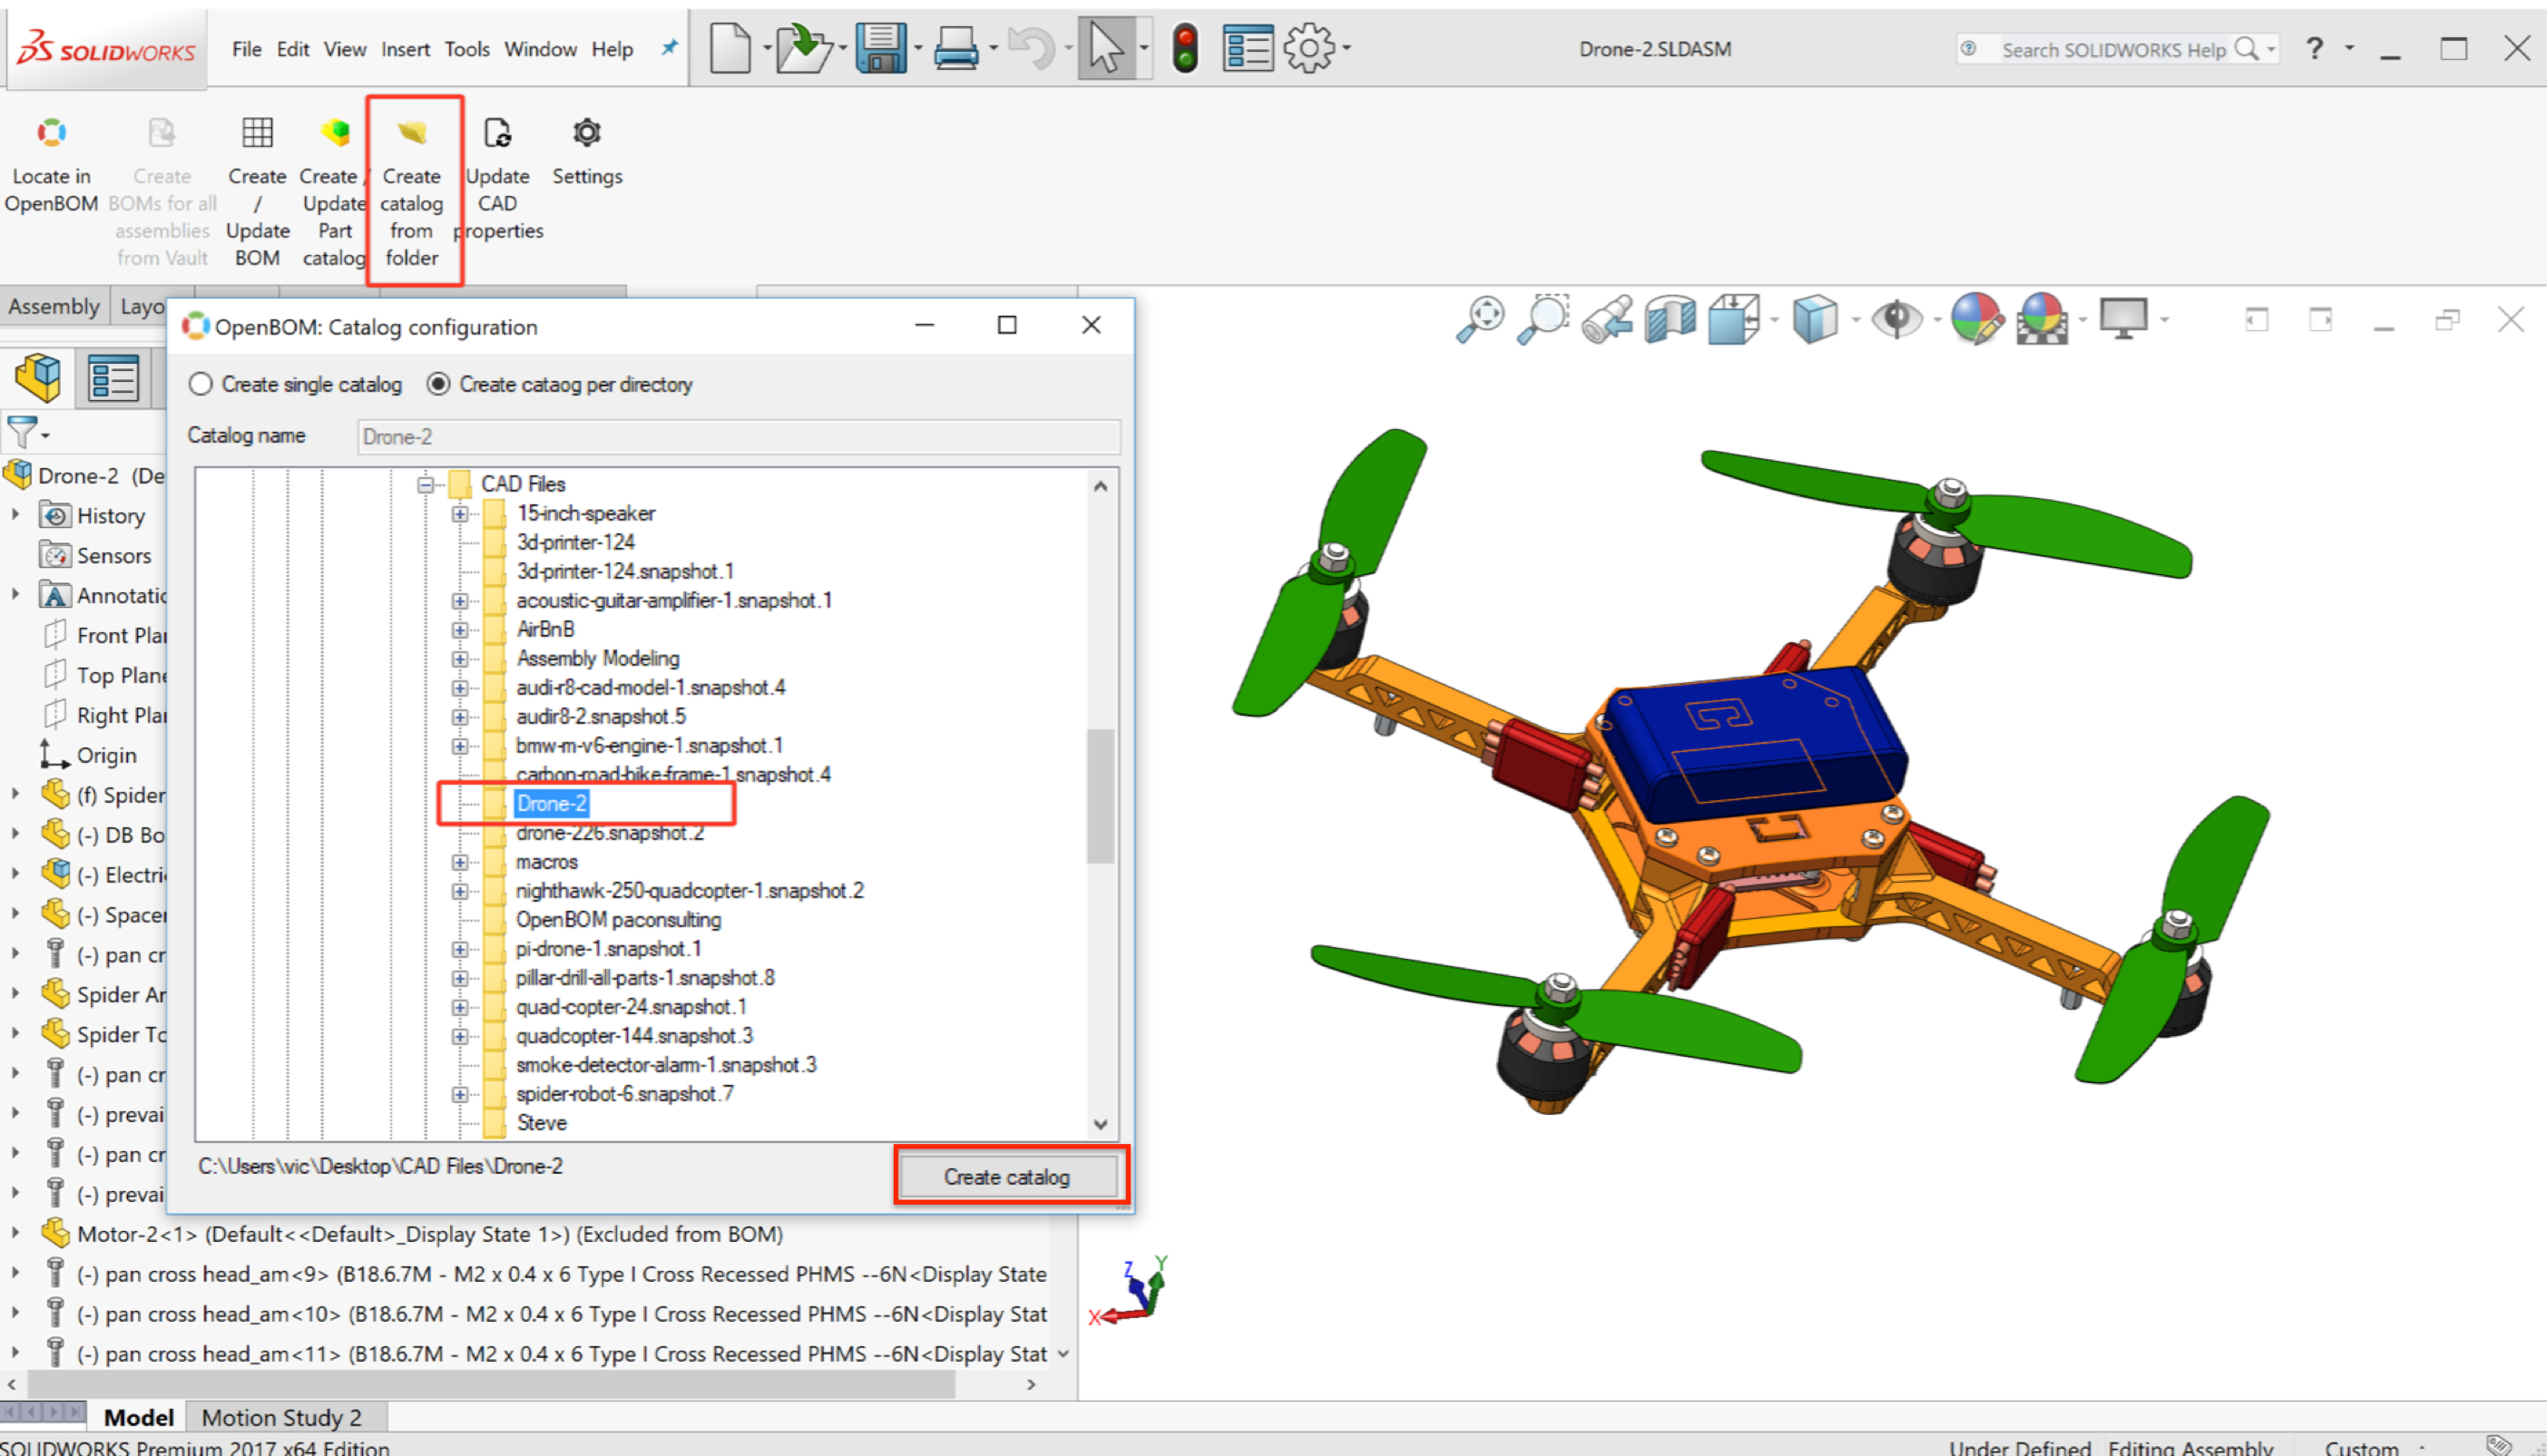
Select the directory and click Create Catalog. OpenBOM will import your parts into a Part Catalog (automatically named but you can rename of course) in your account. If you change one of the parts in the folder simply run again and the changed file will be re-imported and data merged with existing part data in the catalog.
Tip: You can think of this operation as “Google Drive” for your Solidworks/OpenBOM. Changes to the files in the directory (included deletions) will be reflected in your Catalog every time you run this operation on the directory.
The active OpenBOM template in the settings dialog will be used for create Catalog.
Synchronizing OpenBOM property values with your Solidworks design (Update CAD Properties)
Update CAD Properties synchronizes changes made in OpenBOM with your Solidworks CAD files in the assembly.
For example, your company assigns machining centers for each of the machined parts they create. The machine center is assigned in the manufacturing production planning stage and you want the value assigned to be updated to the original Solidworks file so you can reference which machine it was produced on.
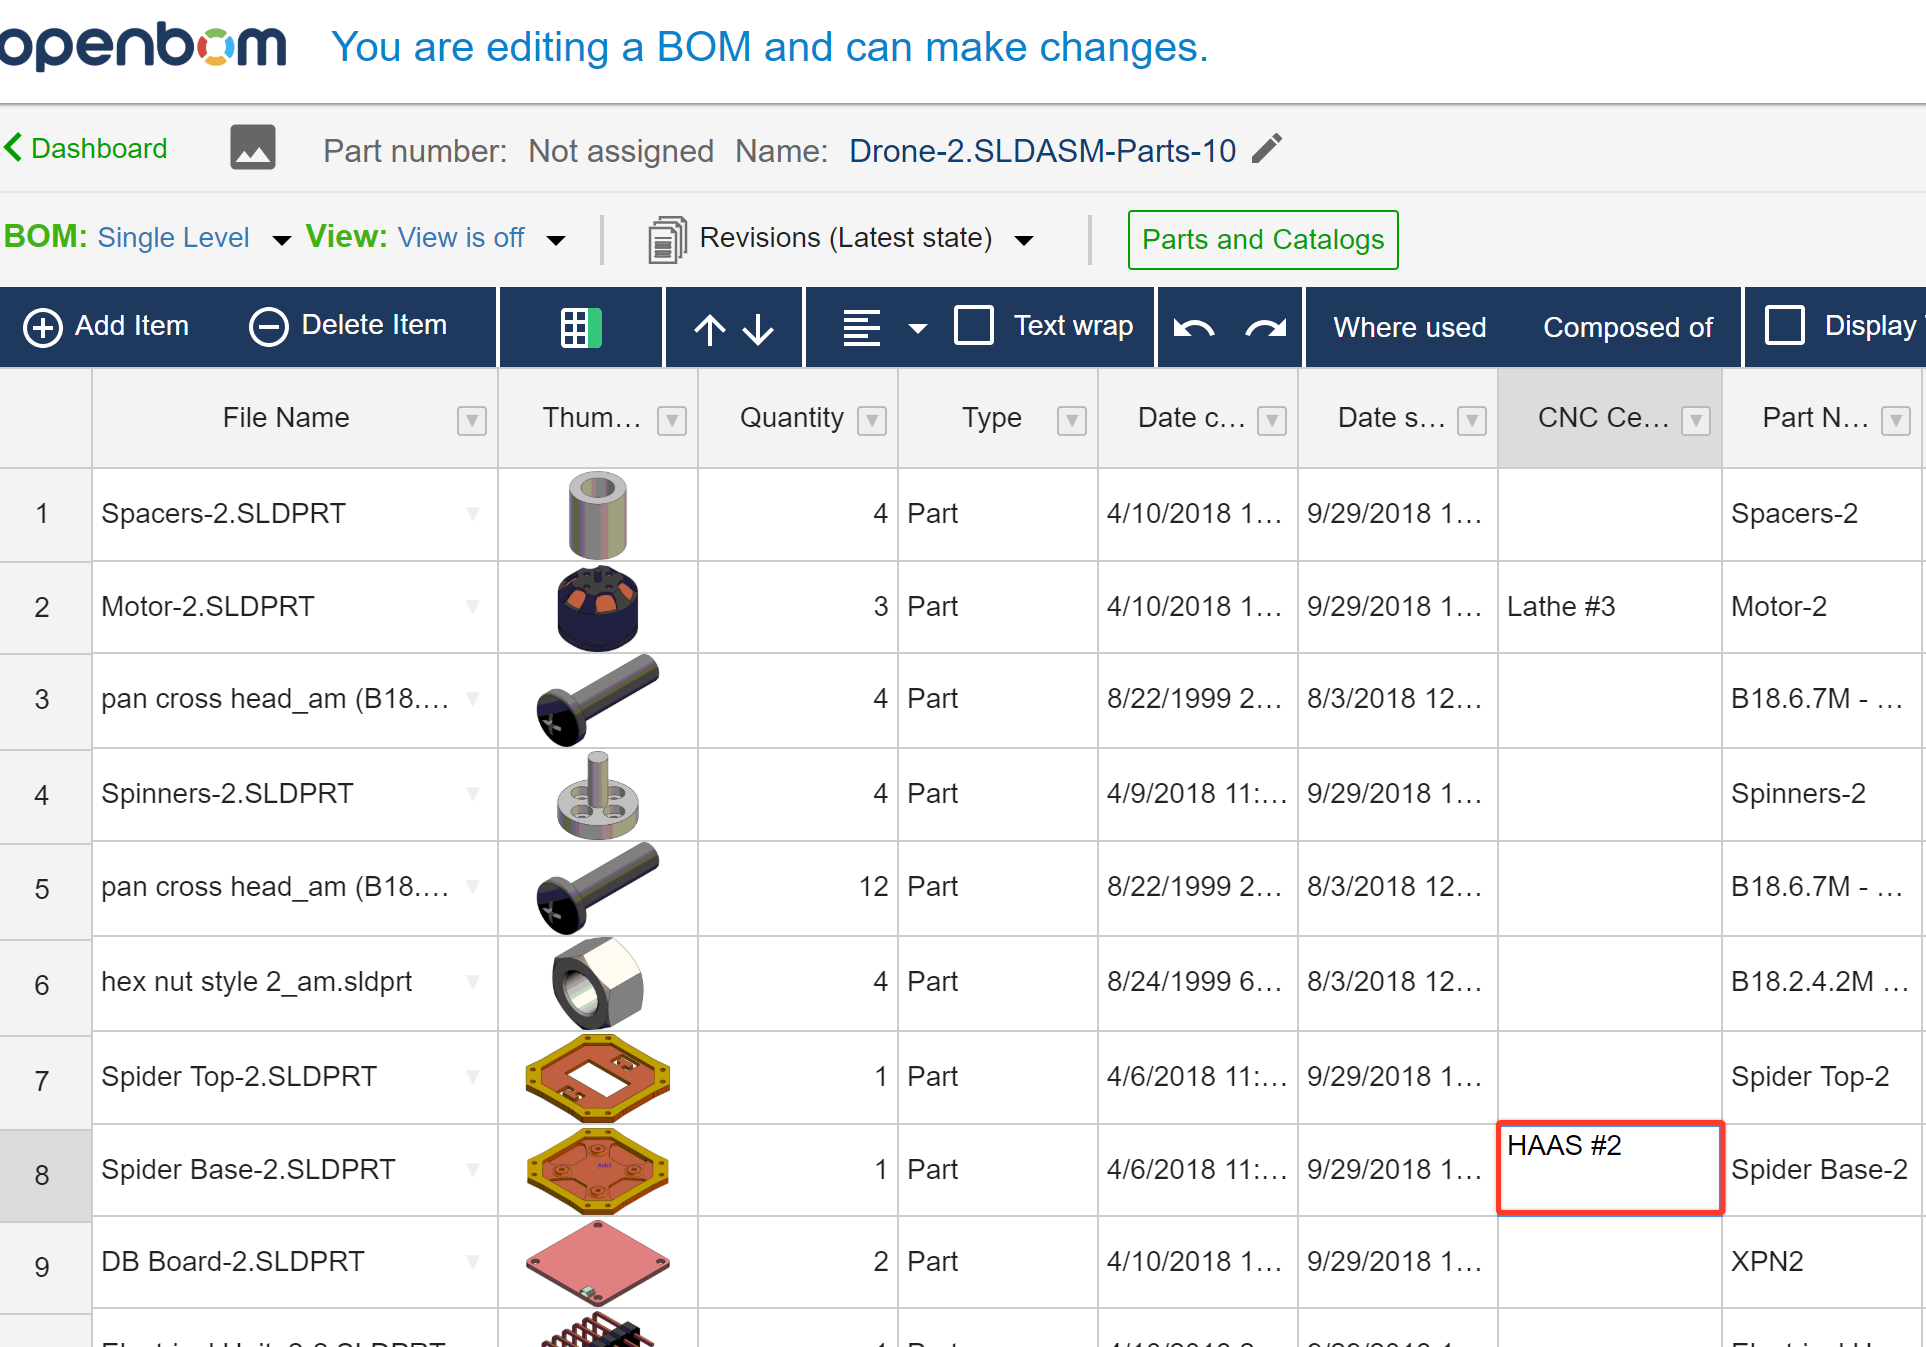
Open the BOM created for the Drone-2 assembly. In this example, this BOM is generated with CNC Center property blank.
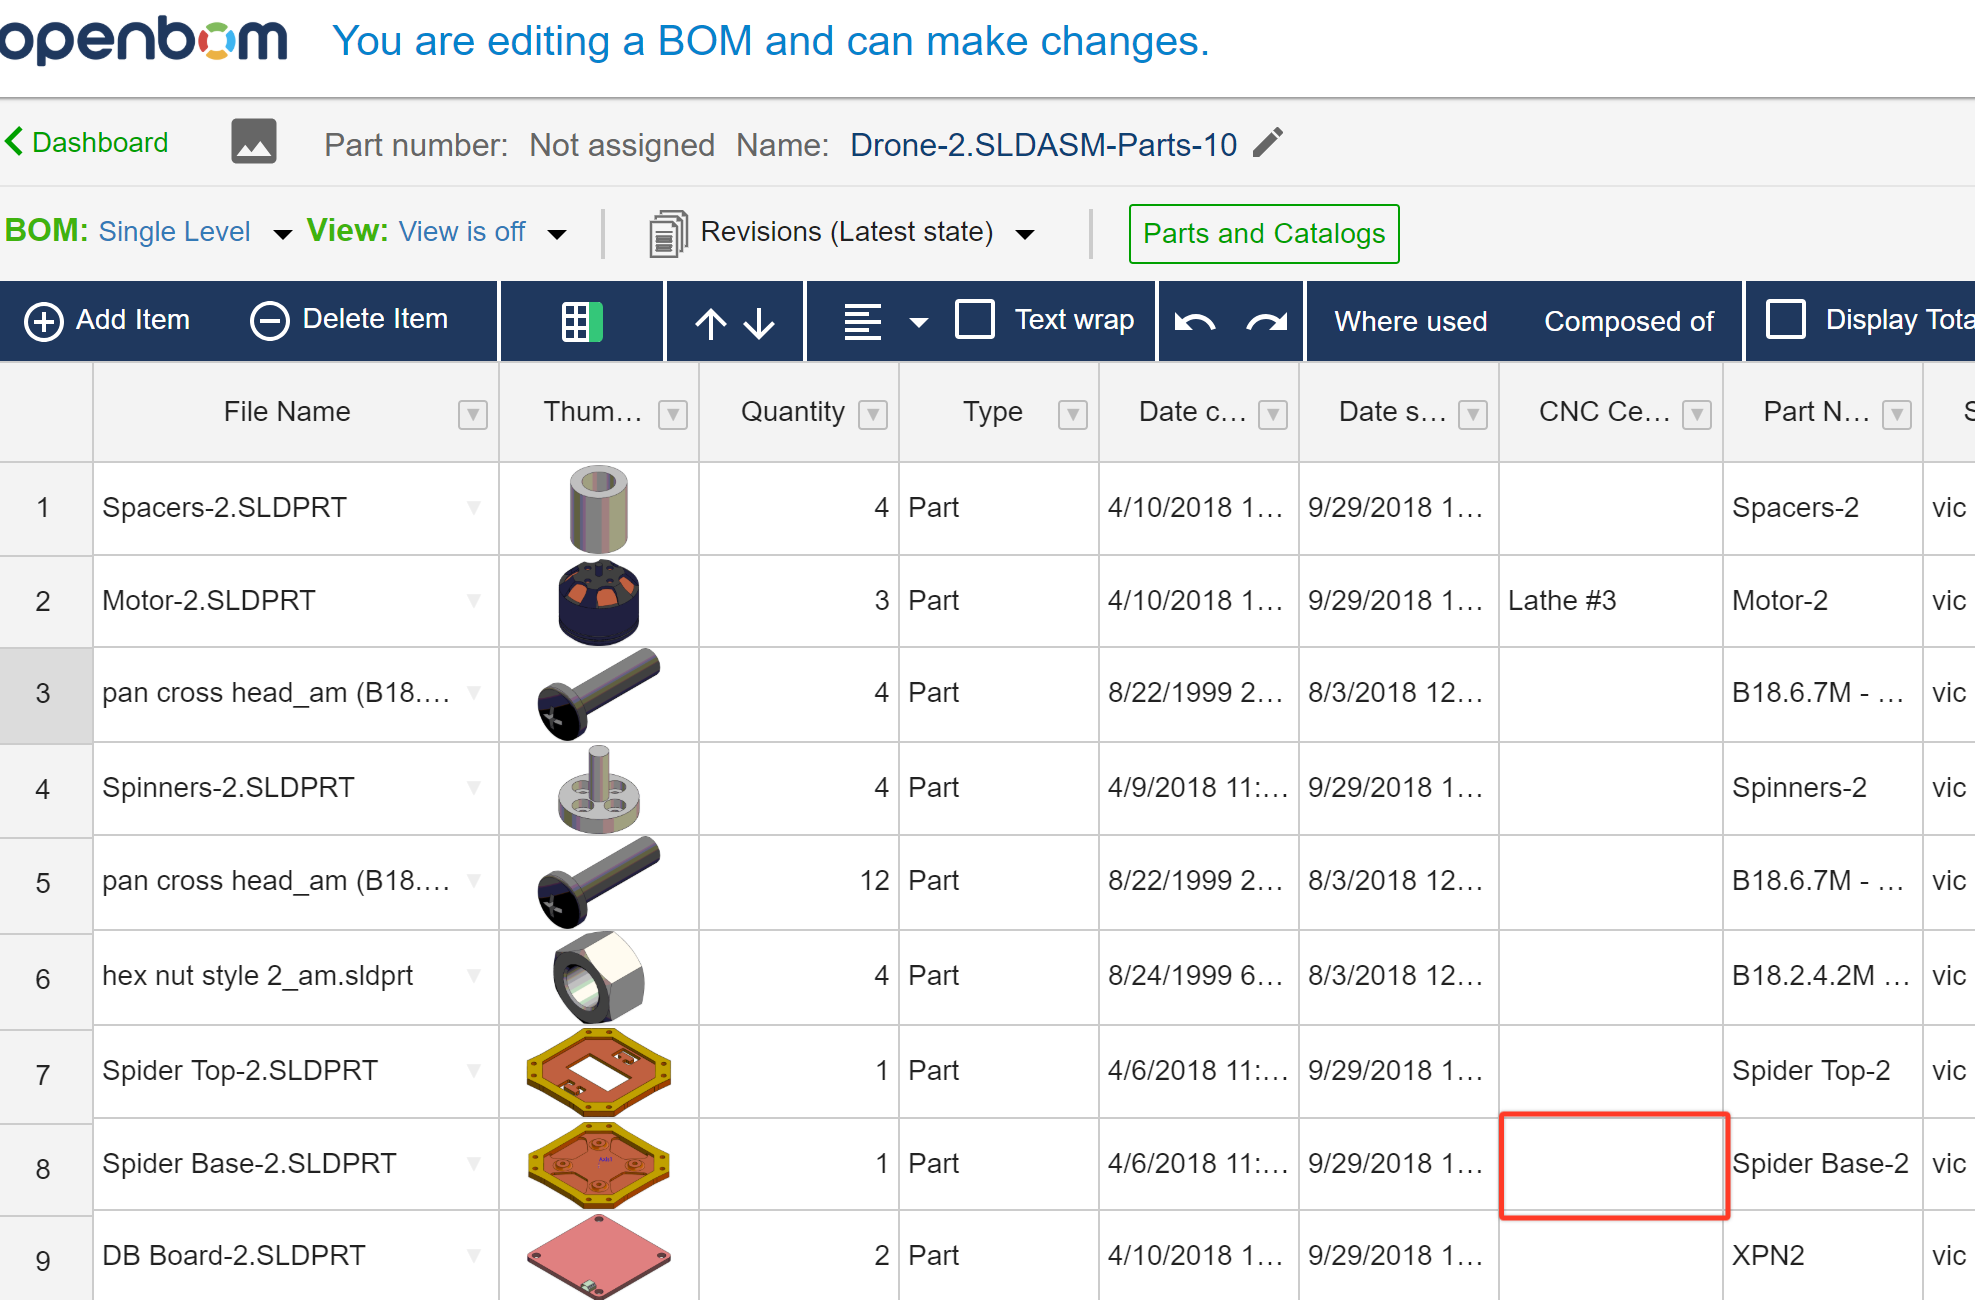
Your production planner edits the OpenBOM and assigns Spider-Base 2 to the HAAS #2 CNC machine center.
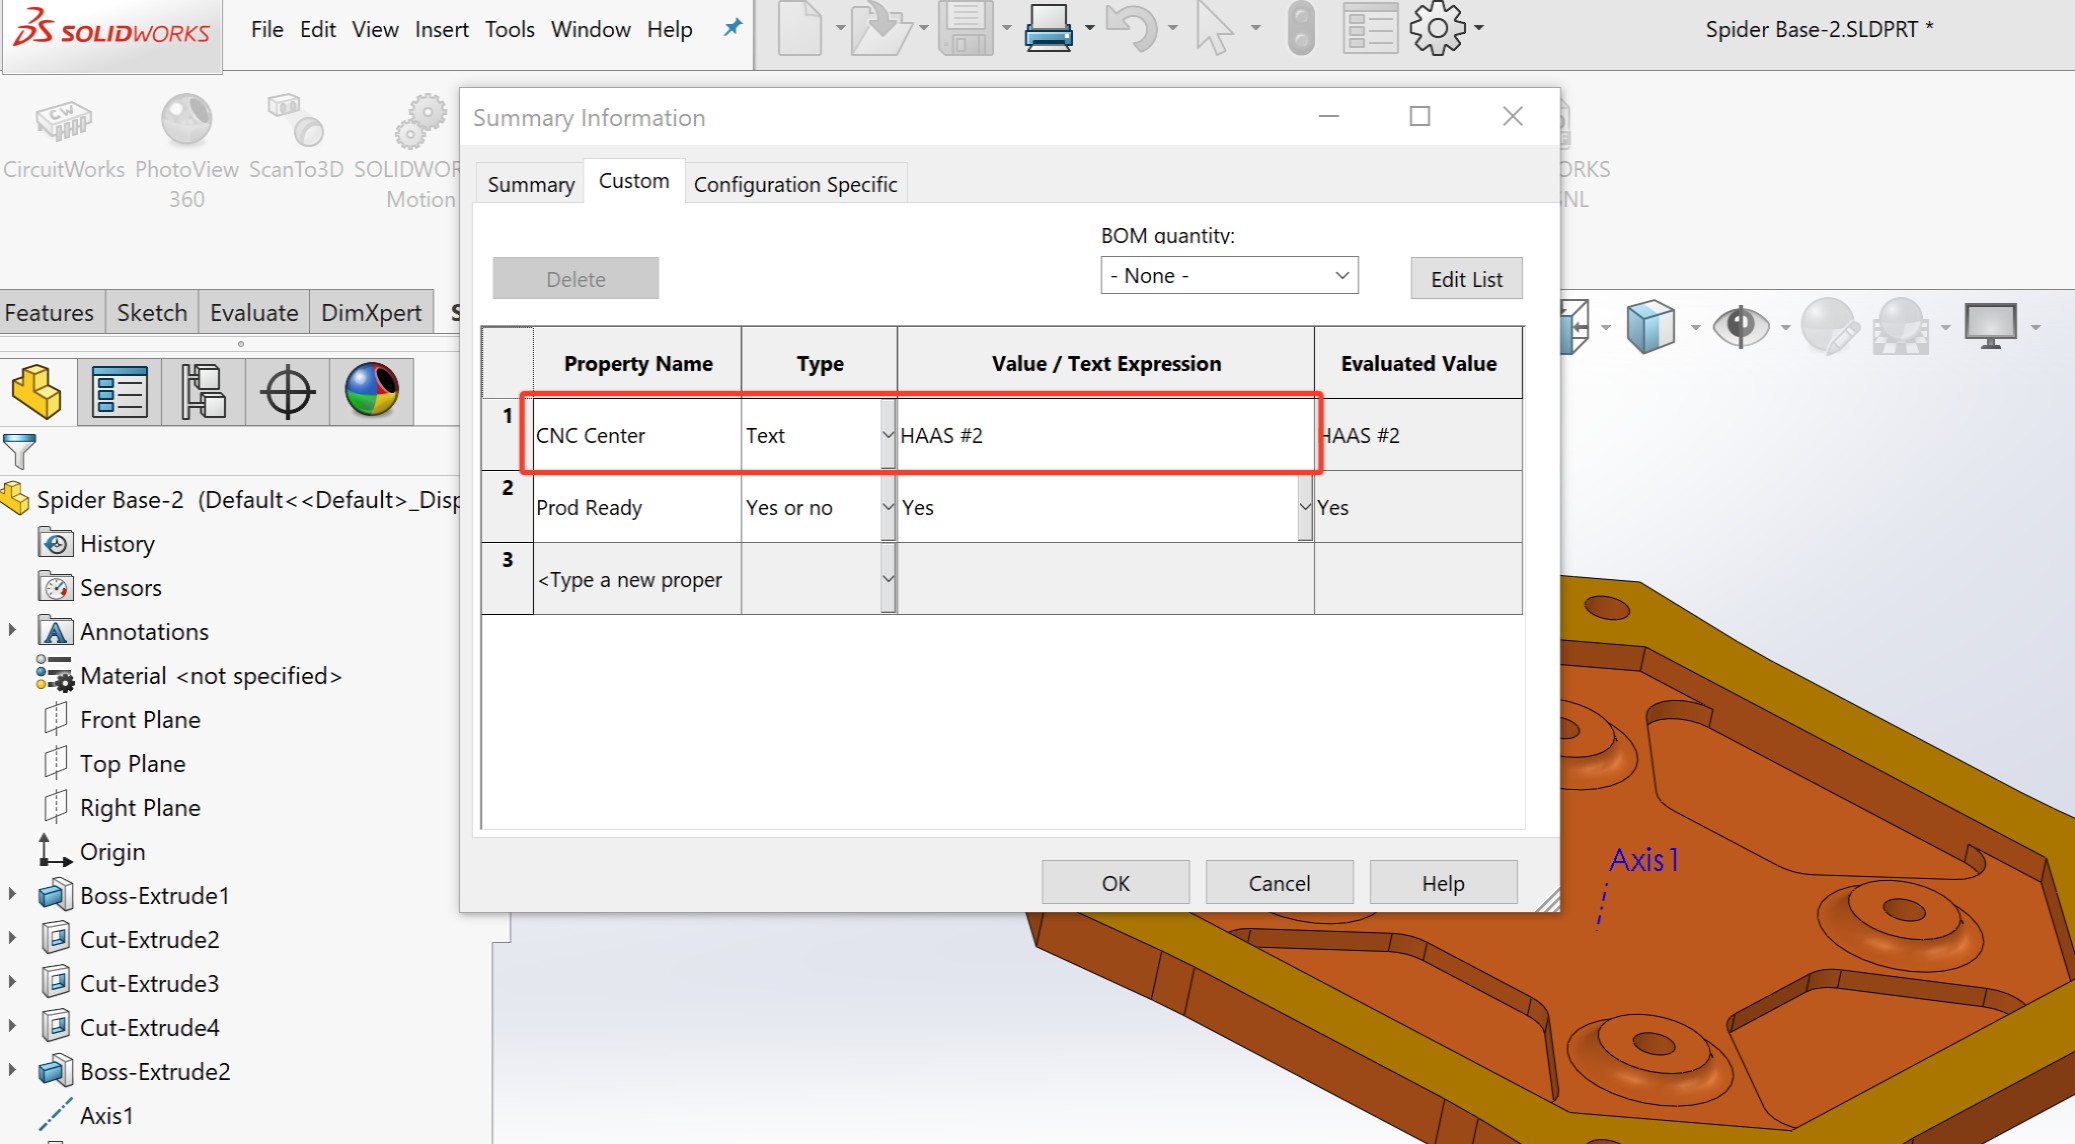
You want to save this value back into the Solidworks file so you return to the Solidworks / OpenBOM addin and click Update CAD Properties.
Open the Spider-Base 2.sldprt file and notice the value for CNC Center has been updated with the value entered by your planning team in OpenBOM. Try that with Excel!!
Synchronizing CAD files and neutral geometry files (2D PDF and 3D PDFs) with cloud storage
A very nice feature which extends OpenBOM’s versatility and cloud presence is the ability to move your data to your preferred cloud storage during the Create / Update Catalog operation. This feature includes:
- OpenBOM can automatically move your Solidworks files to your prefered cloud storage as part of creating a Catalog. A very nice feature.
- The new location of these files is preserved as reference links in the Catalog which can be included in any BOm created using that Catalog
- OpenBOM can automatically create 2D or 3D PDF’s of your Solidworks files and store them in your preferred cloud location as well, creating similar references that can be used in BOMs
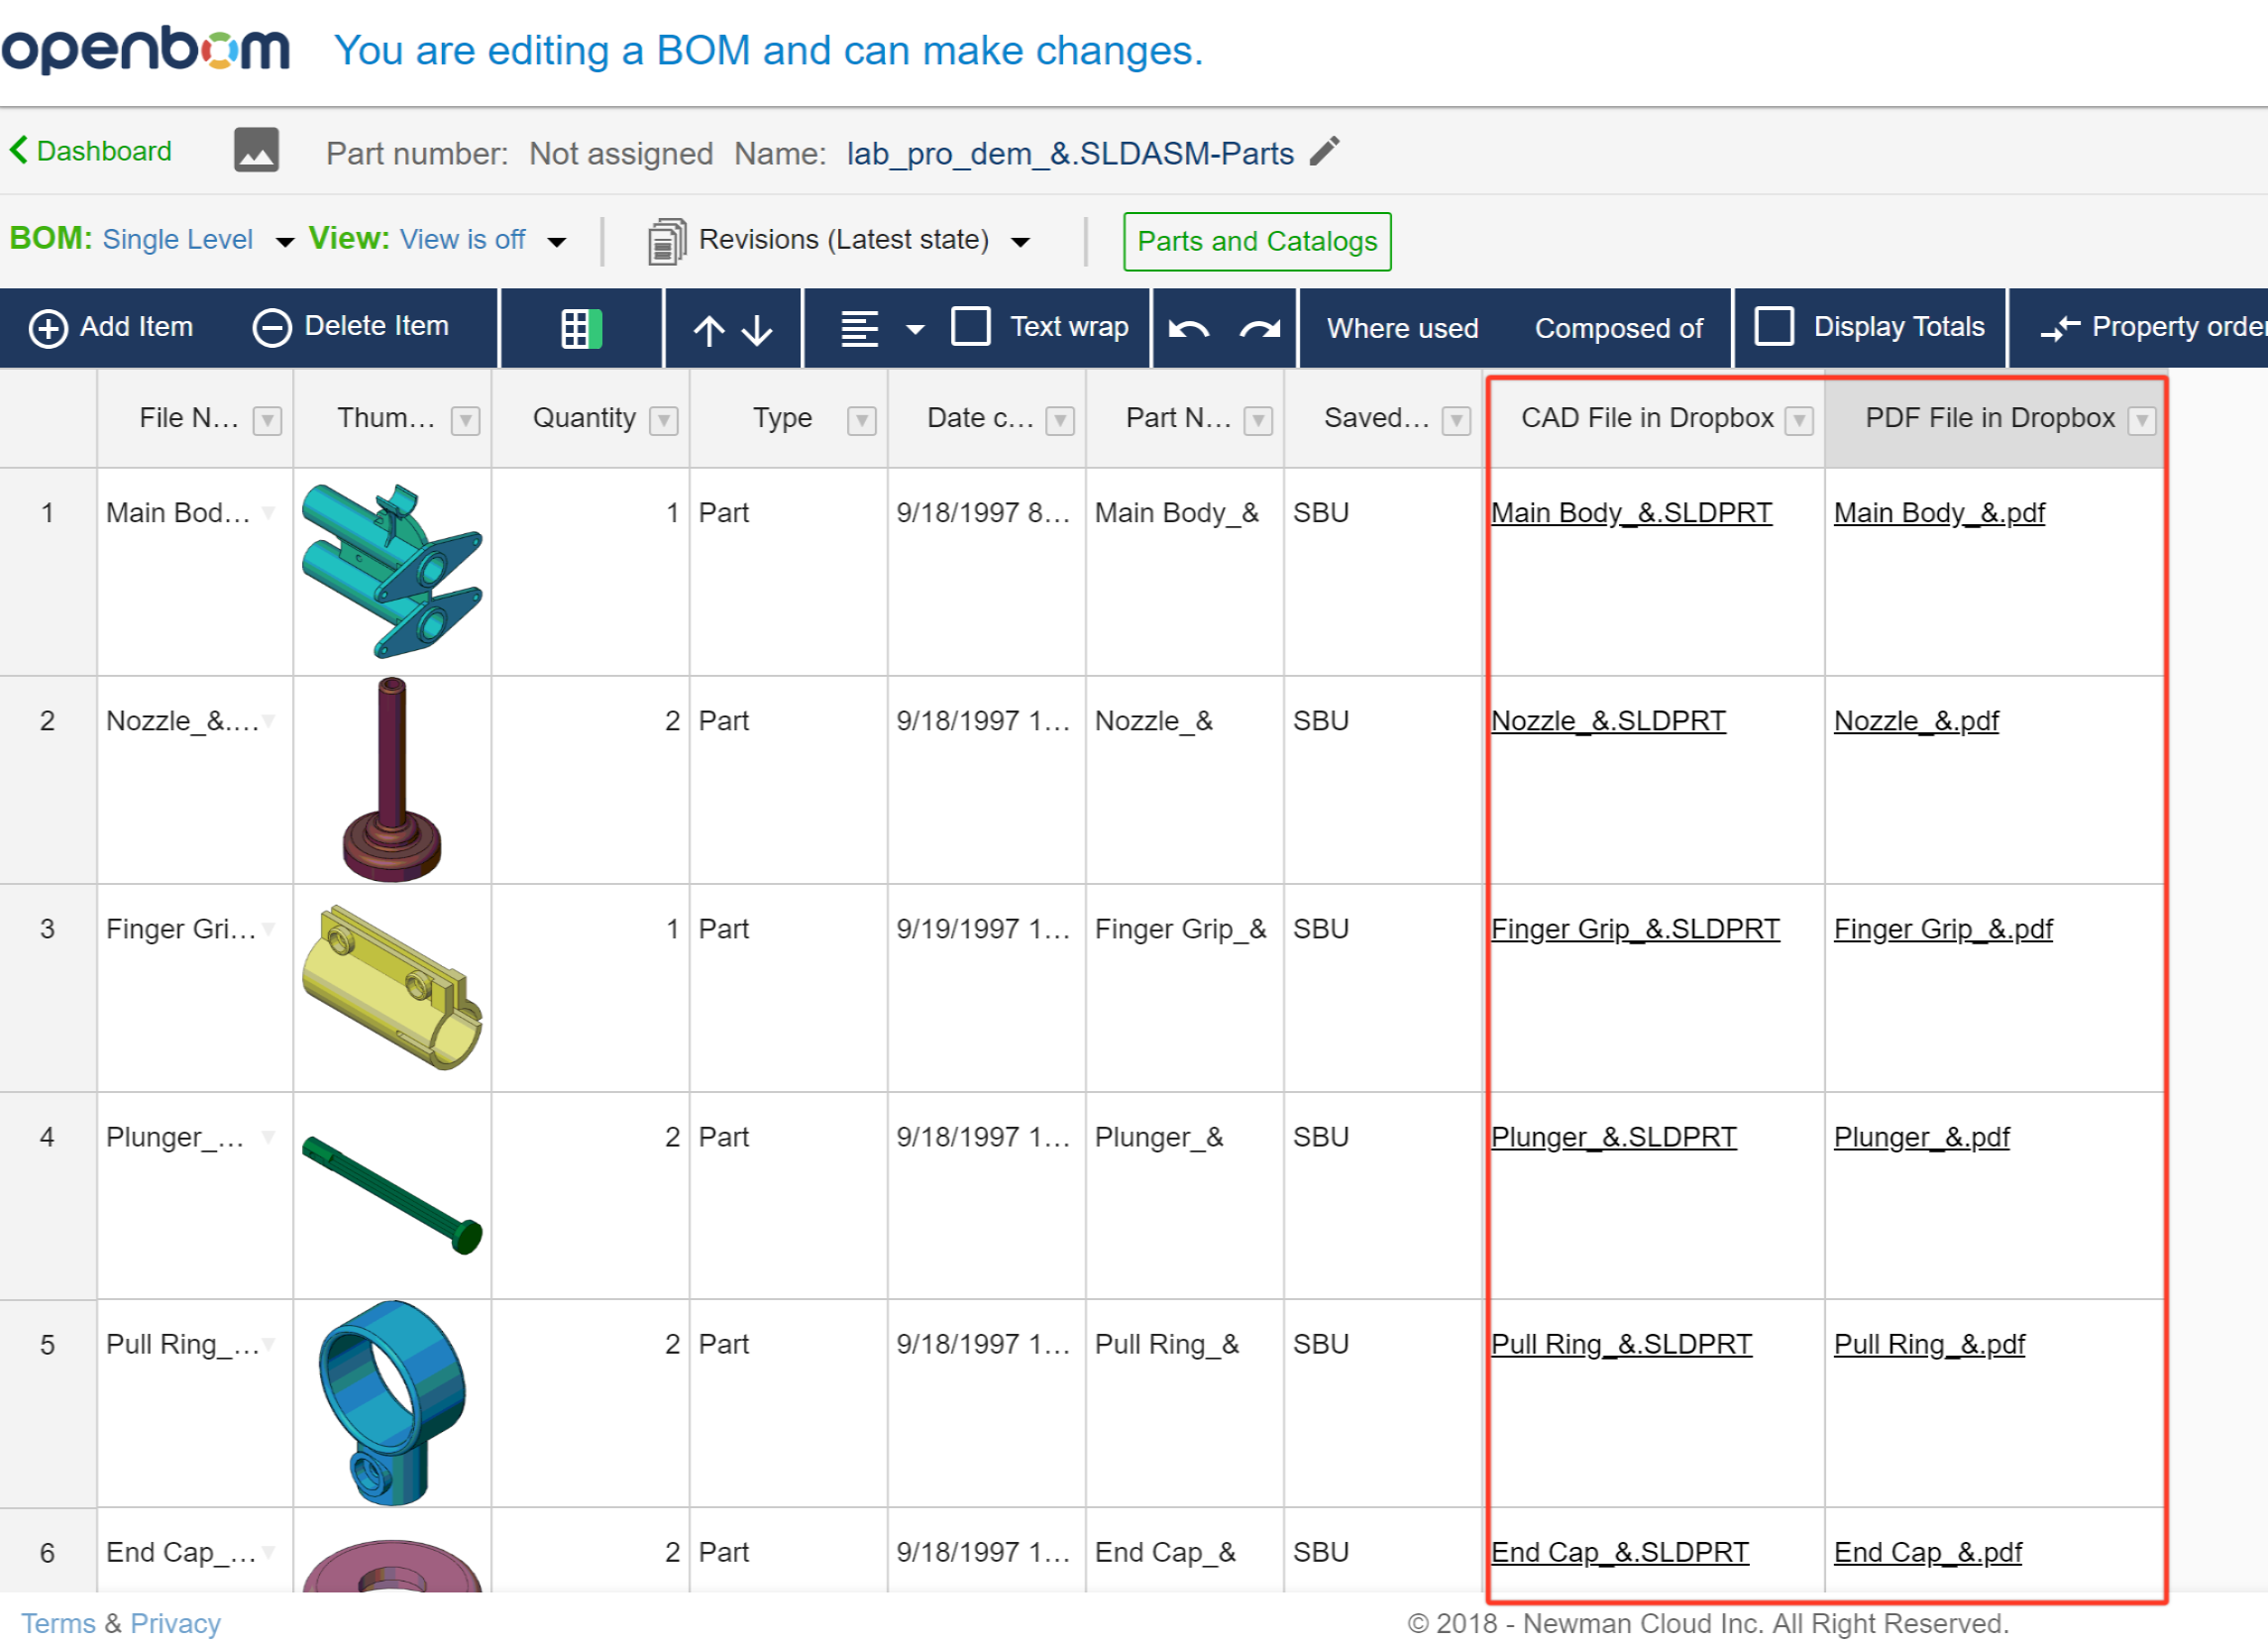
What does this mean? If means that as you create Solidworks parts and assemblies and Create or Update (synchronize) with your Catalog(s), your files are stored in the cloud and a reference link (URL) is created to the exact Solidworks or PDF file which can be included in your BOM as a link.
Here is a video how it works
OpenBOM Integration with File Explorer integration
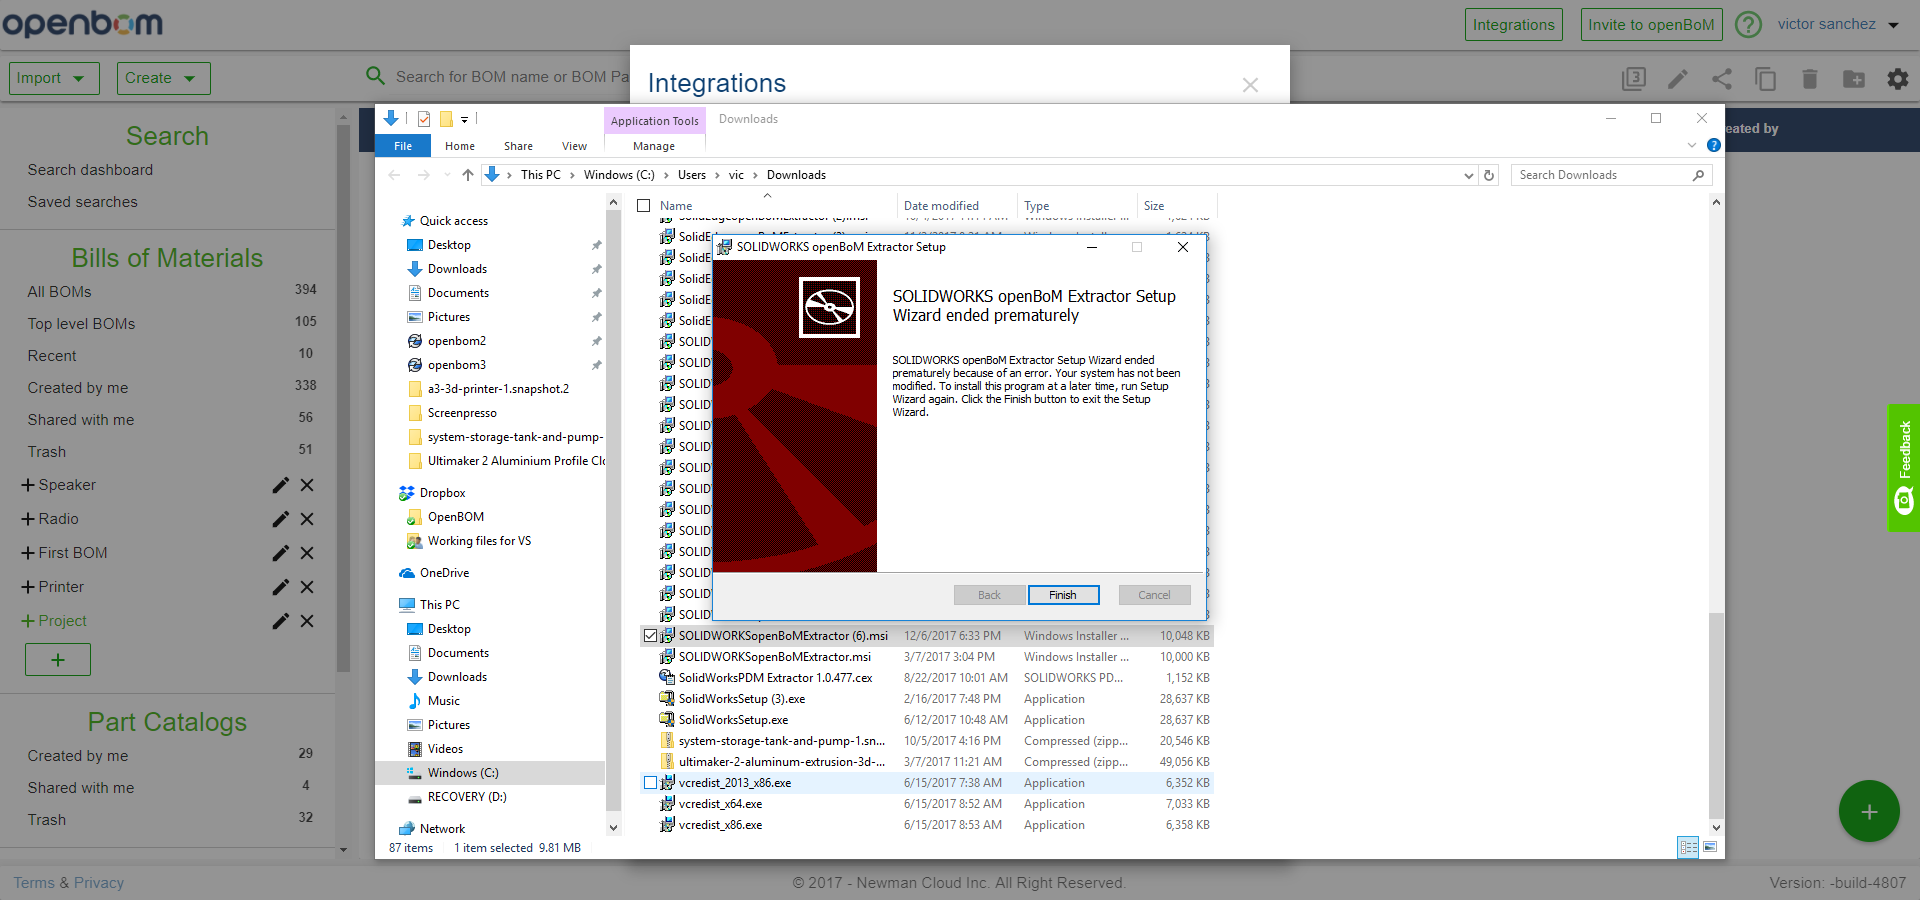
(1) In the OpenBOM Dashboard, click the “Integrations” button and locate the SOLIDWORKS Extractor for File Explorer plug-in for download.
(2) Locate the downloaded plug-in file in File Explorer and use the Install Wizard to install the plug-in.
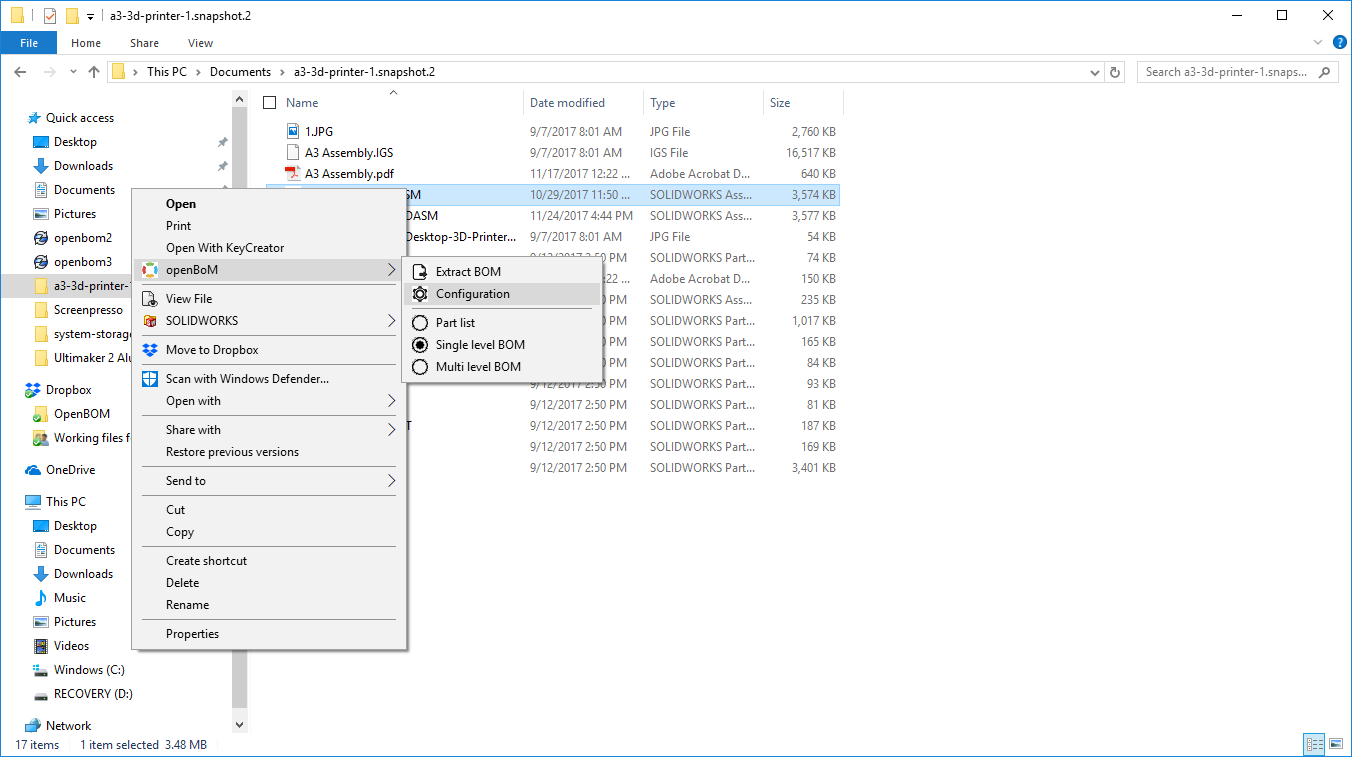
(3) Once the plug-in is installed, locate the desired SOLIDWORKS assembly in File Explorer, right-click and locate the OpenBOM tools. Click “Configuration” in the drop-down menu to configure OpenBOM behavior when extracting BOMs from SOLIDWORKS.
(4) In the window that will appear, enter your OpenBOM username and Password. Note: make sure you have already registered and validated your OpenBOM account. Select the desired “BOM type” by selecting from the drop-down menu: Part list, Single level BOM, or Multi level BOM. Click “OK” when done.

There’s a “Template” feature available in the configuration window. The “Template” feature in the SOLIDWORKS plug-in lets you choose which attributes are extracted to a BOM and will allow you to customize the way a BOM is created. The video below shows you how it works.
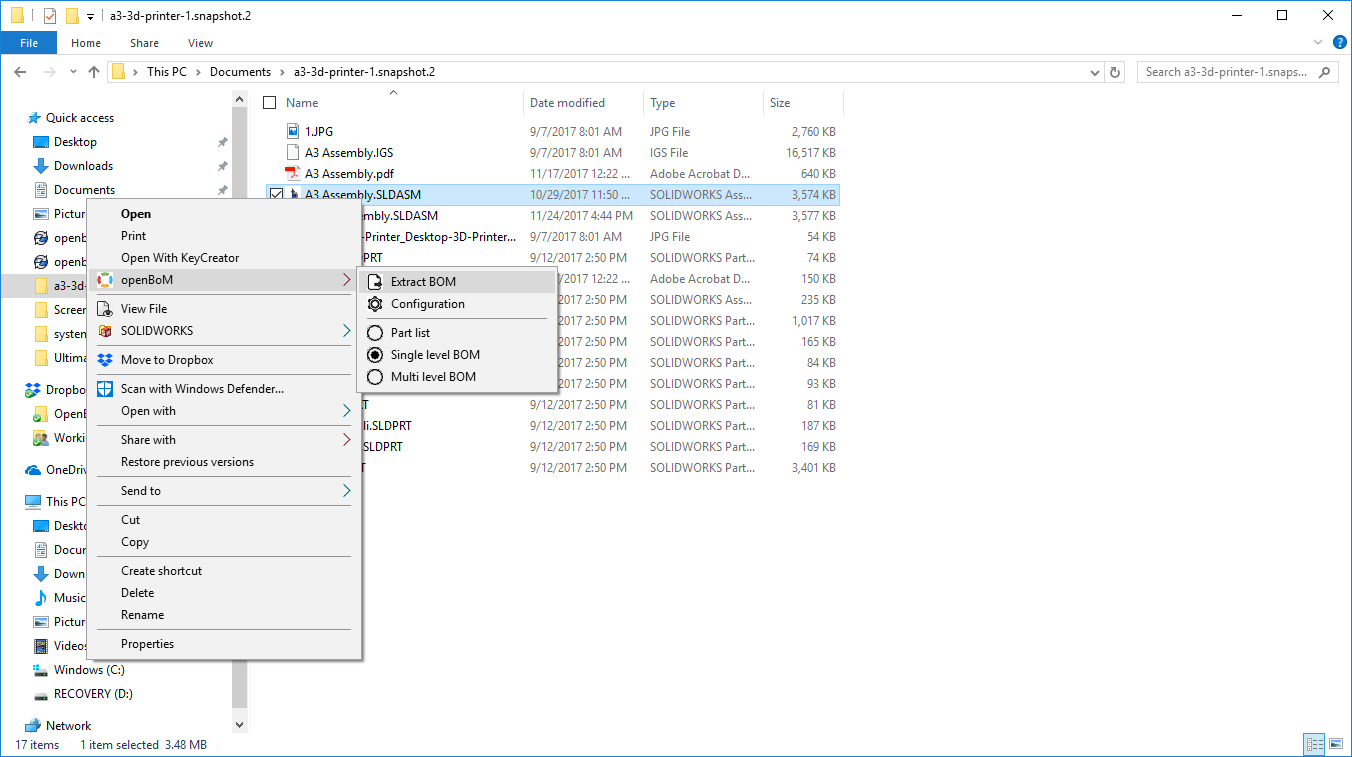
(5) Once ready, locate the desired SOLIDWORKS assembly in File Explorer, right-click to locate the OpenBOM tools and click “Extract BOM”.
(6) OpenBOM will automatically extract a BOM as configured, in step 4, from the SOLIDWORKS assembly and provide a link that takes you directly to BOM view in OpenBOM.
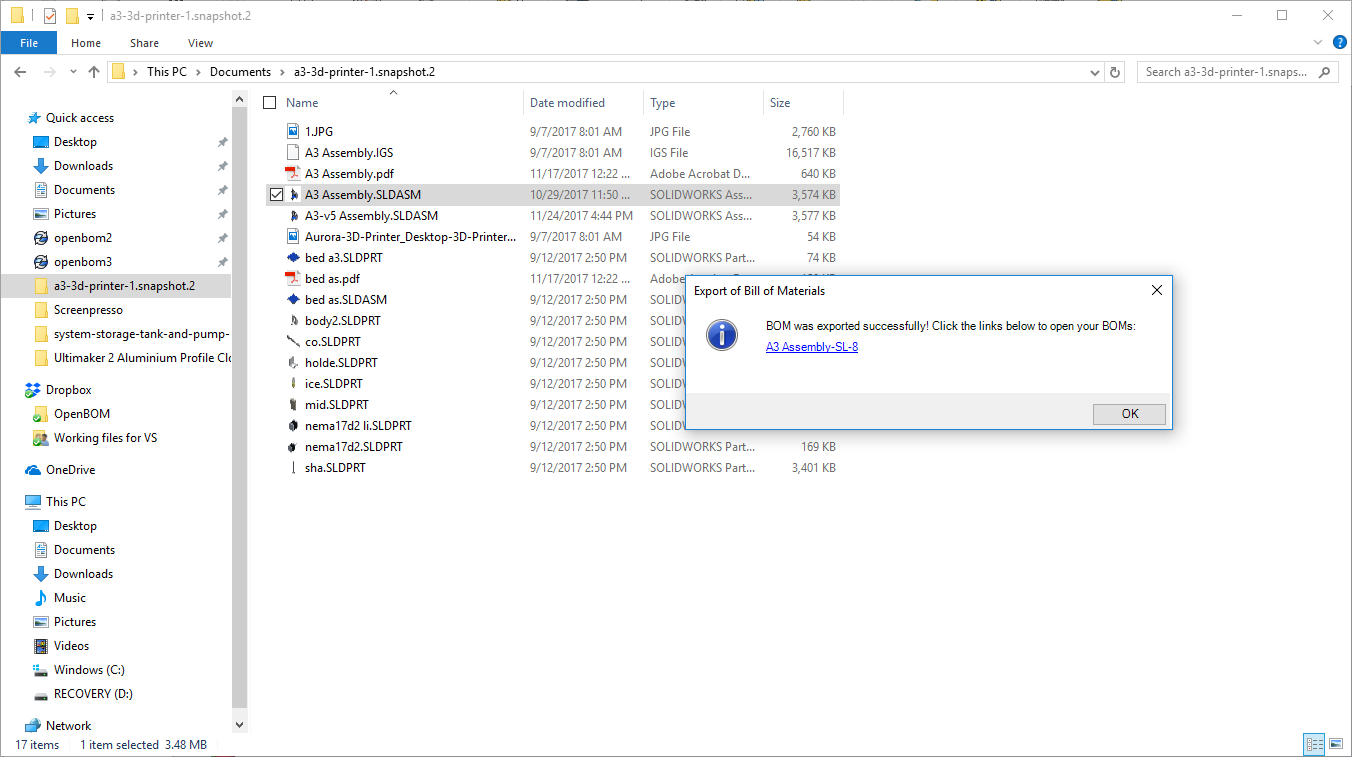
The BOM view will be that of the BOM you just extracted from SOLIDWORKS. You can add more Properties, share the BOM with others both inside and outside your company.
OpenBOM will also automatically extract BOM tables should they exist. Learn more, here. And watch this video: