Follow these steps to generate a multi-level BOM:
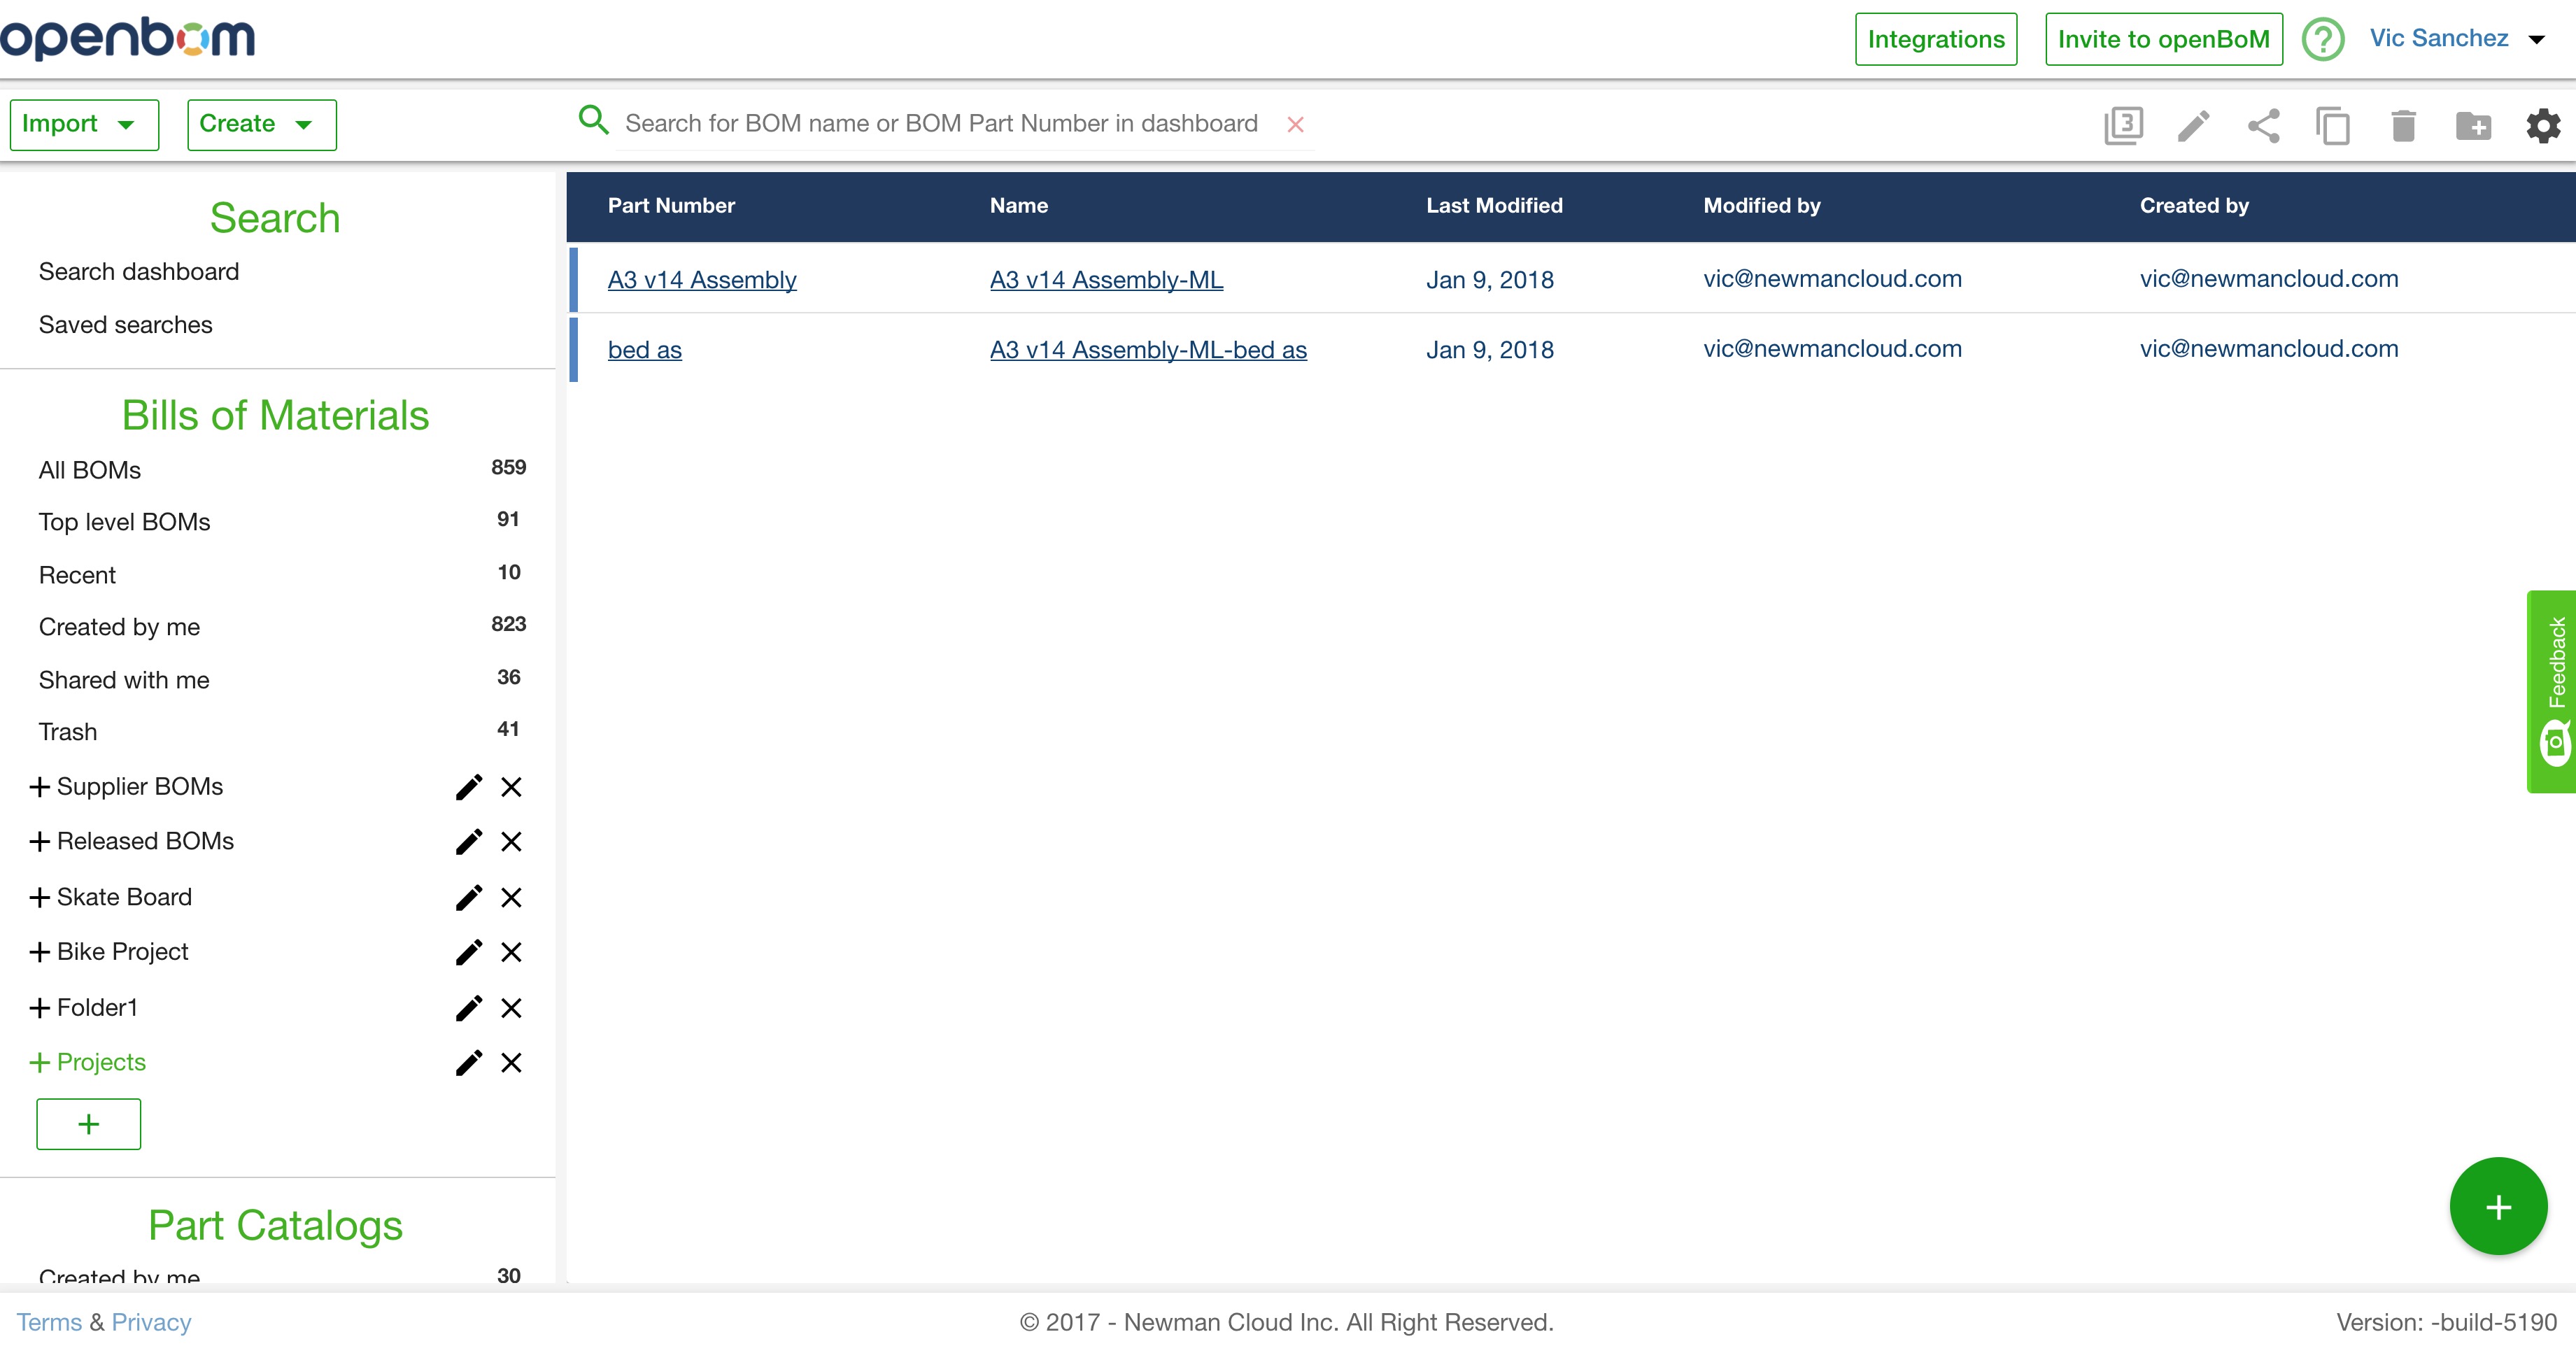
(1) Make sure there is a BOM for a top-level assembly and all corresponding sub-assemblies somewhere in your Dashboard and they each have a Part Number assigned. Here’s a simple example you can see in the OpenBOM dashboard, below:
A3_v14_Assembly-ML is the top-level assembly. Bed_as is the Part Name of the sub-assembly A3_v14_Assembly-ML-bed_as
(2) Right-click the top-level assembly, A3_v14_Assembly-ML, to enter multi-level BOM view:
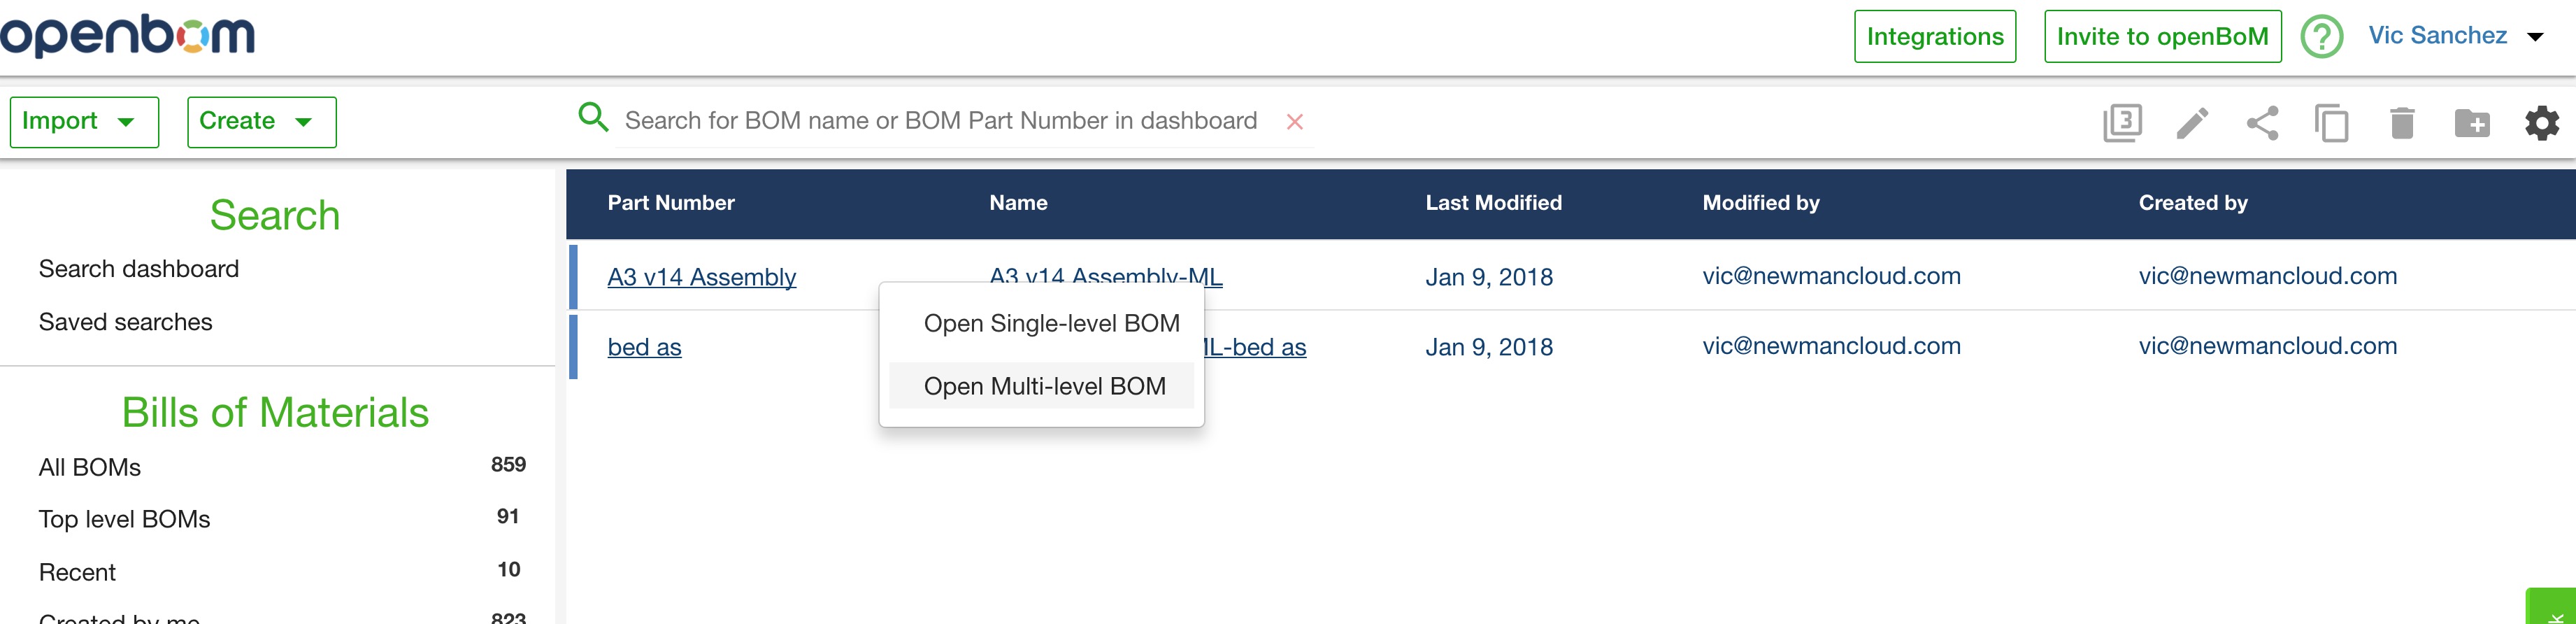
You can also click on the desired top-level assembly avoiding the links. Once highlighted, click the “3” icon in the upper right hand to enter multi-level BOM view,

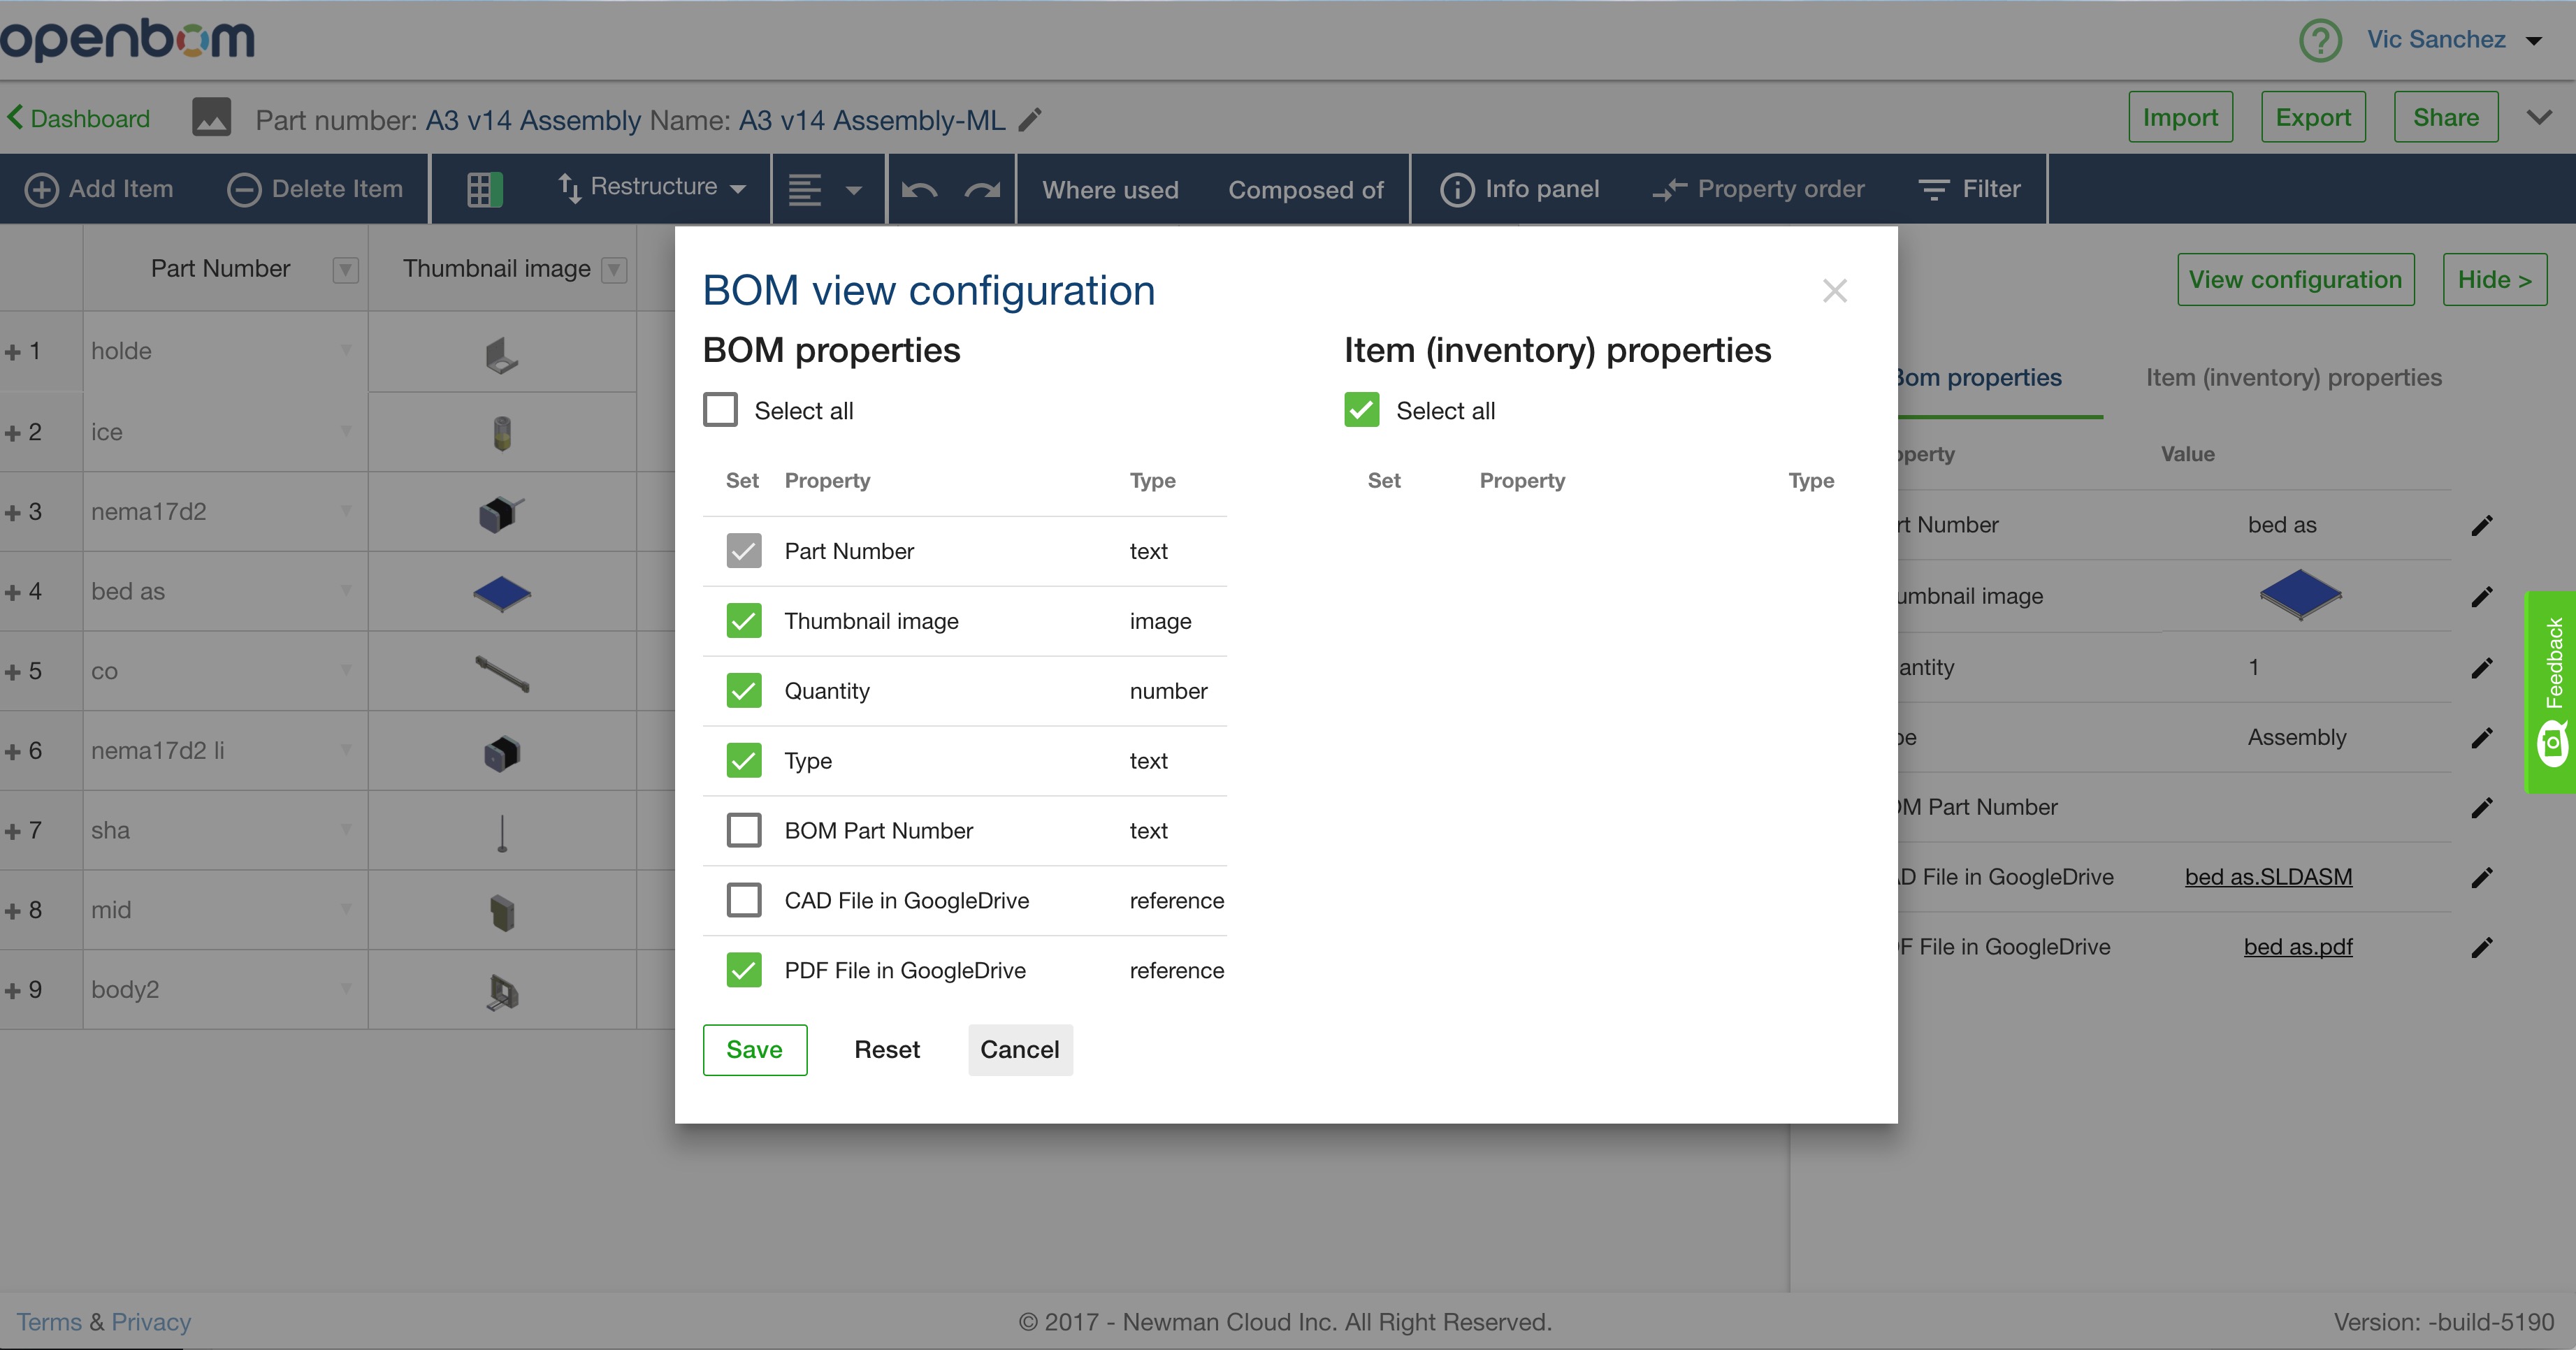
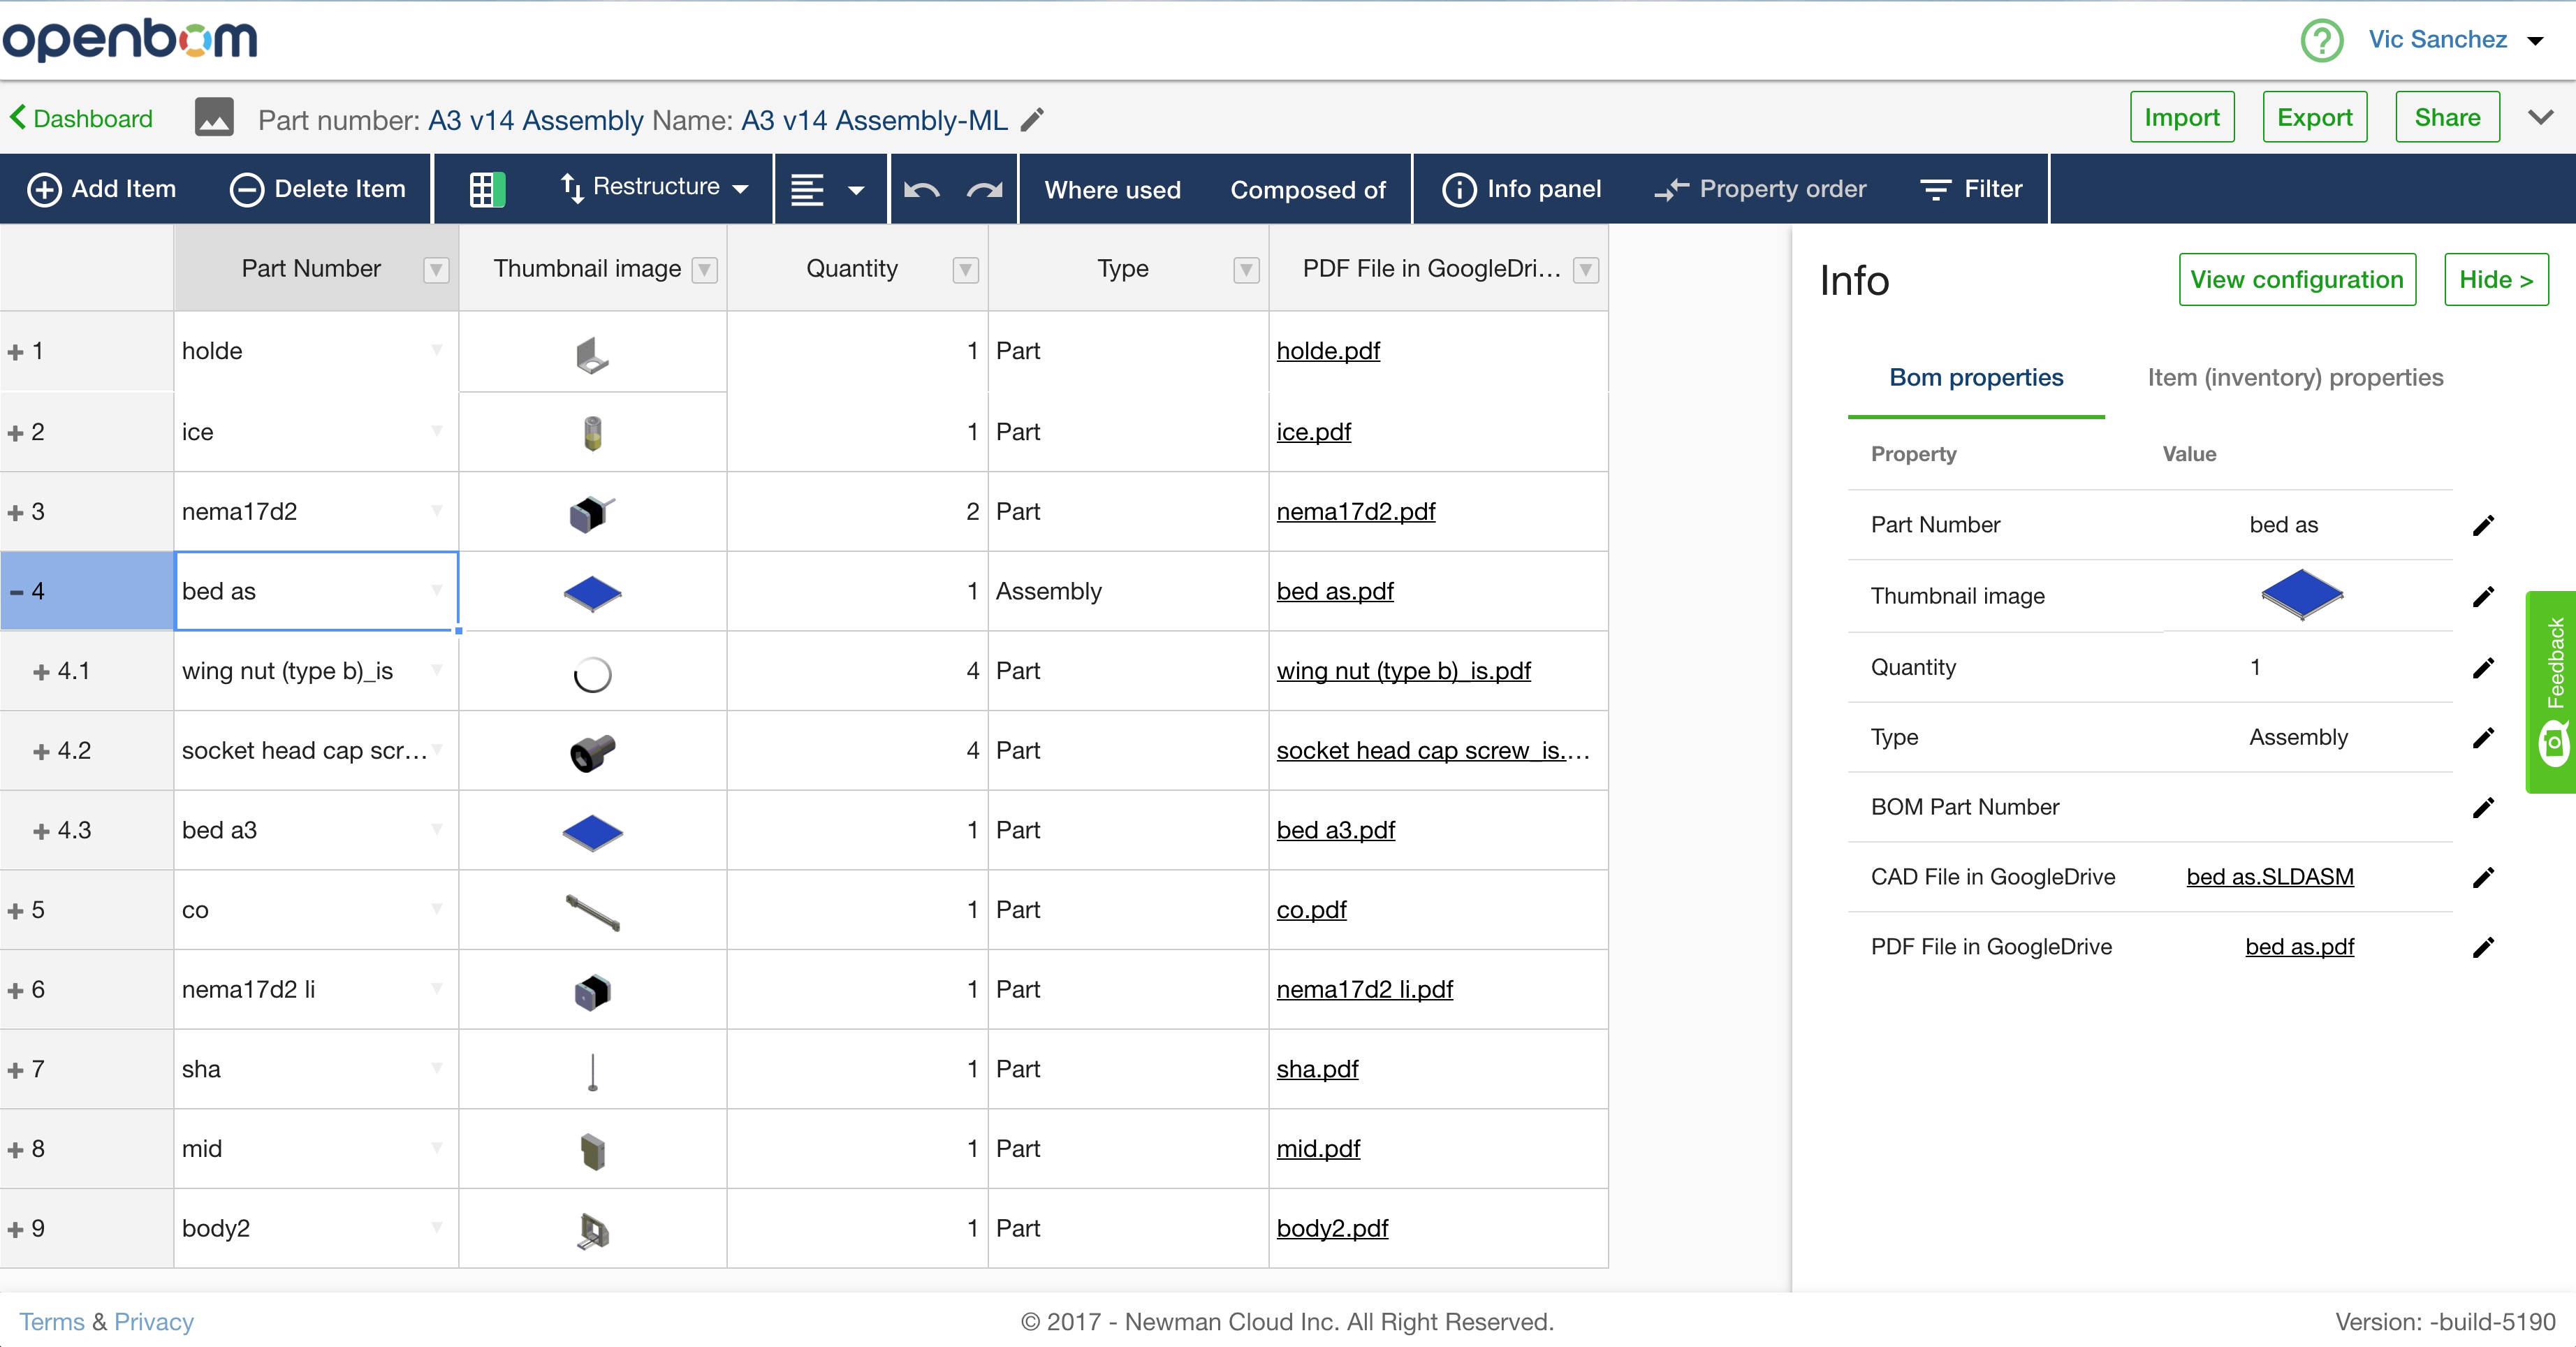
(3) To configure what Properties are available to view, click “Info panel” in the dark-blue tool panel which will bring the Info panel where you have visibility of all available properties.

Click “View configuration” to view and choose the properties to be presented in the multi-level BOM view. Click “Save” when done.
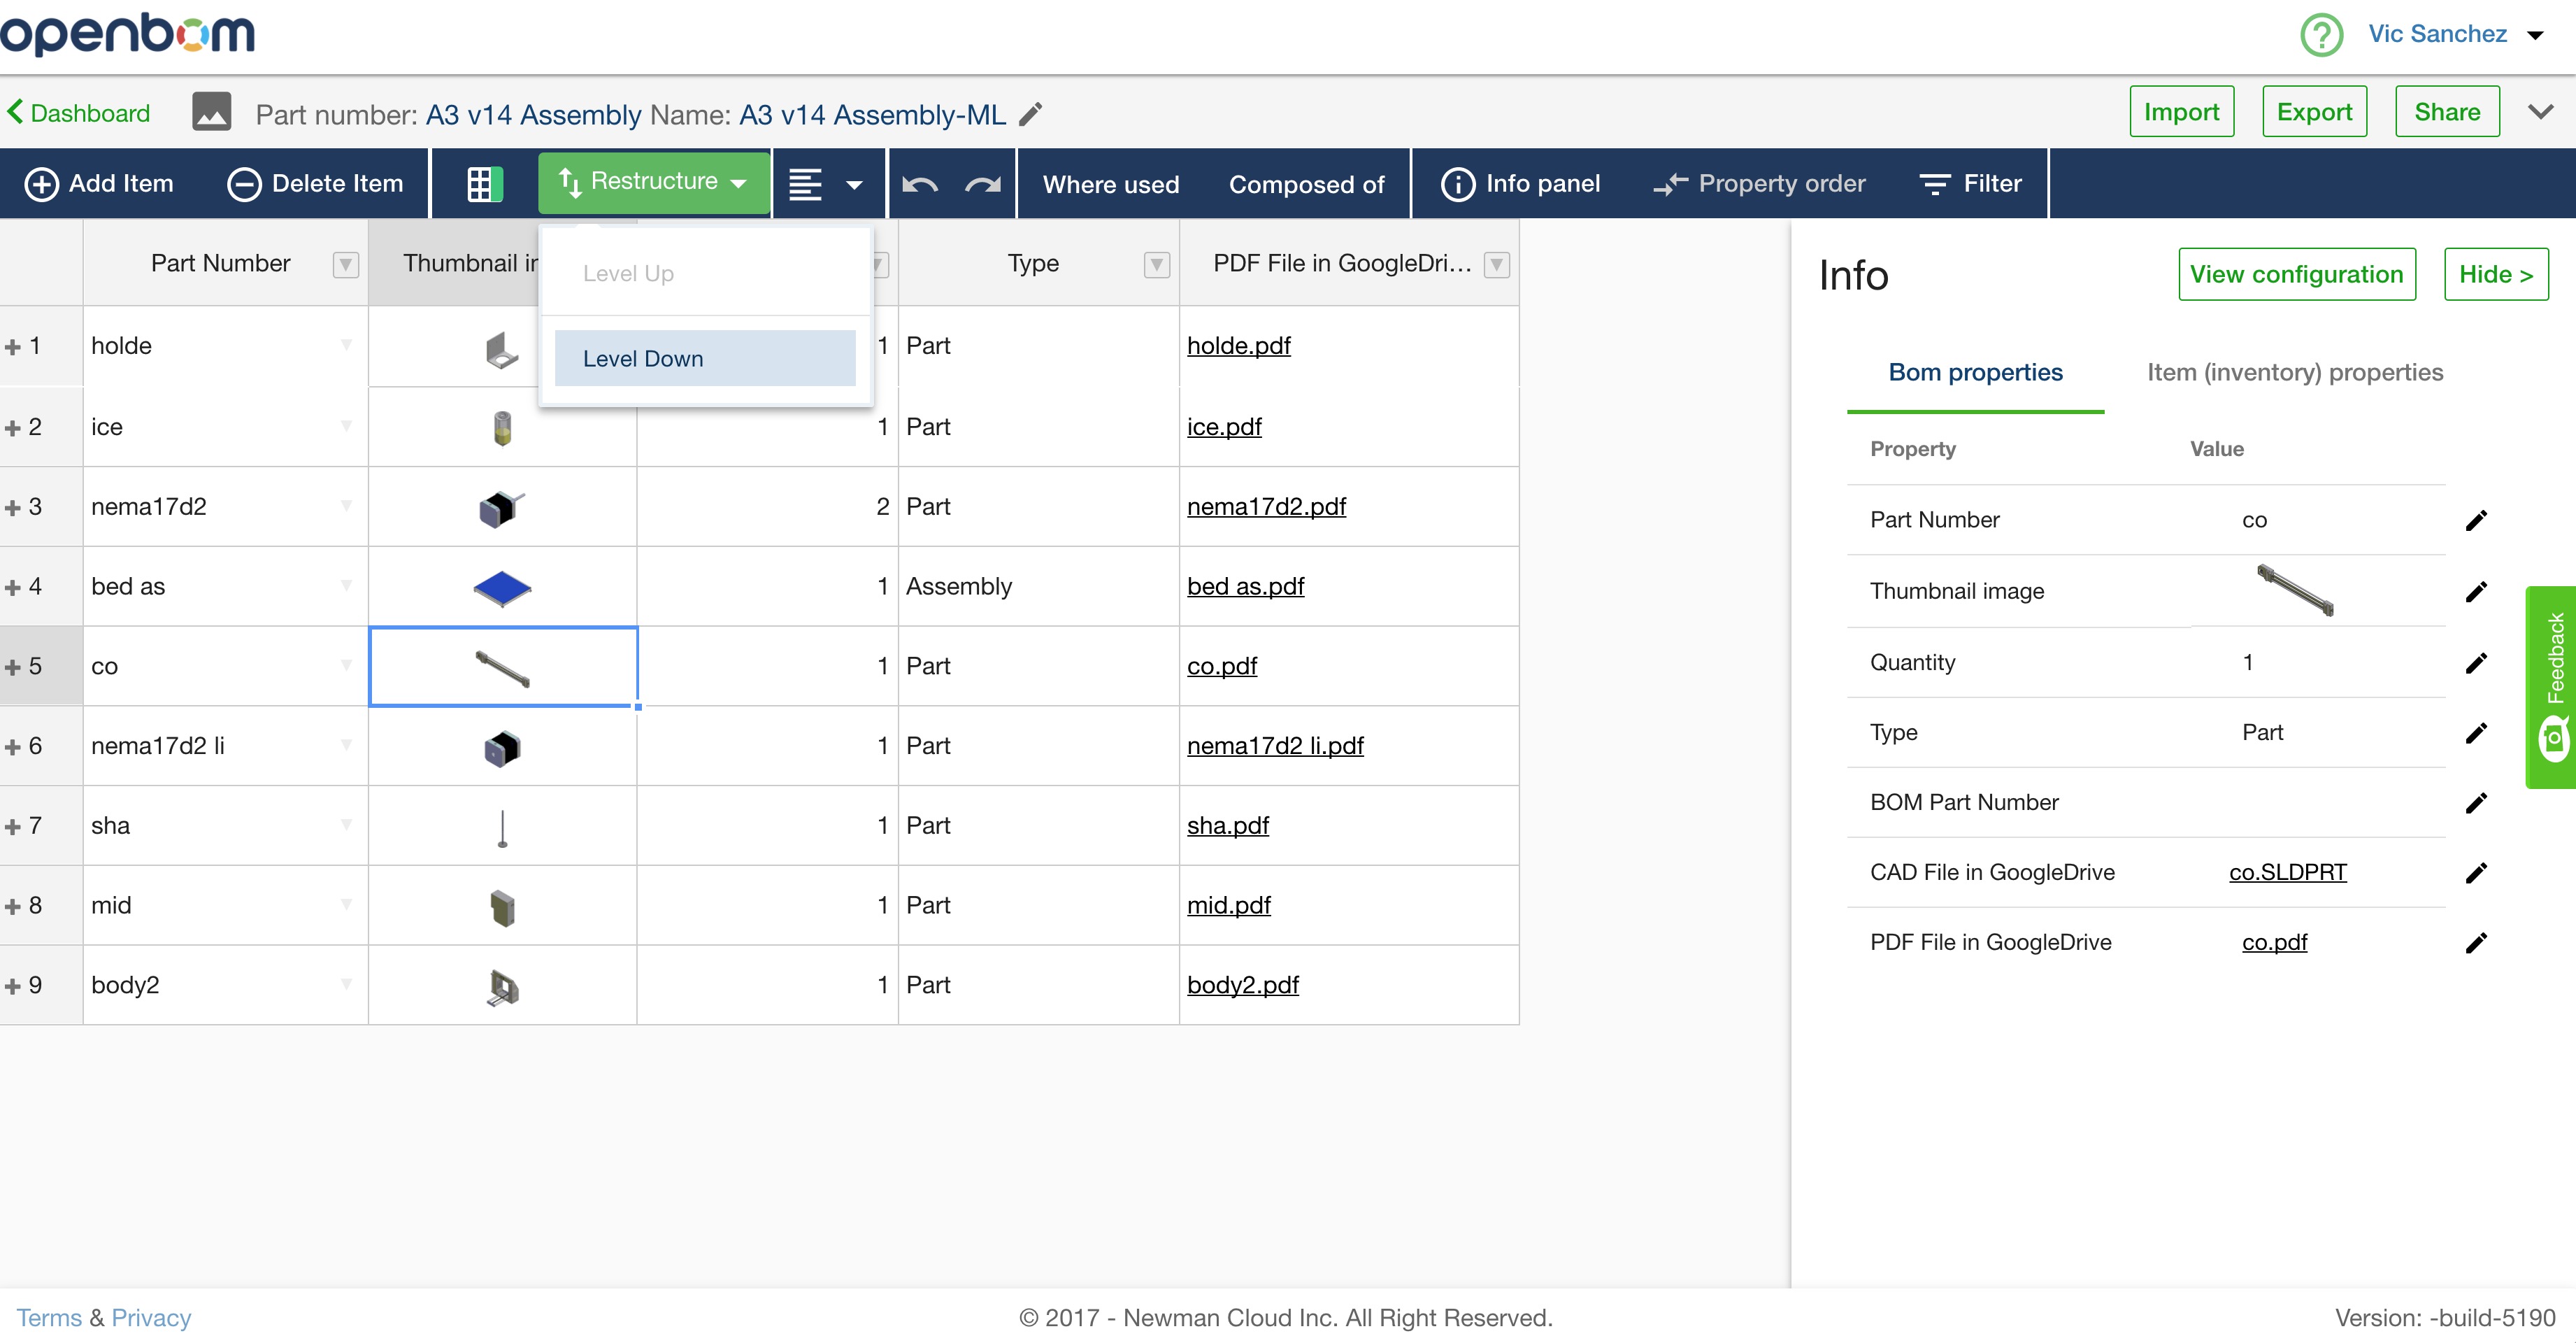
(4) Your multi-level BOM is now ready for work and sharing with others.
Use the “Restructure” command to move BOM items up or down a level.